1) Double-click the newly downloaded LBP7110Cw Driver on your desktop.
2) Open the LBP7110Cw Driver folder.

3) Double-click the Setup icon.

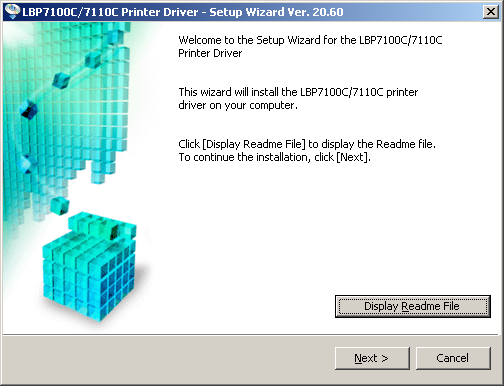
4) When the Print Driver Setup Wizard launches, click [Next].
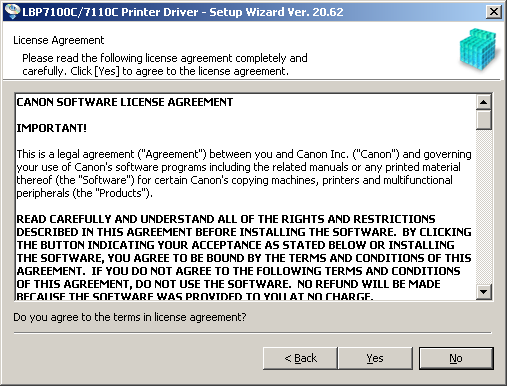
5) Click [Yes] to accept the terms of the License Agreement.
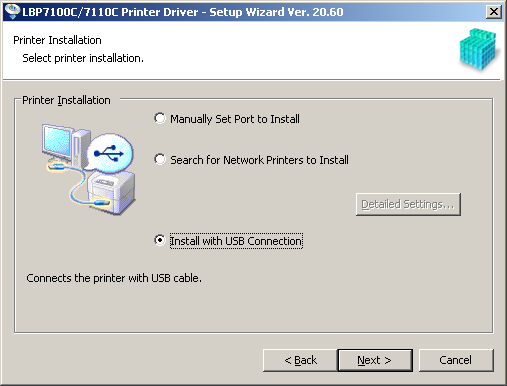
6) Select the [Install with USB Connection] radio button, and then click [Next].
7) Click [Yes].
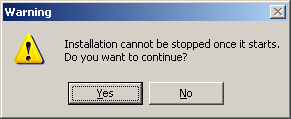
8) When the screen below appears, make sure that the printer is ON and the USB cable is connected to the computer and printer.
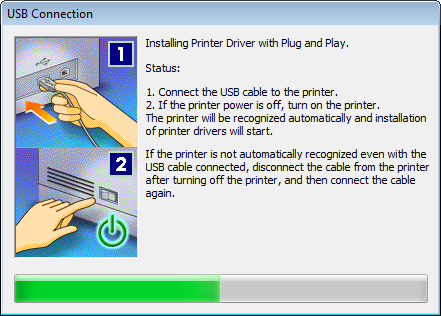
9) If you see this message, follow the on screen instructions, then click [Retry].

*If the message reappears, try a different USB port on the computer.
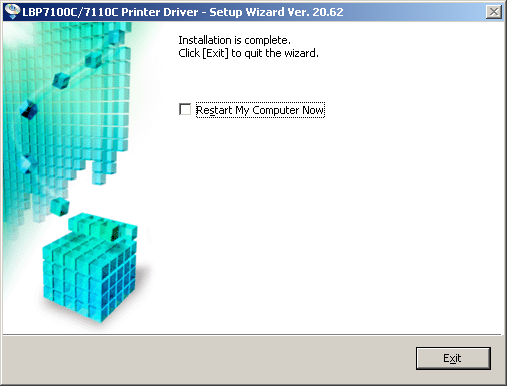
10) When the message below appears, the driver installation is complete. Click [Exit].