Before You Begin
 If you don't have the Wi-Fi Connection Assistant, it can be downloaded from here. After downloading the setup file, run it to install Wi-Fi Connection Assistant.
 Not all models that are compatible with the Wi-Fi Connection Assistant will support this function.
Steps to Reconfigure
If you have had a change in your network's settings (new network password, SSID, or a new router), you can use the Wi-Fi Connection Assistant to re-establish network connectivity for your printer. To do this, follow the steps below.
-
Start Wi-Fi Connection Assistant, depending on the version of Windows installed on your computer:
-
In Windows 10 and 11, select Start > (All apps > ) > Canon Utilities > Wi-Fi Connection Assistant.
-
In Windows 8.1 or Windows 8, select Wi-Fi Connection Assistant on the Start screen to start Wi-Fi Connection Assistant. If Wi-Fi Connection Assistant is not displayed on the Start screen, select the Search charm and search for "Wi-Fi Connection Assistant".
-
In Windows 7 or Windows Vista, click Start and select All Programs, Canon Utilities, Wi-Fi Connection Assistant, and then Wi-Fi Connection Assistant.
-
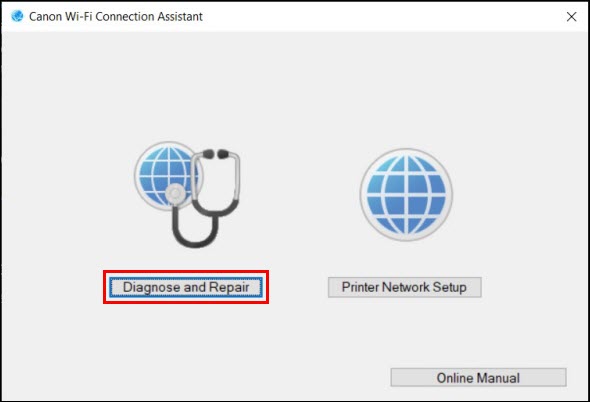
Select Diagnose & Repair.
-
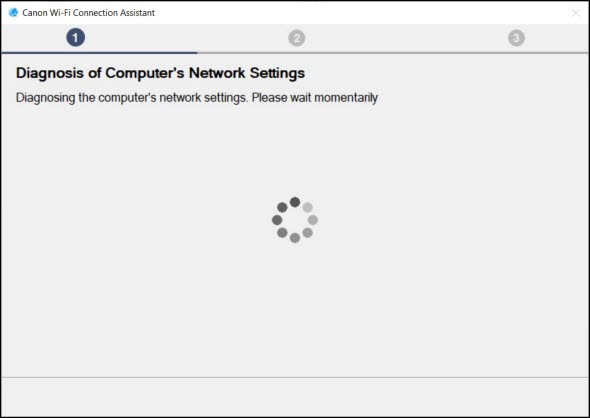
The Wi-Fi Connection Assistant will indicate that it is diagnosing the computer's network settings.
-
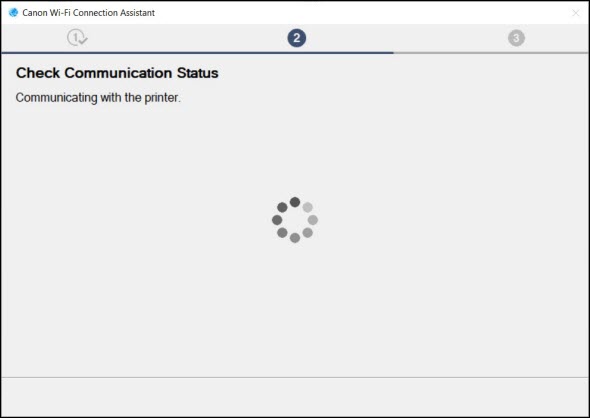
The Wi-Fi Connection Assistant will attempt to communicate with the printer.
After a few moments, the Select Printer to Be Repaired screen will appear.
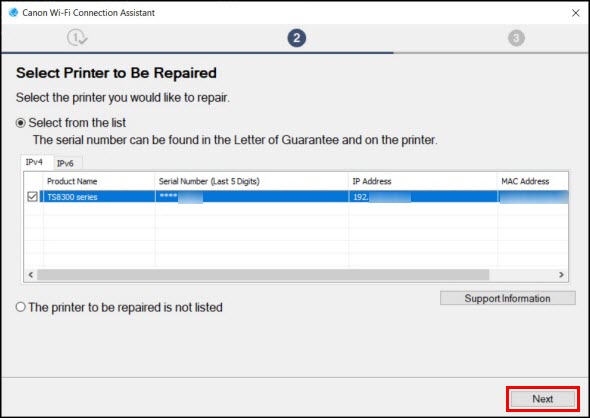
Your printer will appear in this list. Select it by placing a check in the box for your printer. Then, click Next.
-
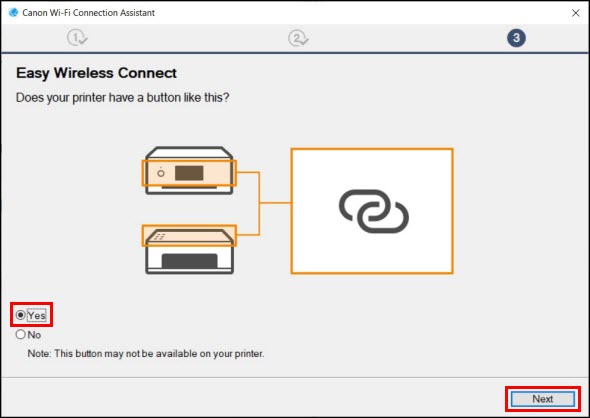
If your printer has a button like the one shown, select Yes, then click Next.
-
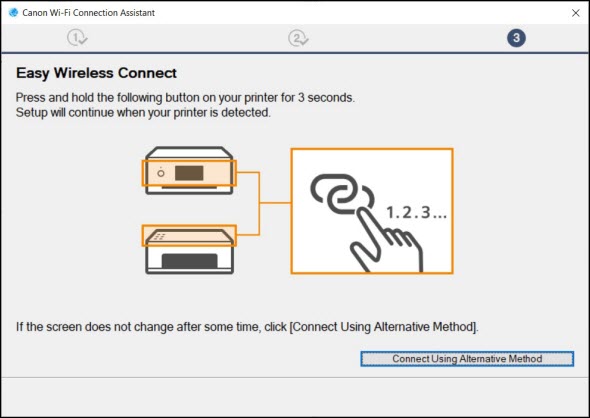
Press and hold the button on the printer for 3 seconds.
-
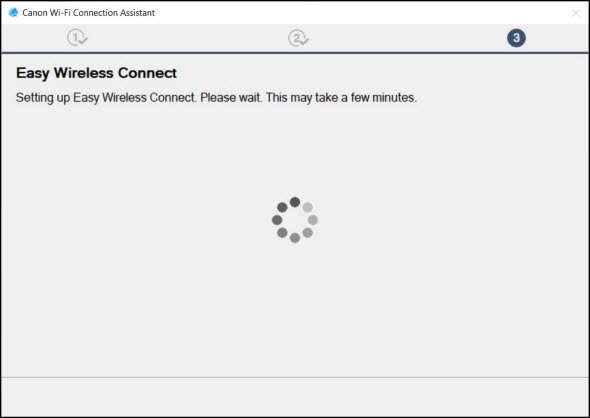
The computer will temporarily disconnect from your wireless router. It will then connect to the printer and send it the information to connect to the router.
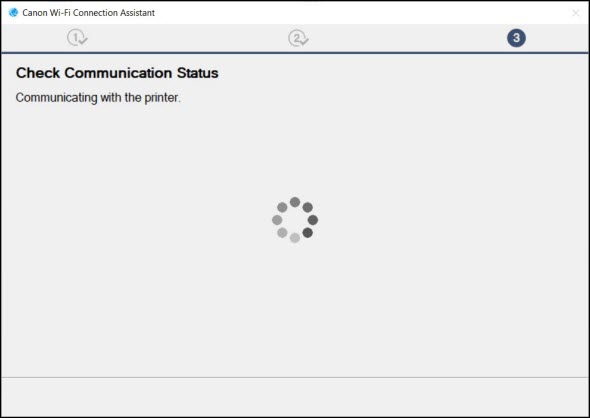
After the computer has sent the network information over to the printer, it will reconnect to the router. The computer will then attempt to communicate with the printer.
-
The Wi-Fi Connection Assistant will inform you that the communication between the computer and printer is confirmed. If you want to print a test page to confirm functionality, click Test Print.
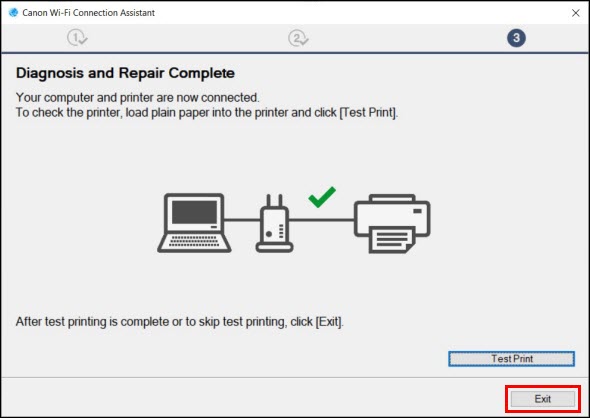
Click Exit to end.
If your product issue was not resolved after following the steps above, or if you require additional help, please create or log in to your Canon Account to see your technical support options.
Or if you still need help, visit our Canon Community by clicking the button below to get answers:

____________________________________________________________________________________________
