| Article ID: ART178902 |
| |
Date published: 01/06/2021 |
| |
Date last updated: 01/07/2021 |
Description
When you first power on the R50, you will be prompted to select your language. Once you have select your language, the next screen prompts you for the connection type you would like to use.
Follow the steps listed below to successfully connect your scanner to a wireless (Wi-Fi) network.
Solution

- If the access point is using security settings (such as MAC address filtering), change the settings to allow connection to the scanner.
- To ensure good Wi-Fi communications, perform this procedure with the scanner located close to the access point.
- Connect the computer to the access point via Wi-Fi before you begin.
- Set the IP address of the computer to be obtained automatically. Wireless Connection Tool cannot be used if there is no DHCP server on the network or if the computer does not have a wireless LAN function. In such cases, use a different tool to connect the scanner.
- The Wi-Fi function of the scanner is not guaranteed to work with all access points.
- The easiest method of connecting the R50 to your Wi-Fi network is to select the "Connect via Wi-Fi" button.
You will be taken to the "Wi-Fi Setting" menu.
- On the "Wi-Fi Setting" screen, select "Available Network".
- Select your Wi-Fi network from the list of networks on the screen.
NOTE: This scanner will only connect to a 2.4GHz network. If you have 2.4GHz network turned off in your network, you will either need to enable it on your router or use the provided USB cable for connecting this scanner.
- Once you selected your 2.4GHz network, you will see the button "Security Key". Click on this button to enter your network's password.
NOTE: On the far right-side of the screen you will see an "eye" icon. Selecting this icon will allow you to see the characters you are entering (instead of the normal security asterisks).
- Once you have entered your network's password, click on the "OK" button on the bottom right corner of the screen.
The screen will change to "Now processing".
- If successfully connected, you will see the R50 home screen with the Wi-Fi symbol in the top right side of the screen.
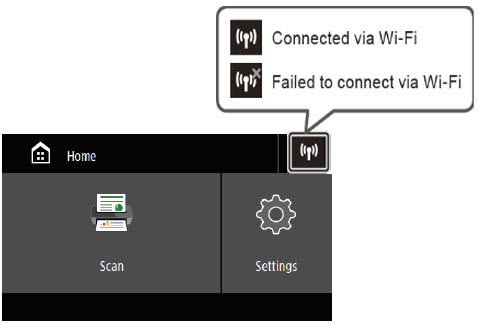
NOTE: If for some reason, the scanner failed to connect to your network, simply click on the "Settings" button and start the process again.
-
- Once the scanner has been successfully added to your network, you will need to install the software (if not already installed). To get the latest software, open your internet browser, and go here:
https://software.canon_elec.co.jp/ims/r50/
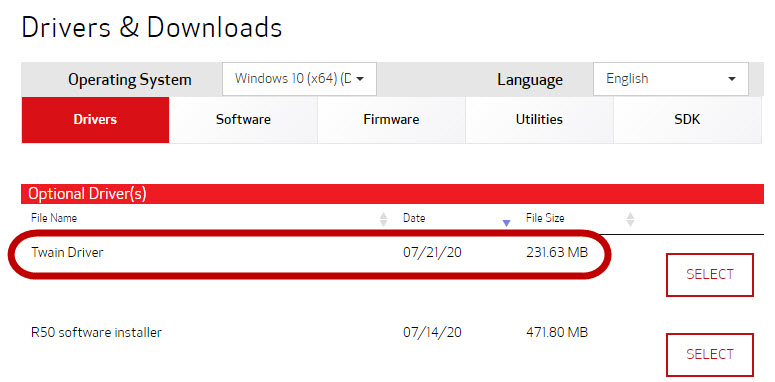
If you already have CaptureOnTouch installed on your computer, all you need to scan with the R50 will be the Twain driver. Instead of using the link above, you can get just the Twain driver from our website:
https://www.usa.canon.com/internet/portal/us/home/support/details/scanners/document-scanner/imageformula-r50-office-document-scanner/canon-imageformula-r50-office-document-scanner
Once you download the Zip file, and install the driver, you can go to your task bar icon for "CaptureOnTouch", right-click on it and select "Select Scanner". Choose the R50 from the list (the one that contains the Mac address after the R50 name), and then you are ready to scan.
