Replacing the Ink Tank
If an ink tank of a certain color is out of ink, the corresponding ink warning lamp lights up and an error message "xxxx ink empty" appears on the status monitor. The procedures for replacing the ink tank and checking the ink condition are described below.
Replacing the Ink Tank
When an ink tank is out of ink, replace it following the procedure described below.
 Caution
- For safety, keep ink tanks out of the reach of children.
- If a child licks or swallows ink by mistake, consult a physician immediately.
 Important
- To maintain printhead quality, printer stops operating before it is completely out of ink. Therefore, a small amount of ink remains in ink tank to be replaced.
- To get a good printing result, use up each ink tank within six months of the first opening the package.
- Do not remove an ink tank unless you must replace it. This could shorten the life of the consumables.
- Complete the ink tank replacement procedure as quickly as possible. Do not leave the printer with ink tanks removed.
- An ink tank left in a high-temperature place can deform. However, there is nothing wrong with its functions.
- It is recommended that ink tanks be stored in a place where the temperature does not rise extremely.
 Note
Note
- To maintain the best printing quality, please use only CX-G6400 ink tanks.
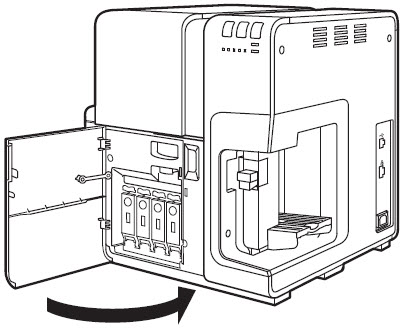
- The positions of the ink tanks are as shown below.
The printer is designed so that ink tanks cannot be inserted in wrong ink tank slots. Do not attempt
to insert ink tanks in wrong ink tank slots forcibly.

- Inks other than black ink may be used when characters represented only in black are
printed or black-andwhite prints are made. Also, cleaning performed to maintain the
performance of this printer and strong cleaning consumes all color inks. When a tank is
out of ink, replace it with a new one as soon as possible.
- Open the ink tank door.

- Open the ink tank cover.

- Pull out an empty ink tank slowly.

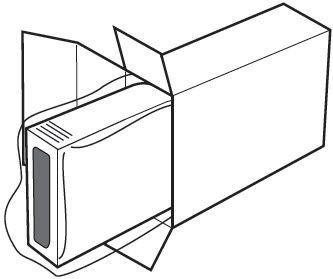
- Take out a new ink tank from the box.
Important
- Do not touch the ink outlet and terminal to prevent soiling of the the surrounding work area, damage to the ink tank, and poor printing.
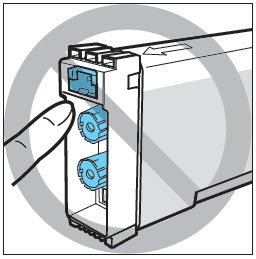
- Never drop or apply excessive force to an ink tank. Ink can stain clothing and the work area.
- Do not shake the ink tank. If you do, the error message "xxx ink empty" may appear immediately after replacing the ink tank. If this happens, remove the ink tank and insert it again.
- Load a new ink tank.
Slowly insert the ink tank deeply into the ink tank slot with the correct side up.

Caution
- There are sharp pins in ink tank slots. Never put your fingers into this area.
-
- Close the ink tank cover securely.

- Close the ink tank door.
Important
- Dispose the used ink tank according to the local regulations.
