Follow the steps below to load paper in your SELPHY.
Load paper in the cassette
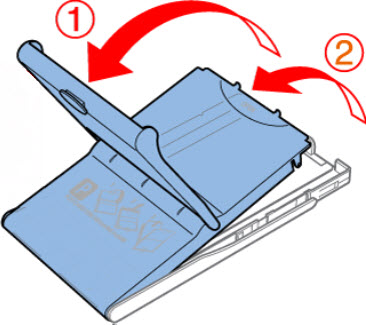
- Open the outer cover (1), and inner cover (2).
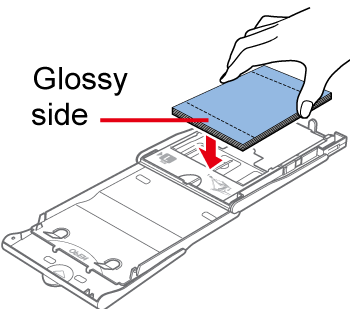
- Load the paper in the cassette with the glossy side facing up. The paper cassette holds up to 18 sheets. If you load more, it may damage the printer or cause malfunction.
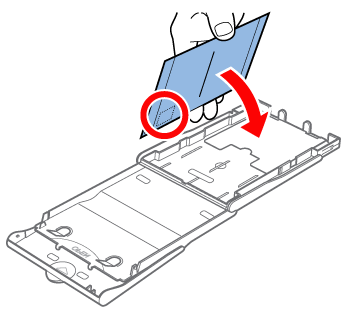
 When making postcard prints with space for a stamp, load the paper with the stamp area facing as shown.
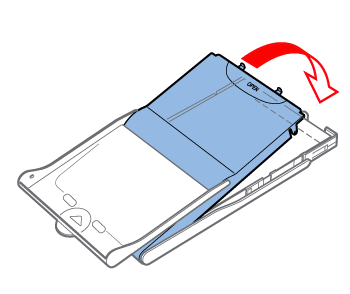
- Close the inner cover firmly until it clicks into place. Leave the outer cover open when you print.
 When loading paper, be sure that you don't do the following:
-
Use paper other than genuine Canon Color Ink / Paper Set for SELPHY CP printers.
-
Load the paper upside-down, with the glossy and back sides reversed.
-
Bend the paper at the perforations before you print.
-
Use label paper if the upper label surface is peeling off or partially pulled up
-
Write on the paper before you print.
-
Touch the glossy side of the paper or handle the paper with wet or dirty hands.
-
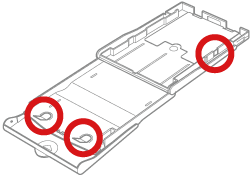
Touch the springs (shown below) on the paper cassette.
Refer to this article to learn how to insert the paper cassette (SELPHY CP910).
