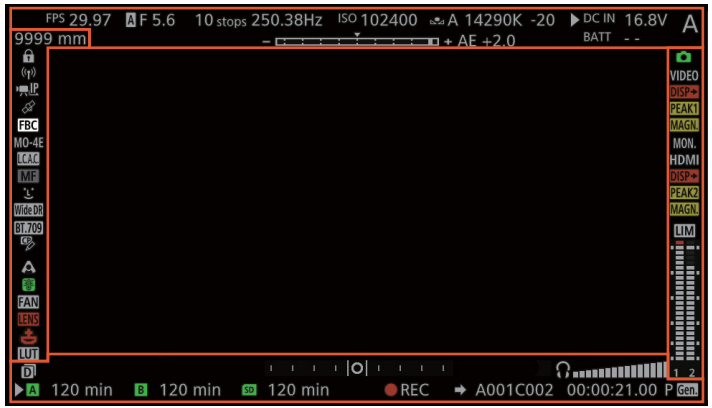
Onscreen Displays on the HOME Screen
Refer to this overview for an explanation of the various controls and onscreen displays on the HOME screen, which appears on the camera's control display.

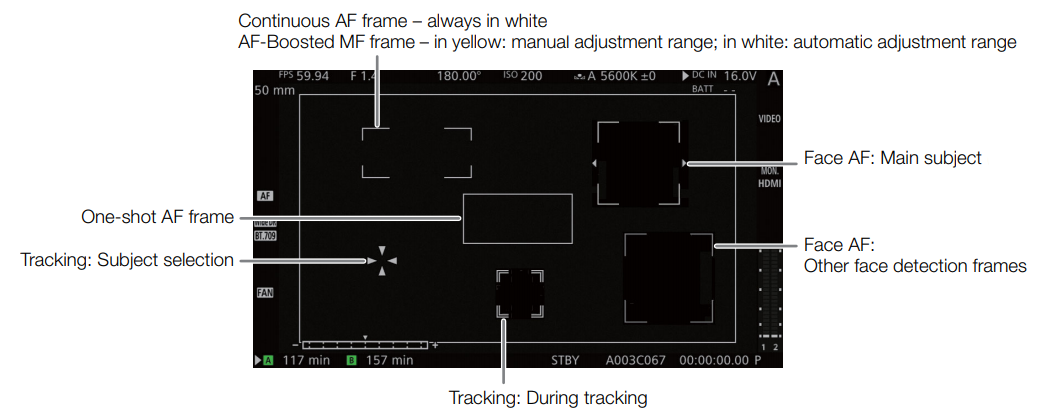
Depending on the focus function used you may see some of the following AF frames.
 Left side of the screen
| Icon/Display |
Description |
Custom Display |
| 000 mm |
Approximate focal length of the lens. |
1: [Focal Length] |
 |
Key lock. |
1: [Key Lock] |
 |
Network connection status. |
2: [Network Functions] |
 |
GPS signal: continuously on - satellite signal acquired; flashing - satellite signal not acquired.
- Displayed only when an optional GP-E1 GPS Receiver is connected to the camera.
|
2: [GPS] |
 |
 Flash band correction. Flash band correction. |
1: [Flash Band Corr.] |
 |
B4 mount adapter. |
1: [Mount Adapter] |
 |
Automatic lens chromatic correction for broadcast lenses. |
-- |
 |
 Focus mode. Focus mode. |
1: [Focus Mode] |
 |
Face AF |
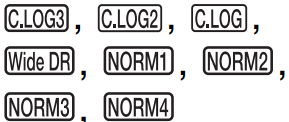 |
[Gamma] setting in the custom picture file. |
1: [Custom Picture] |
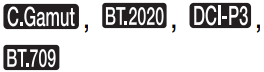 |
[Color Space] setting in the custom picture file. |
 |
Editing of the custom picture file's detailed settings ([Other Settings]  [Activate]) is enabled. [Activate]) is enabled. |
 |
Light metering mode. |
1: [Light Metering] |
 |
Temperature warning. |
2: [Temperature/Fan] |
 |
Fan operation. |
 |
Lens error warning. |
1: [Lens] |
 |
Lithium button battery not inserted. |
2: [DC IN / Battery] |
 |
A viewing LUT has been applied to at least one video output.
- The icon will appear on all active display devices regardless of the video output to which the LUT was applied.
|
1: [LUT] |
Top of the screen
| Icon/Display |
Description |
Custom Display |
FPS, S&F FPS,
000.00, 000 |
Frame rate.
- When slow & fast motion recording is activated, the shooting frame rate ([S&F FPS]) is displayed as an integer.
|
2: [Frame Rate] |
 , F0.0 / F00, T0.0 / T00, closed , F0.0 / F00, T0.0 / T00, closed |
Aperture value.
 Only displayed when an EF Cinema lens compatible with aperture adjustment from the camera, a compatible broadcast lens, or a PL lens compatible with Cooke's /i Technology metadata protocol is attached to the camera. Only displayed when an EF Cinema lens compatible with aperture adjustment from the camera, a compatible broadcast lens, or a PL lens compatible with Cooke's /i Technology metadata protocol is attached to the camera.
|
1: [Iris] |
| 00 stops |
ND filter. |
1: [ND Filter] |
000.00°, 1/0000,
000.00Hz |
Shutter speed. |
1: [Shutter] |
| ISO 000000, GAIN 00.0dB |
ISO speed/Gain. |
1: [ISO/Gain] |
 |
White balance. |
1: [White Balance] |
DC IN 00.0V,
BATT 00.0V |
Power supply voltage (DC IN and battery) |
2: [DC IN / Battery] |
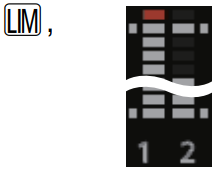
| A to Z |
Camera index. |
2: [Camera Index] |
 |
Exposure bar.
- Only displayed when the gain, aperture and shutter are all set to manual adjustment.
|
1: [Exposure] |
| AE ±0.00 |
AE Shift |
Right side of the screen
| Icon/Display |
Description |
Custom Display |
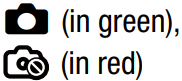 |
Photo recorded or no photo can be recorded. |
2: [Remaining Photos] |
 |
Output onscreen displays.
- The icon can appear in the VIDEO area (optional viewfinder) or in the MON./HDMI area (external monitors).
|
2: [OSD Output] |
 |
Peaking.
- The icon can appear in the VIDEO area (optional viewfinder) or in the MON./HDMI area (external monitors).
|
1: [Peaking] |
 |
Magnification.
- The icon can appear in the VIDEO area (optional viewfinder) or in the MON./HDMI area (external monitors).
|
1: [Magnification] |
 |
Audio limiter |
2: [Audio Lvl Indicator] |
| Audio level meter and monitor channels. |
Bottom of the screen

NOTES
- You can use the
 settings to show on the monitoring screen mmore of the periphery around the area that is actually recorded by the camera.
- You can use the MENU
 [Monitoring Setup] [OSD Output] [VIDEO] or [MON.+HDMI] [Peripheral Border] setting to change whether the camera's onscreen displays appear on the image or in the margins around the image (the default setting).
- You can also choose not to output the onscreen displays to monitoring devices.


 0000 min
 (in red)
 REC
REC
