| Article ID: ART158532 |
| |
Date published: 06/09/2015 |
| |
Date last updated: 08/18/2015 |
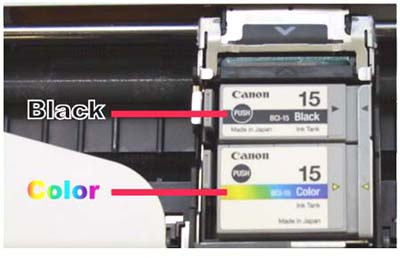
Description
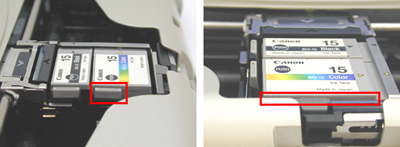
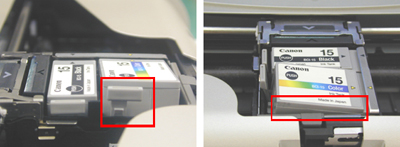
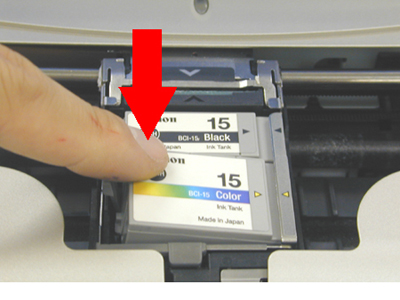
When replacing the ink tanks, confirm that the new ink tanks are installed properly. If the ink tanks are not locked into place, ink will not be supplied to the print head.