Reseating the Print Head - MG5120

Article ID: ART108700 | Date published: 05/11/2015 | Date last updated: 08/16/2015
 

Description

Install the ink tanks in the correct order.

Solution

Reseating the Print Head

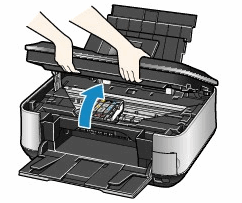
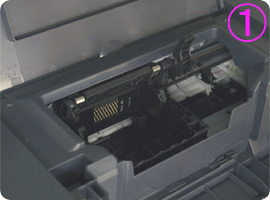
Reseat the print head to correct print issues or clear an error.

Reseat the Print Head:

  1. Make sure that the power is turned on, and open the Paper Output Tray gently

  2. Lift the scanning unit (printer cover) completely. (The print head will move to the replacement position.)


  3. Remove all the Ink Tanks in the following manner.


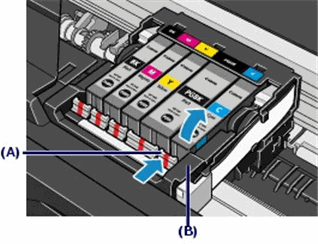
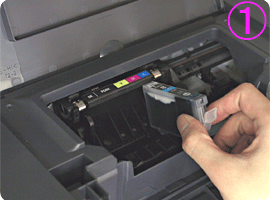
    Push the tab (A) and lift the ink tank to remove.

    Do not touch the Print Head Lock Lever (B).


  4. Raise the print head lock lever.

  5. Tilt the print head slightly towards the front of the machine and lift out gently.

    * Images that follow are taken from the MP600. The procedure is the same for the MP620.


    Caution: Do not touch the print head nozzles <1> , electrical contacts <2>, or ink supply ports <3>. Doing so may cause printing problems.


  6. Place the print head in the print head holder and lower the print head lock lever carefully until you hear a click.


  7. Insert ink tanks into the print head.

  8. Press the mark <PUSH> on the ink tank firmly until you hear a click.


  9. Close the inner cover and the scanning unit (printer cover).


    Caution: When closing the scanning unit (printer cover), be careful not to jam fingers.

    N
    ote: The next printing begins, the print head cleaning will begin automatically.

SIMS Doc Id

0

Rate this Article
Was this article helpful?
Yes, This document is helpful
No, This document needs a clearer explanation
 
Please provide your comments