Loading envelopes in the MP530 / MP830
| Article ID: ART154350 |
| |
Date published: 06/09/2015 |
| |
Date last updated: 08/17/2015 |
Description
Loading envelopes in the printer.
Solution
Loading Envelopes
Envelopes should be loaded correctly into the printer to avoid paper jams and ensure correct operation of the printer.
Automatic Sheet Feeder (ASF)
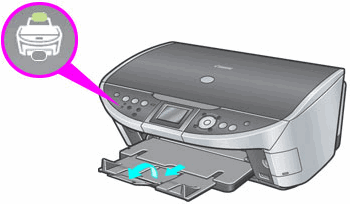
- Open the Paper Support tray (1), then pull out the extension (2).

*MP500 shown
- Pinch and slide the paper guide to the left (3)
- Prepare the envelopes for loading.
-
- Press down firmly on the edges of the envelopes to make the folds crisp. Also, press firmly on the area that corresponds to the edges of the back flap.
- Remove any curling by holding the edges diagonally and bending them gently.
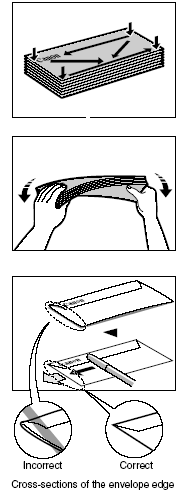
- If the edges of the envelope are inflated or are curling, place the envelope on a flat surface. With a pen, press down while moving it from the center toward the edges of the envelope.
- Ensure that no curl or puff exceeds 1/8 in. (3 mm).
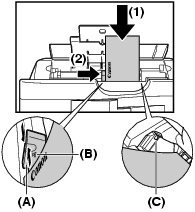
- Place the stack of envelopes (print side up) in the ASF (1), and pinch the paper guide (A) and adjust it to the left side of the stack (2).
- Load the envelopes in the ASF with the short side down.
The model illustrated may differ.
IMPORTANT
Make sure the stack does not exceed the paper limit mark (B).
Make sure paper does not hang in the region of (C). If it does, paper might be fed at an angle
- Pinch and slide the paper guide to the envelope's left side.
- Press the <Open> button.
- Pull out the extension.
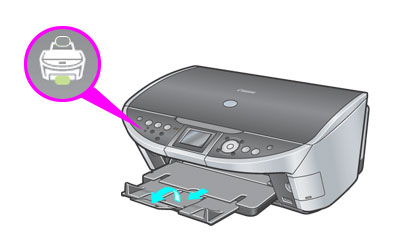
- Ensure the ASF light is on.
*MP500 shown
- Make the appropriate printer driver settings.
Cassette:
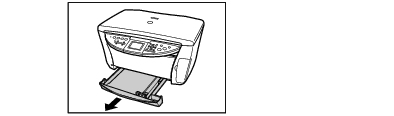
- Pull out the cassette from the machine.
- Prepare the envelopes for loading.
-
- Press down firmly on the edges of the envelopes to make the folds crisp. Also, press firmly on the area that corresponds to the edges of the back flap.
- Remove any curling by holding the edges diagonally and bending them gently.
- If the edges of the envelope are inflated or are curling, place the envelope on a flat surface. With a pen, press down while moving it from the center toward the edges of the envelope.
- Ensure that no curl or puff exceeds 1/8 in. (3 mm).
- Load the stack of envelopes into the cassette with the print side facing DOWN (1).
Note:
* Since the Credit Card sized paper, Canon Photo Stickers, and Legal sized paper cannot be fed from the cassette, load them in the auto sheet feeder (ASF).
* When loading A5 or larger sized paper (nonstandard-size paper: 203mm / 8inches or more in length), extend the cassette by pinching the tab.
- Grasp the paper guide (A) and align it to the long edge of the envelope stack (2). Align the front edge of the paper stack in the same way (3).

- Push the cassette all the way into the printer.
- Press the <Open> button and pull out the extension completely.
- Press the <Feed Switch> button to turn on the Cassette light.
*MP500 shown
- Make the appropriate printer driver settings.
Unsuitable Envelopes:
- Envelopes with an embossed or treated surface
- Envelopes with a double flap or pressure seals
Printer Driver Settings
- Media Type : Envelope
- Page Size: Select either DL Env. or #10 Env. according to the envelope size you are using
- Orientation: Landscape
Note: It may be required to change the paper size option to 'Envelope' in File Page Setup menu.
