Change Print Quality on Mac OS X - MP480 / MP620 / MP620B
Article ID: ART103329
|
Date published: 05/11/2015
|
Date last updated: 11/04/2015
Description
Instructions to change the print quality settings in the Canon printer driver for the Windows operating system through a printing application.
Solution
Change the Print Quality Settings (Mac OS X)
The Quality settting controls how finely ink droplets are placed on the printed page. Depending on the type of paper being used a higher Print Quality setting does not always insure a better print. Print speed will decrease as the Print Quality setting is increased. Follow the instructions below to change the print quality settings in the Canon printer driver for the Mac OS X operating system through a printing application.
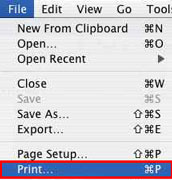
From the 'File' menu, select 'Print' to open the Print dialog box..
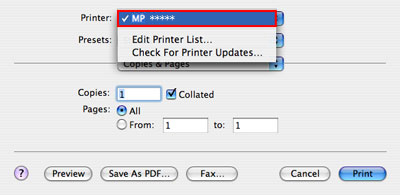
In the Printer pop-up menu, select the printer you are using.
In the third pop-up menu, select 'Quality & Media'.
In the Print Quality section, select the 'Custom' radio button.
Move the Quality slider to select the quality level.
Note: Move the slide bar to the right to improve the print quality. Move it to the left to increase the print speed.
Select the appropriate Halftoning radio button.
Note: Halftones refer to color shades between the darkest color and the brightest color. The printer replaces the color shades with a collection of small dots to express the halftones. Dither arranges the dots according to fixed rules to express the halftones. Diffusion places the dots randomly to express the halftones.
When the setting is finished, click 'Print' to perform printing.