This article contains a video that will show you how to install the print head in the PIXMA TR150.
Solution
The following video will show you how to install the print head in your PIXMA TR150.
Written Instructions
Open the print head cover.
Do not touch the print head holder until it stops moving.
Press inward on both tabs on the print head lock lever to release the lock, and then raise it firmly until it stops.
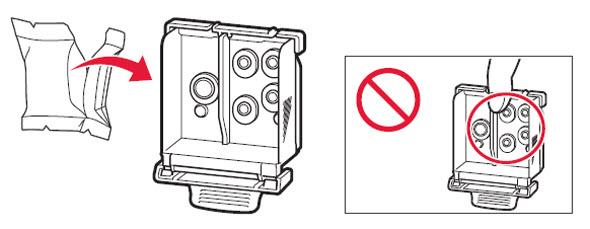
Remove the print head from its package. Don't touch the ink ports on the inside of the print head.
There may be some transparent or light color ink on the inside of the bag the print head comes in - this has no effect on print quality. Be careful not to get ink on yourself when handling these items.
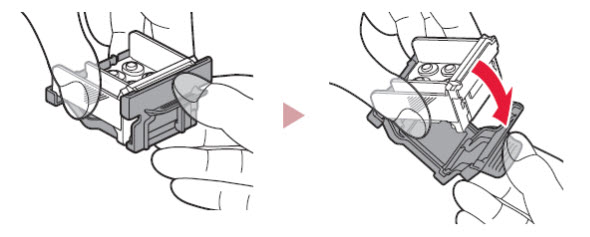
Remove the protective cap.
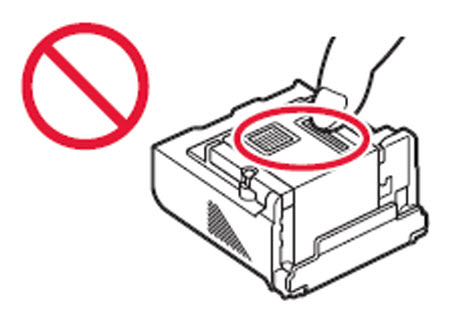
Do not touch the areas shown in the image below. Otherwise, the printer may not print correctly.
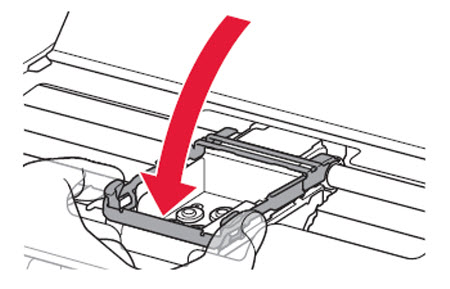
Set the print head in the print head holder so the mark faces inward.
Hold both tabs on the print head lock lever, and then lower it.
Once you have installed the print head, don't remove it unnecessarily.
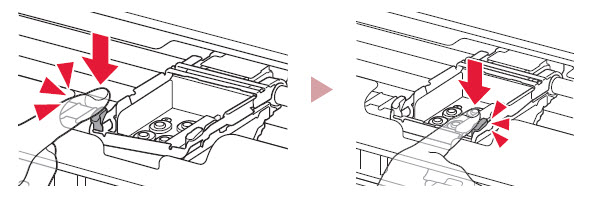
To lock the print head lock lever, push the left and then the right tabs until they snap into place.
The print head is now installed.
If your product issue was not resolved after following the steps above, or if you require additional help, please create or log in to your Canon Account to see your technical support options.
Or if you still need help, visit our Canon Community by clicking the button below to get answers:

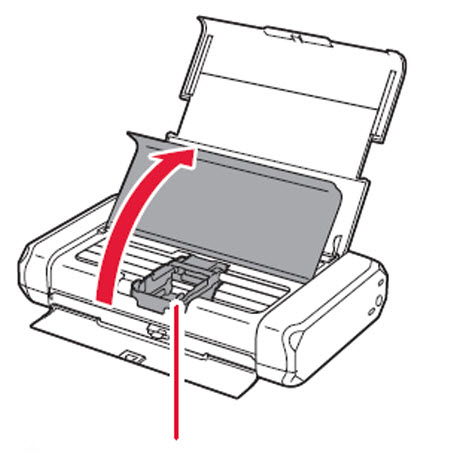
 Do not touch the print head holder until it stops moving.
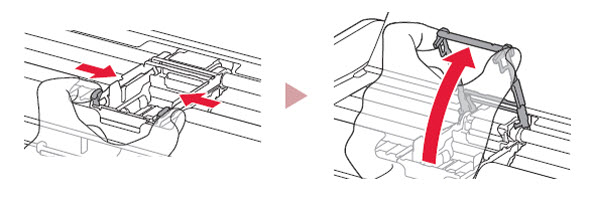
 faces inward.