|
Replacing the Printhead (iPF720)
|
| <Caution> |
| - Do not touch the Printhead immediately after printing. The Printhead becomes extremely hot, and there is a risk of burns. |
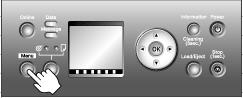
| 1. Press the Menu button to display MAIN MENU . |
 |
2. Press  or or  to select Maintenance , and then press the to select Maintenance , and then press the  button. button. |
| 3. Press or to select Replace P.head , and then press the button. |
| 4. Press or to select Yes , and then press the OK button. |
Ink is now filled.
After about three minutes, a message is shown on the Display Screen instructing you to open the Top Cover . |
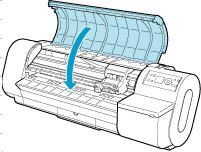
| 5. Open the Top Cover . |
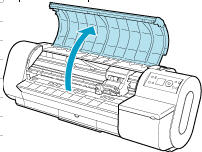 |
| Instructions are now shown on the Display Screen regarding Printhead replacement. |
| 6. If the Printhead Fixer Cover or Printhead Fixer Lever is dirty, use a damp cloth that you have wrung out completely to wipe it clean. |
 |
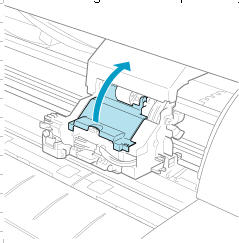
| 7. Lift the Carriage Cover to open it fully. |
 |
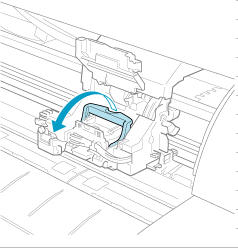
| 8. Pull the Printhead Fixer Lever forward all the way to open it completely. |
 |
| 9. Pull up the Printhead Fixer Cover to open it completely. |
 |
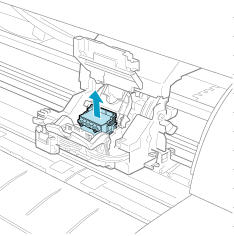
| 10. Remove the used Printhead . |
 |
| 11. Holding the new Printhead by the grips (a), remove it from the case. |
 |
| 12. While firmly holding the Printhead you have removed, use your other hand to remove the orange Safety Cap 1 (a). Squeeze the grips (c) of Safety Cap 2 (b) and pull it down to remove it. |
 |
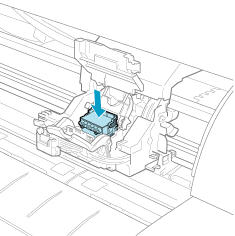
| 13. With the nozzles facing down and the metal contacts toward the back, insert the Printhead into the Carriage . Making sure that the metal contacts do not touch the Carriage , carefully push the printhead firmly into the carriage. |
 |
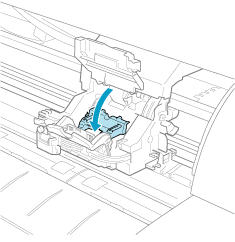
| 14. Pull the Printhead Fixer Cover down toward the front to lock the Printhead in place. |
 |
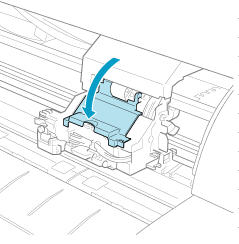
| 15. Push the Printhead Fixer Lever toward the back of the printer until it clicks. |
 |
| 16. Push the Carriage Cover forward until it clicks. |
 |
| 17. Close the Top Cover . |
 |
| Ink now fills the system. |
| After about ten minutes, the Printhead alignment will be automatically adjusted, and the printer will go online. |
| If no paper has been loaded, a message is displayed requesting you to load paper. |
