Wireless Setup for the imageCLASS D1620 and D1650 (Contains Video) (Windows)
Article ID: ART173917
|
Date published: 03/27/2019
|
Date last updated: 03/27/2019
Description
This article provides instructions on how to setup your imageCLASS D1620 or D1650printer to do wireless printing. It is broken down into three parts. Part 1 provides video instructions on how to configure the settings on your printer. Part 2 provides written instructions on how to configure the settings on your printer. Part 3 provides instructions on how to download and setup the software on your computer.
Solution
Part 1: Canon imageCLASS Wireless Help Video for a Windows Computer. If you can't see the video please click HERE.
Part 2: Setting Up The Printer
1. Select <Menu> in the Home screen.
2. Select <Preferences> <Network>. If the login screen appears, please enter the default [7654321] for both the ID and PIN.
3. Select <Wireless LAN Settings>. If the <Do you want to enable the wireless LAN?> message is displayed, select <Yes>.
4. Read the message that is displayed, and select <OK>.
5. Select <SSID Settings>.
6. Select <Select Access Point>. The machine starts searching for available wireless routers.
7. Select a wireless LAN router. Select the router whose SSID matches the one that you have written down, and press <Next> (OK).
Note: To view details of security settings on the Touch panel model
Select the wireless LAN router, and select <Details>. To return to the original screen, select .
8. Enter the network key that you have written down.
Enter the network key, and select <Apply>.
9. Select <Yes>.
10. Wait until message <Connected.> is displayed.
11. Select <Close>. Wait several minutes until the IP address and other items are set automatically.
Part 3: Downloading and Installing the Computer Software
Once your printer has been setup follow the instructions below for downloading and installing your printer, scanner, and fax driver depending on which model you have. In the illustrations below we used the imageCLASS MF729Cdw and Windows 7 64 bit. The screens may vary somewhat based on your selections and the browser you use.
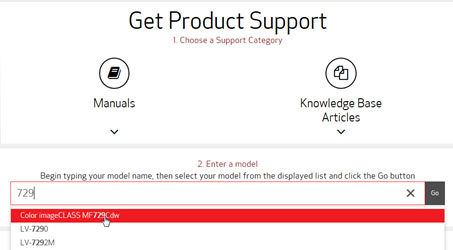
To download drivers and software for your device, please follow the instructions below:
2. Type your model name into the search box and select it from the list that appears.
3. Click the 'GO' button to get to the Drivers & Downloads page for your model.
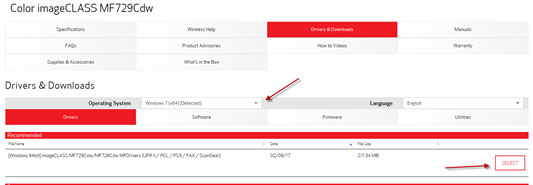
4. From the Drivers & Downloads Tab, Select your Operating System and Version from the provided drop-down menu.
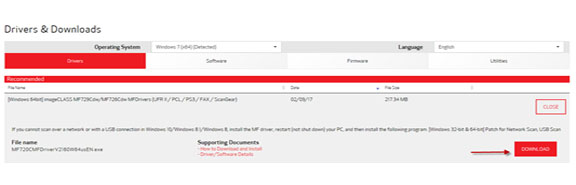
5. The most common driver to use will be listed in the Recommended Section. Click [SELECT] next to the driver you need as shown in the illustration above and then click [DOWNLOAD].
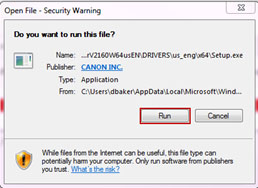
6. Click [Run] to begin downloading and installing the driver software.
7. Click [RUN] to install the software.
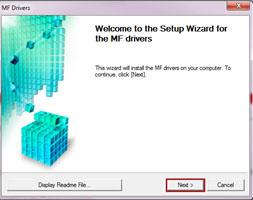
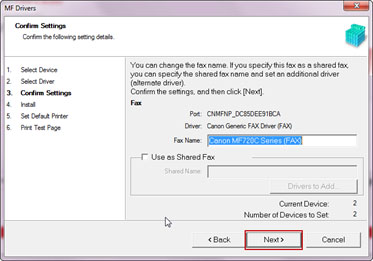
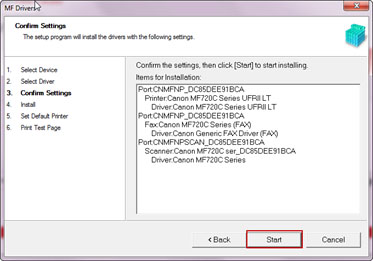
8. Click [Next] on the Welcome to the Setup Wizard for the MF Drivers.