You can dilute (brighten) or intensify (darken) the colors of the overall image data during printing.
If you want to sharpen the print results, you should intensify the colors.
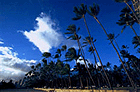
The following sample shows the case when the intensity is increased so that all colors become more intense when the image data is printed.
 |
 |
|
No adjustment
|
Higher Intensity
|
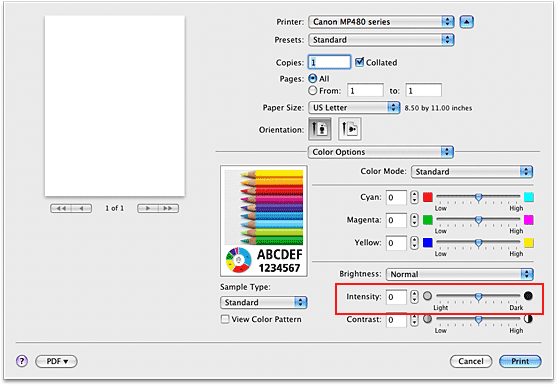
The procedure for adjusting intensity is as follows:
-
Select Color Options from the pop-up menu of the Print Dialog.
-
Adjust intensity
Moving the Intensity slider to the right intensifies (darkens) the colors. Moving the slider to the left dilutes (brightens) the colors.
You can also directly enter a value linked to the slider. Enter a value in the range from -50 to 50.
 Important
-
Complete the setup
Click Print.
When you execute print, the image data is printed with the adjusted intensity.
Adjusting Color Balance
You can adjust the color tints during printing.
Since this function adjusts the output by changing the ink ratios of each color, it changes the total color balance of the document. Use the application software if you want to change the color balance significantly. Use the printer driver only if you want to adjust the color balance slightly.
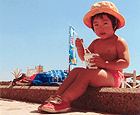
The following sample shows the case when Color Balance is used to intensify cyan and to diminish yellow so that the overall colors are more uniform.
 |
 |
|
No adjustment
|
Adjusted color balance
|
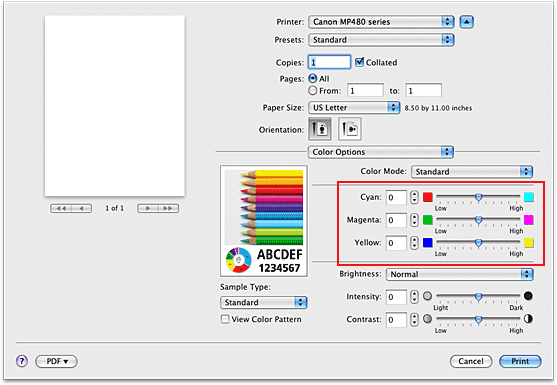
The procedure for adjusting Color Balance is as follows:
-
Select Color Options from the pop-up menu of the Print Dialog.
-
Adjusted color balance
There are individual sliders for Cyan, Magenta, and Yellow. Each color becomes stronger when the corresponding slider is moved to the right, and becomes weaker when the corresponding slider is moved to the left. For example, if cyan becomes weaker, the color red becomes stronger.
You can also directly enter a value linked to the slider. Enter a value in the range from -50 to 50.
-
Complete the setup
Click Print.
When you execute print, the document is printed with the adjusted color balance.
Important
-
When the Grayscale Printing check box is checked for Quality & Media, Cyan, Magenta, and Yellow appear grayed out and are unavailable.
Page top