Cause
Printer error has occurred.
Action
-
Power off the printer.
-
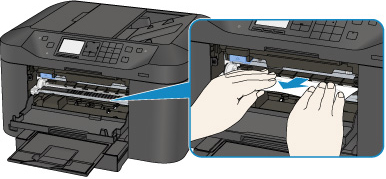
Open the front cover and check for obstructions in the paper path.
 Important
-
Do not touch the clear film (A) or the white belt (B).
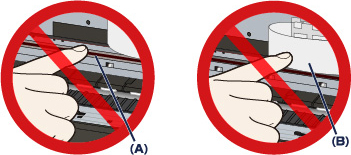
If your hands or any obstructions touch these parts and blot or scratch them, the printer can be damaged.
-
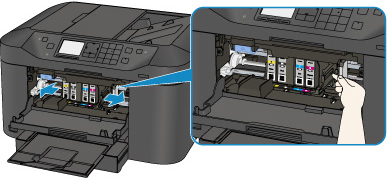
Make sure that the obstructions are not under the print head holder. If they are, move the holder to the right or left edge, depending on which edge makes it easier to remove the object.
When you move the print head holder, press either the right side or the left side of the print head holder with your fingertips and slide the print head holder slowly to the right edge or the left edge.
-
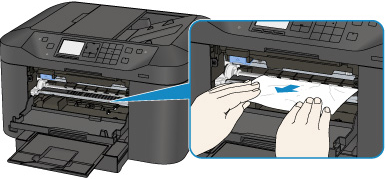
If any paper is found, hold it with your hands and slowly pull it out so that it will not tear.
-
Make sure that all paper pieces or other obstructions have been removed before closing the front cover.
-
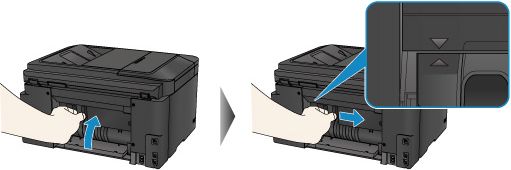
Open the rear cover and check for paper or other obstructions in the paper path.
-
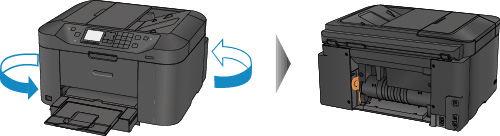
Rotate the printer so that the rear side of the printer faces toward you.
-
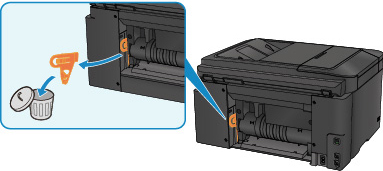
If the protective material for the rear cover remains attached, remove it.
-
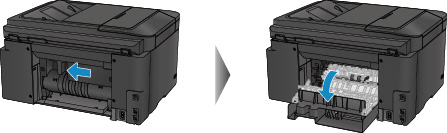
Open the rear cover.
Slide the rear cover to the left then open it.
-
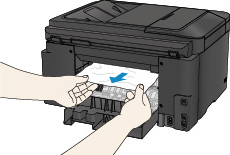
Pull out the paper slowly.
 Note
Note
-
Close the rear cover slowly.
Close the rear cover then slide it to the right.
Slide the rear cover so that the  mark on the rear cover aligns with the
  mark on the printer.
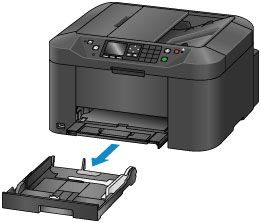
- Remove the cassette from the printer.
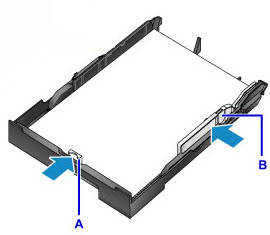
- Check inside the printer for any obstructions or jammed paper. Remove any obstructions or jammed paper found.
- Remove paper from the cassettes and adjust the front (A) and side (B) paper guides to fit the paper.
- Reinsert the cassette.
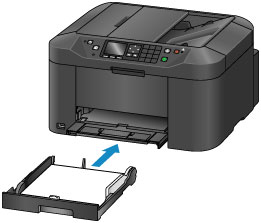
- Press the ON button to power on the printer.
- Ensure that the message has cleared.
If the error persists, service is required.
For support and service options, sign into (or create) your Canon Account from the link below.
My Canon Account
