When you set up a printer to be the default, it's used for every print job unless you specify otherwise.
Set a printer to be the default
1. Open the Printers Folder for your operating system as follows:
-
Windows 10 / 8.1
Hold down the Windows key  on the keyboard and type the letter R. In the Run box, type control printers and select OK.
-
Windows 8
Swipe in from the right edge of the screen. and then tap Search. (If you're using a mouse, point to the upper-right corner, move the pointer down, and select Search.)
Enter Device and Printers in the search box, tap or select Settings, and choose Device and Printers.
-
For Windows 7
Select the Start button from the bottom left of the Windows screen, and select Devices and Printers.
-
For Windows Vista
Select / tap Start from the bottom left of the Windows screen, then Control Panel > Hardware and Sound > Printers.
If you're in Classic view, select Printers directly from the Control Panel.
-
For Windows XP Home Edition
Select / tap Start from the bottom left of the Windows screen, then Control Panel > Printers and Other Hardware > Printers and Faxes.
-
For Windows XP Professional Edition
Select Start from the bottom left of the Windows screen, then Printers and Faxes.
-
For Windows 2000/Me/98
Select / tap Start from the bottom left of the Windows screen, then Settings, and Printers.
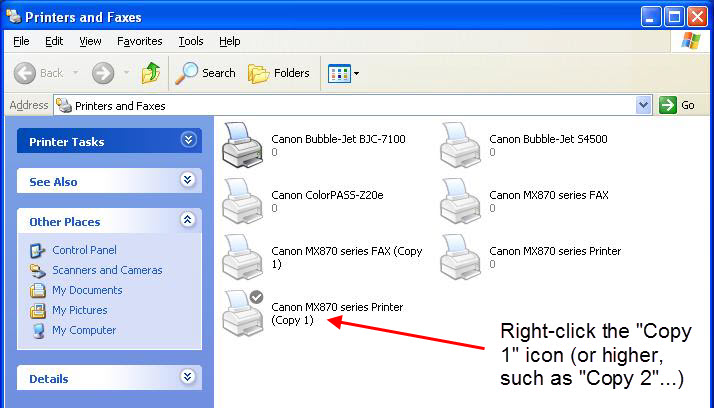
2. If there is more than one Canon printer icon shown, right-click on Copy 1 (or higher) of your model's icon.
 The following note applies to versions of Windows prior to Windows 7.
If any duplicate copies of the printer exist in the Printers window, you can delete them. To delete the previous copies, right-click on the printer icons below the highest numbered icon and select Delete or Remove.
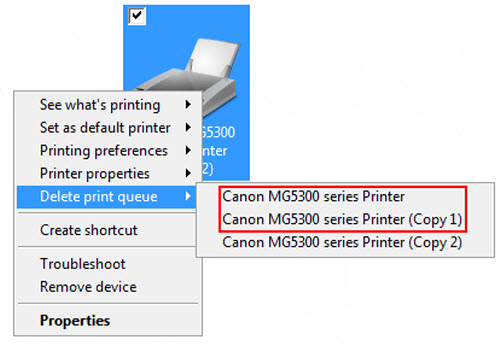
 For Windows 7 and later versions, you may have a single printer icon that contains multiple listings for the same printer. To delete older printer listings, right-click on the printer icon, select Delete print queue, then select the listing for the printer that you want to delete.
3. Left-click on Set as Default Printer from the menu that appears to specify the printer as the default.
4. When the printer has been set as the default printer, a checkmark displays beside the printer icon.

