Installing the Printer driver / software - Macintosh (SELPHY ES3, ES30)
| Article ID: ART150870 |
| |
Date published: 05/22/2015 |
| |
Date last updated: 12/28/2015 |
Description
Installing the Printer driver / software - Macintosh (SELPHY ES3, ES30)
Solution
Installing the CP Printer driver - Macintosh
-
Do not connect the printer until the software and printer driver are installed.
-
Be sure to log on with Administrator privileges (computer system administrator) when installing the software.
-
Close any programs that are running.
- Place the COMPACT PHOTO PRINTER Solution Disk in the CD-ROM drive. Double-click the (
 ) icon in the CD-ROM window
- Click the Printer Driver Select printer button and then select your printer.

- Click Agree to consent to the license agreement and continue the installation.
- Click the up/down arrow and select Easy Install, then click Install.
The install process begins.
- Follow the onscreen instructions until a dialog box informing you to restart appears. Restart the computer as instructed.
- Once the computer has restarted, connect the printer to the computer and turn the printer's power on by pressing the power button on the front of the printer. The LCD on the printer should light up as well as the power indicator light above the power button.
Installing the software to your computer.
- Place the COMPACT PHOTO PRINTER Solution Disk in the CD-ROM drive. Double-click the () icon in the CD-ROM window
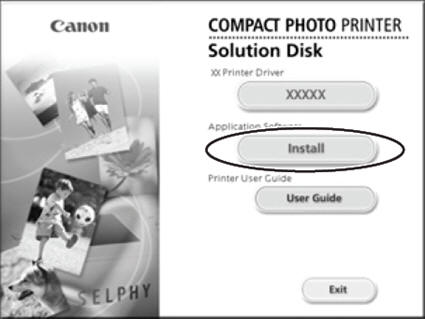
The installer panel is displayed.
- Click the Install button.
- Select Easy Installation and click Next.

- Click OK.
Software installation is complete. Remove the CD-ROM.
