You can use the Canon PRINT Inkjet / SELPHY app to set up your printer to the wireless network. The app itself can be used for scanning and printing from your iOS device and for making copy settings
Prior to setup you will need to have the Canon PRINT Inkjet / SELPHY app installed on your iPad or iPhone (Get the Application) and power on the printer.
Follow the steps below to complete the setup:
Press the HOME button.
- Select Wireless LAN setup :

- If Other setup options is displayed at the bottom of the LCD screen, press the Stop button.
- Select Other setup and press the OK button.
- Select Cableless setup and press the OK button.
- Press the OK button.
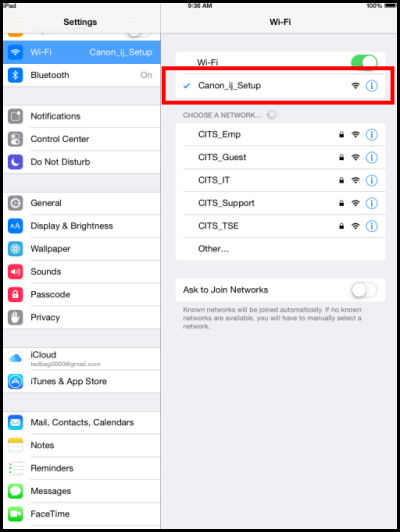
- Go to Settings and select the Canon_ij_Setup network.
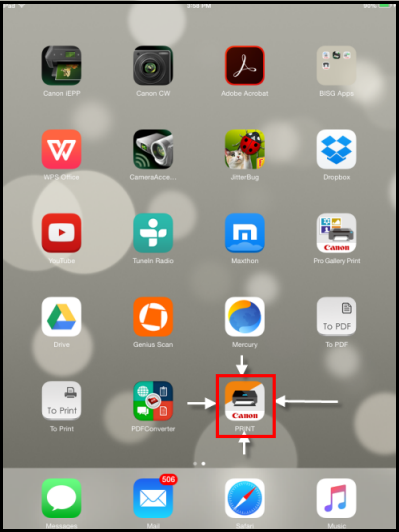
- On the main screen, tap the Canon PRINT icon
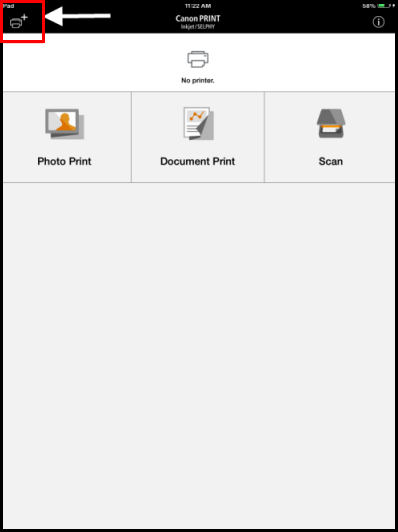
- Tap the "+" (Plus) icon on the upper left corner of the Canon PRINT screen
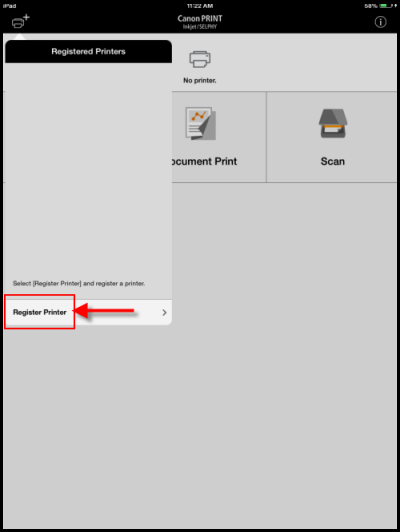
- Tap Register Printer
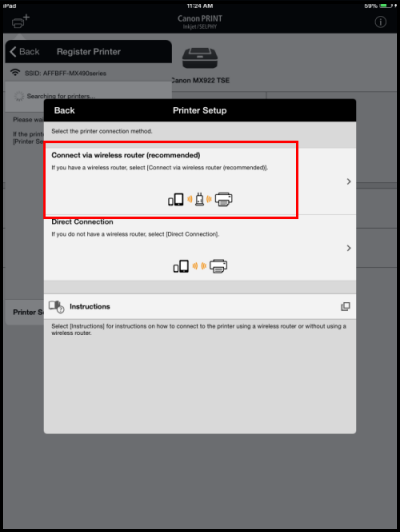
- Tap Printer Setup

- Tap Connect via wireless router (recommended)
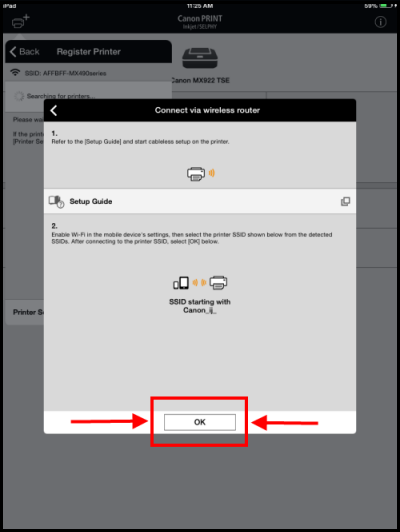
- Tap OK
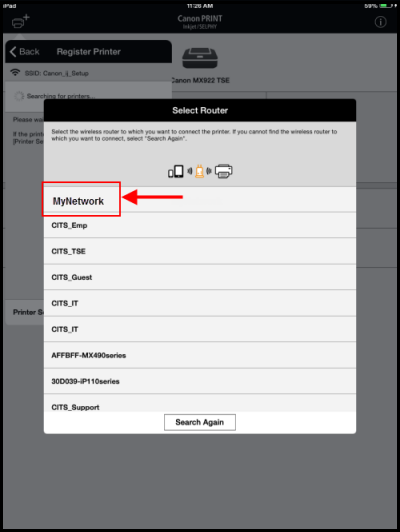
- Tap the name of your wireless network (MyNetwork is used in the example screen below)
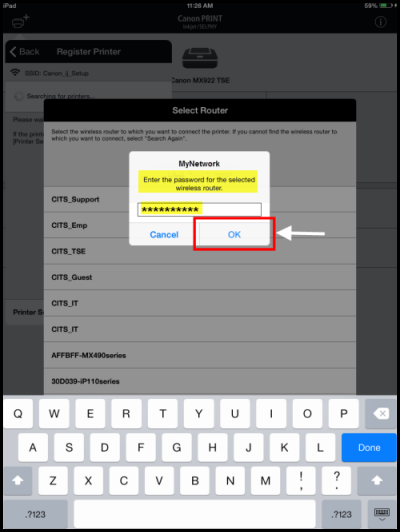
- Type in the network's password and tap OK
- Tap OK on the Sent the settings message

- Setup is complete and the printer is ready for use.
