If you don't have a wireless router or network, you can still use the printer wirelessly with the Canon PRINT app by using a Direct Connection
The app itself can be used for scanning and printing from your Android device and for making copy settings.
Prior to setup you will need to have the Canon PRINT app installed on your Android tablet or Smart Phone (Get the Application) and power on the printer.
Follow the steps below to complete the setup:
-
Set your printer into cableless setup Click here if you need help.
-
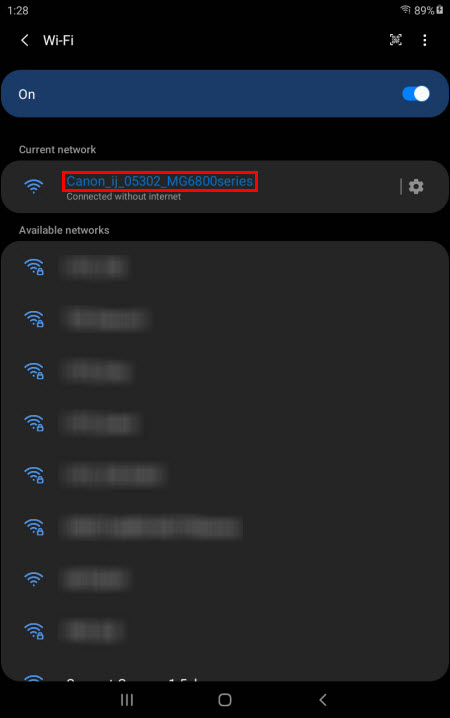
In your Android device's Wi-Fi settings, select the printer's listing. This will normally start with "Canon_ij_" or "DIRECT-" , for example Canon_ij_0000_TS****series or DIRECT-abc0-TS****series. (**** refers to a model number) See highlighted examples below
-
Open Canon PRINT.
 IF THE FOLLOWING SCREEN DOES NOT APPEAR, PROCEED TO STEP 8.
-
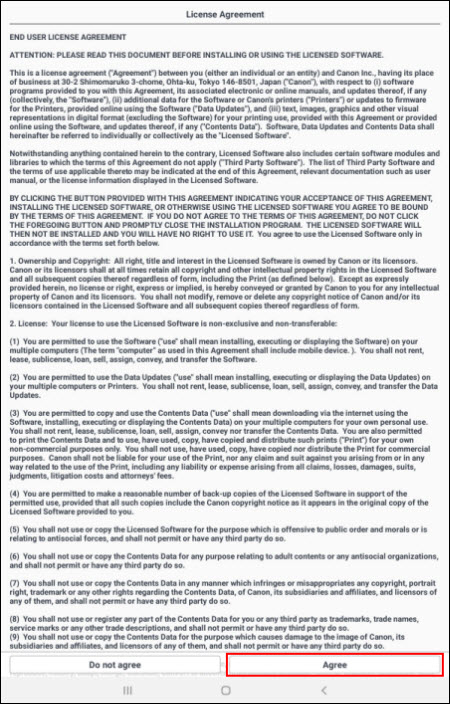
Upon opening the app for the first time, you'll see a License Agreement. Read the terms and tap Agree to continue. If you tap Do not agree, you won't be able to use this app.
-
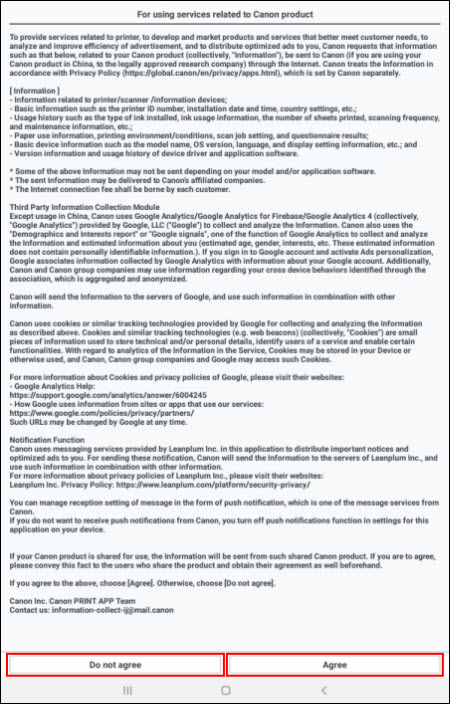
The For using services related to Canon product screen will appear. Read this information, then tap Agree or Do not agree.
-
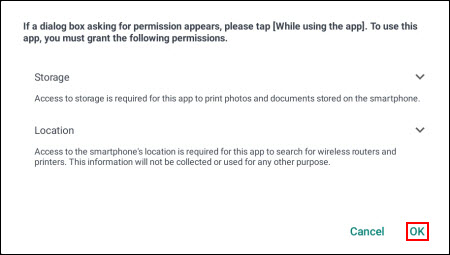
The following screen will appear. Tap OK to proceed.
-
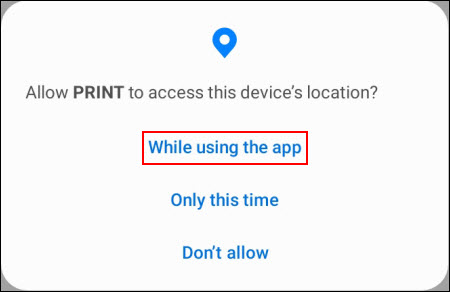
When asked to allow the app to access your device's location, tap While using the app or the appropriate affirmative option.
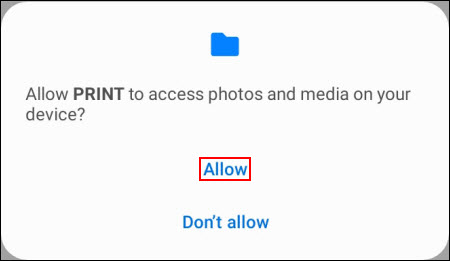
When asked to allow the app to access your device's photos and media, tap Allow or the appropriate affirmative option.
-
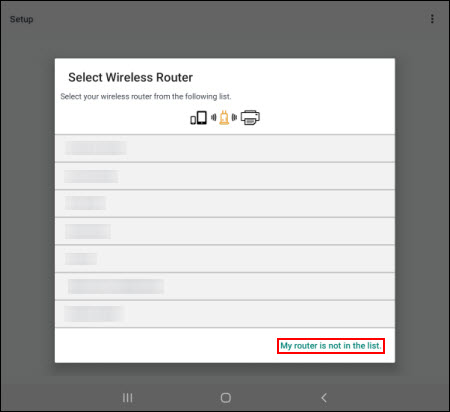
A list of nearby networks will be shown. At the bottom of the list, tap My router is not in the list.
-
You'll be prompted to connect to a printer via a direct connection. Tap Yes.

-
You'll be prompted to connect to the printer's network name (SSID) and enter a password in order to establish the connection. The password will be shown on the screen. Tap Copy Password to copy the displayed password to your Android device's clipboard. Then, tap Open Wi-Fi Settings and select the printer. You can paste the printer's password into the entry field.
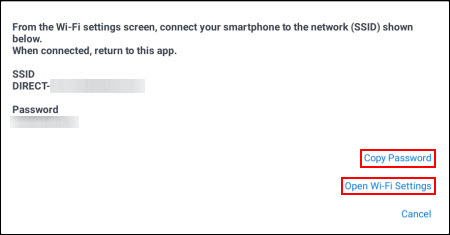
After establishing the connection, return to the app.
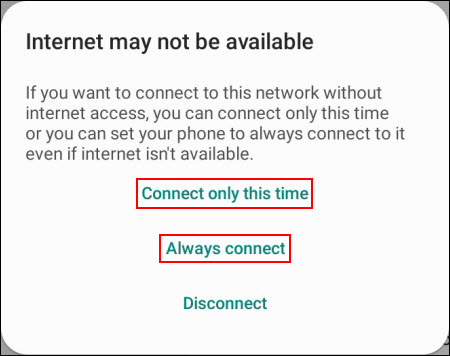
You may receive a prompt indicating that there's no internet connection. If you see such a prompt, tap either Connect only this time or Always connect.
-
Tap OK.

-
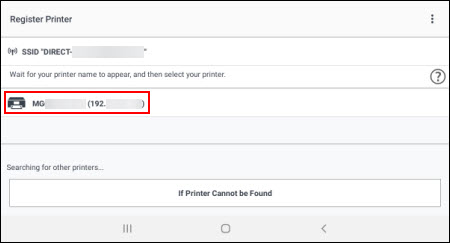
Wait for your printer to appear. When it does, tap it.
-
After a few moments, the following message will appear. Tap Close.

-
Wireless connection is complete. Tap Select images to start using the application*** or tap the X to exit.
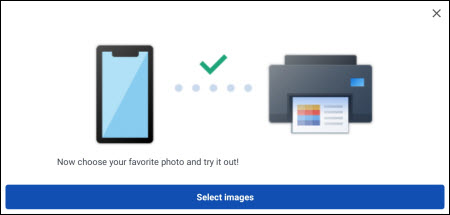
*** Print a Photo / Print a Document
How to Rename the Printer (Optional)
-
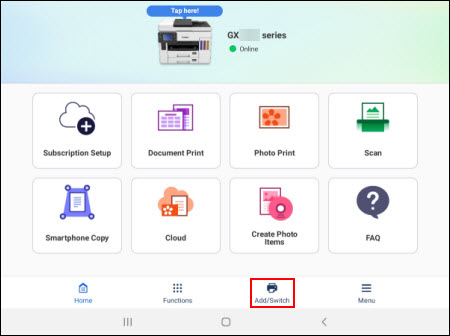
On the main screen, tap the Add/Switch icon.
-
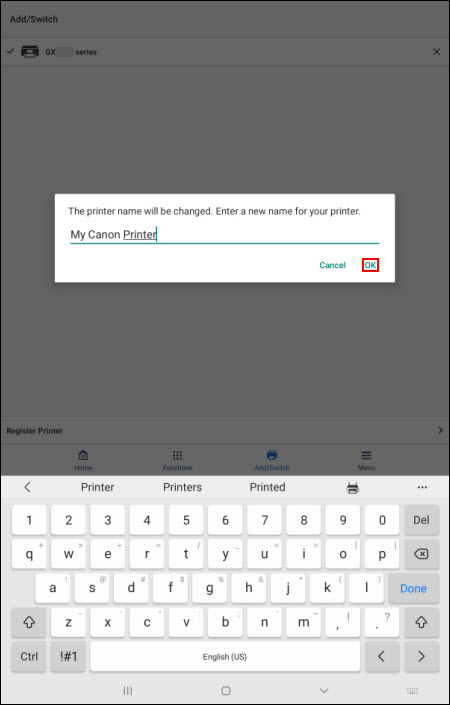
Tap and hold the printer you want to rename. An on-screen keyboard will appear. Enter a new name for the printer, then tap OK.
-
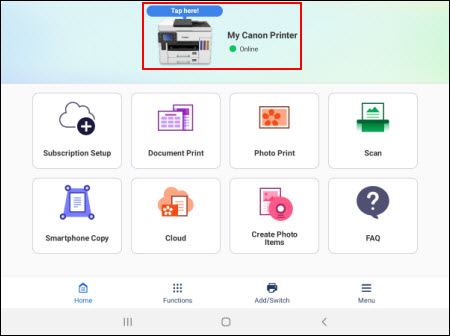
Tap the Home icon at the bottom of the screen. The printer will show the new name you entered.
If your product issue was not resolved after following the steps above, or if you require additional help, please create or log in to your Canon Account to see your technical support options.
Or if you still need help, visit our Canon Community by clicking the button below to get answers:

____________________________________________________________________________________________
