Read the information, taking note of the messages that may appear during setup, then select Download.
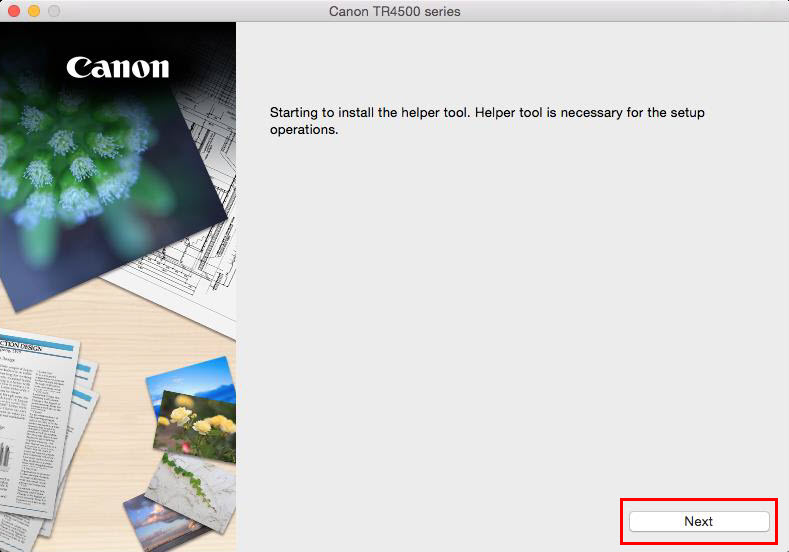
Select Next on the first screen.
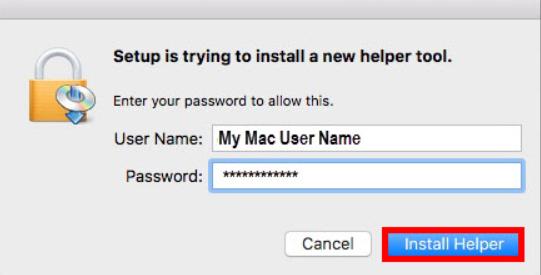
Enter your computer User Name and Password, then select Install Helper.
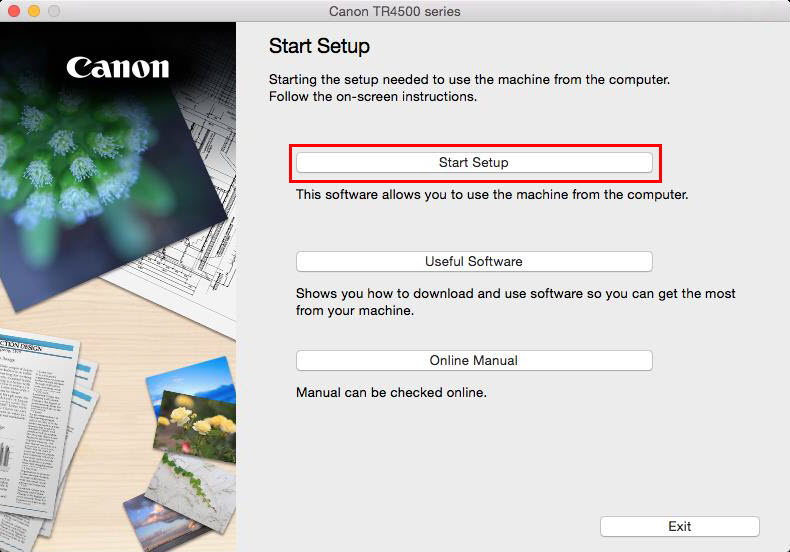
Select Start Setup.
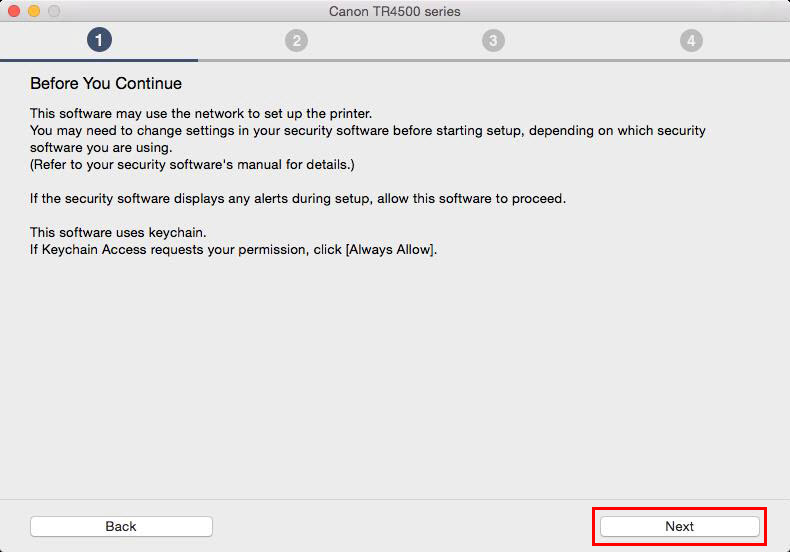
Read the network security notice, and select Next.
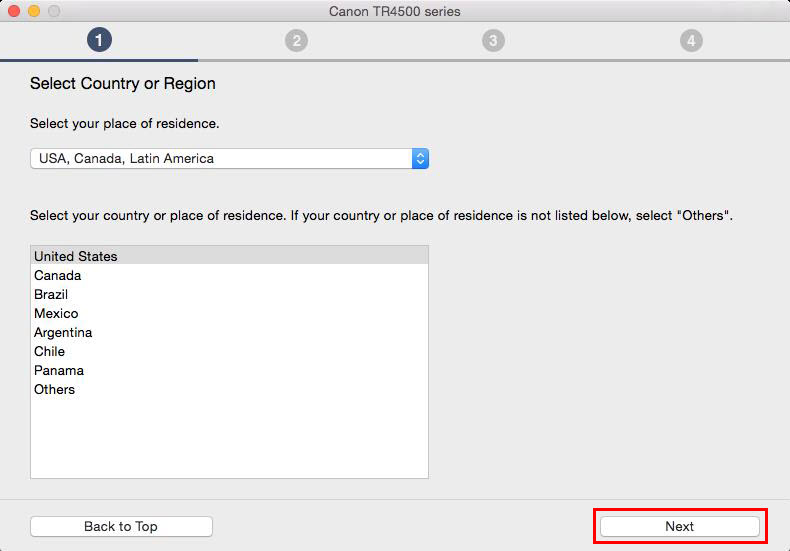
Select the appropriate region, and select Next.
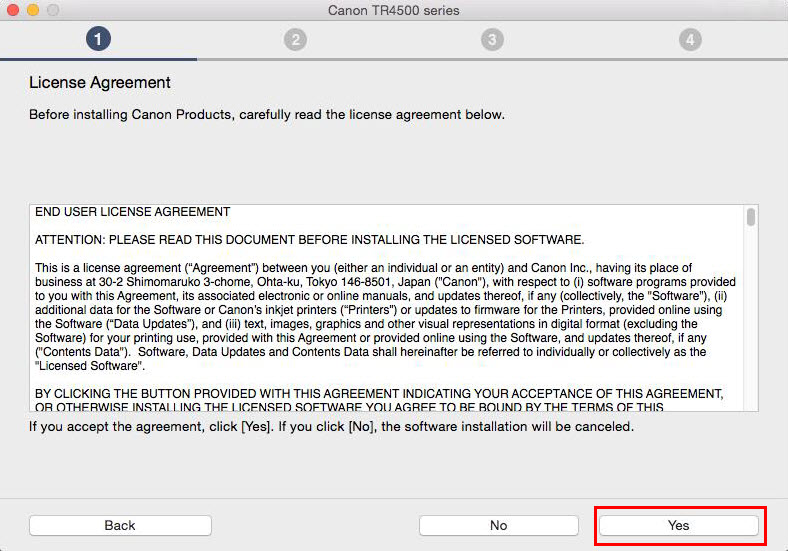
Read the license agreement and select Yes to continue. If you select No, the installation won't continue.
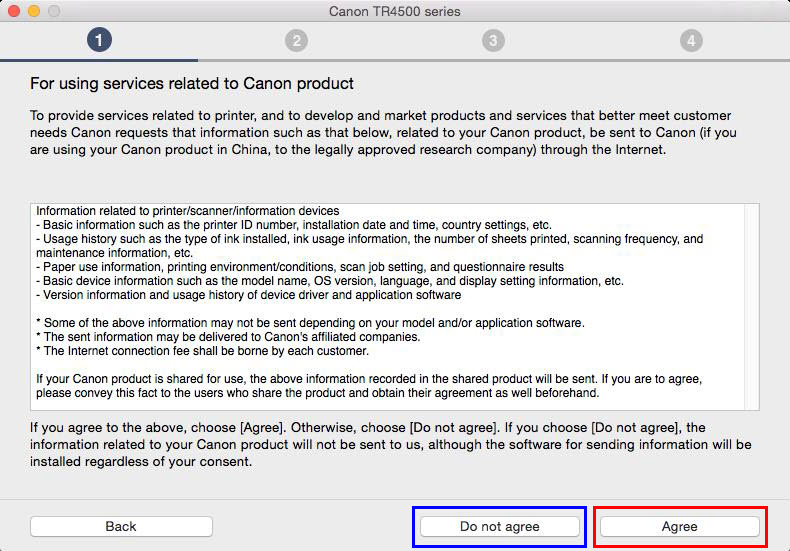
Select Agree or Do not agree to the information request.
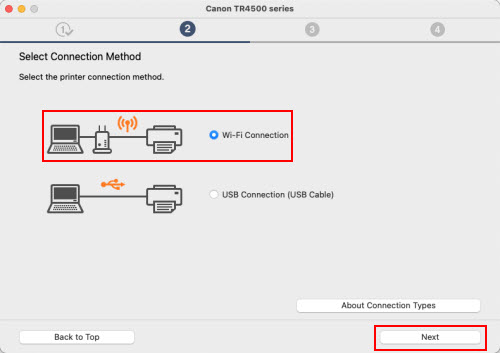
Select Wi-Fi Connection, then click Next.
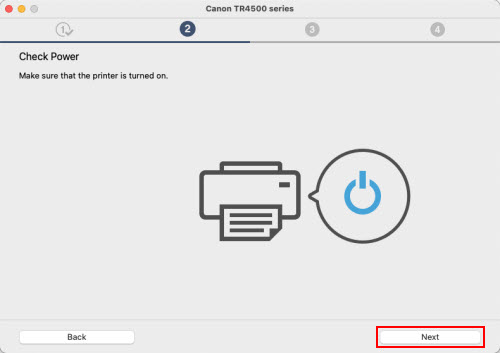
Make sure that the printer is powered on, then select Next.
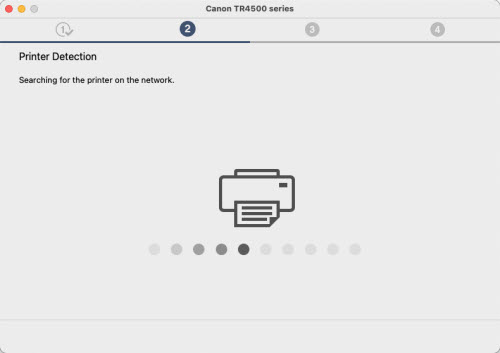
The setup program will search for the printer on the network.
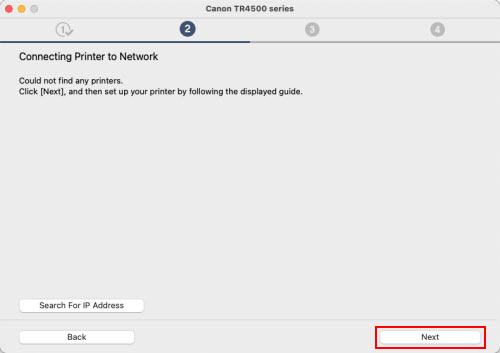
When the setup program doesn't detect the printer, select Next.
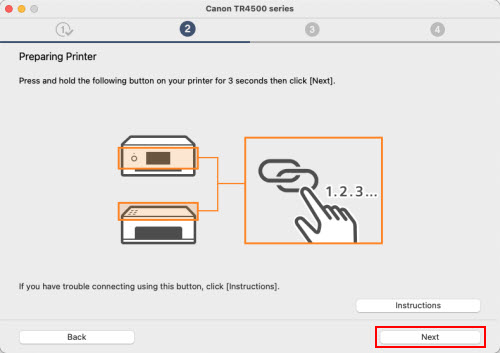
Select Next.
Select Alternative Methods.
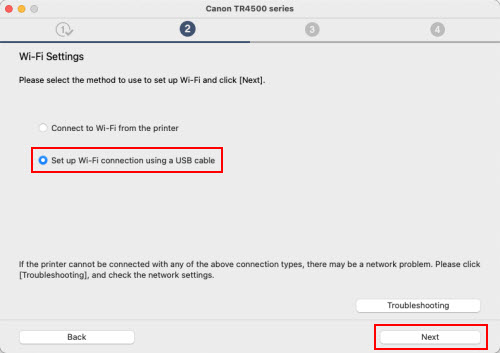
Select Set up Wi-Fi connection using a USB cable, then click Next.
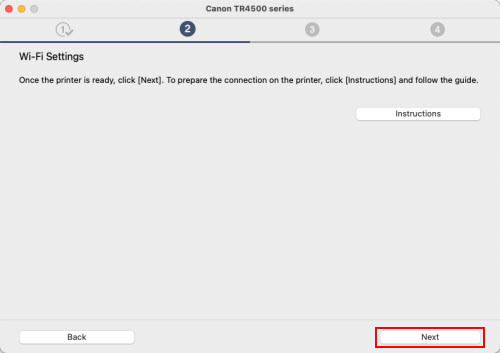
Select Next.
Connect the printer and computer with a USB cable.
When the following screen appears, select Allow.
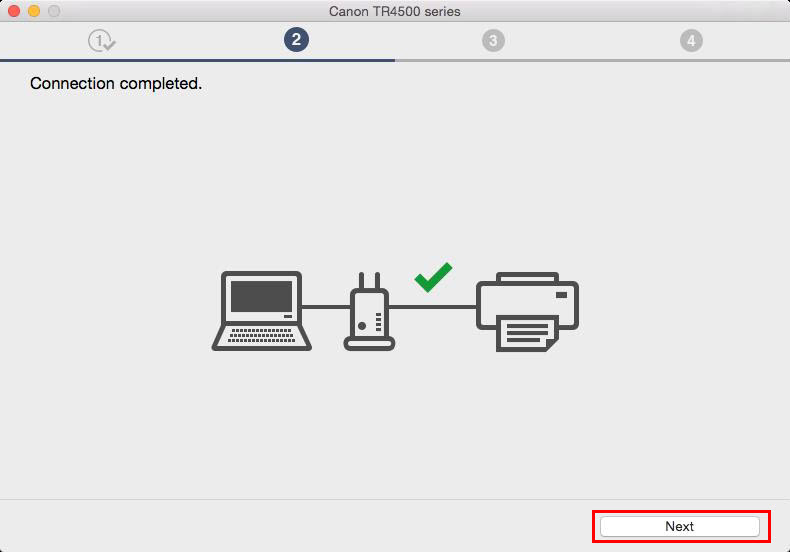
Network Connection is complete. Select Next.
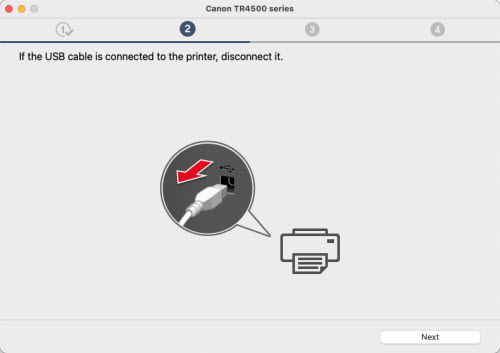
Disconnect the USB cable.
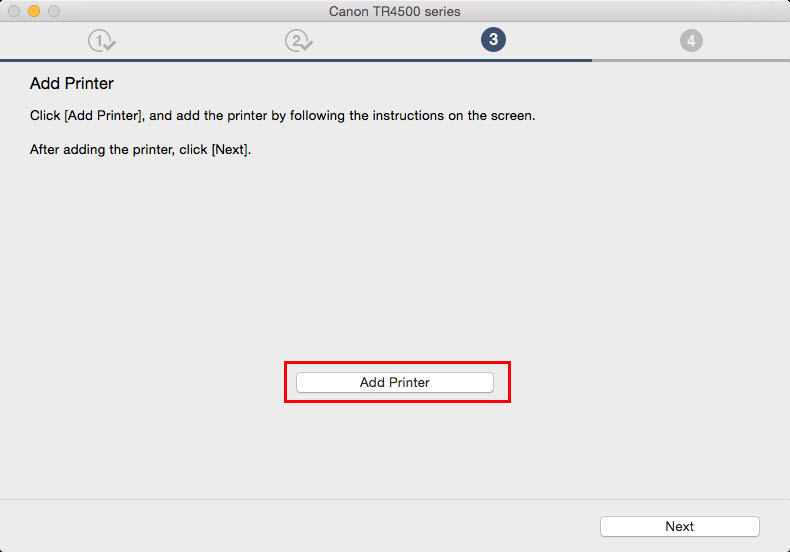
Select Add Printer.
On the Add screen, select the TS series with Bonjour Multifunction listed in the Kind column. Select AirPrint or Secure AirPrint in the Use: drop-down, then select Add.
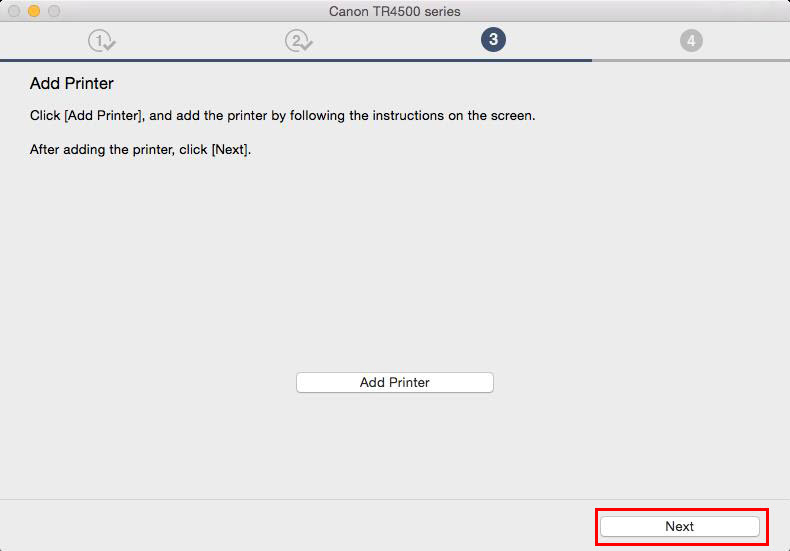
Select Next to continue.
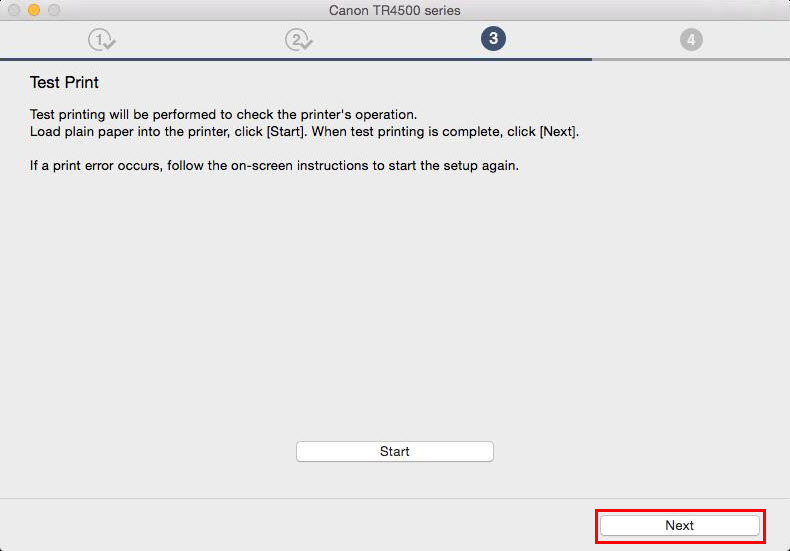
Select Start to run a test print, or Next to continue.
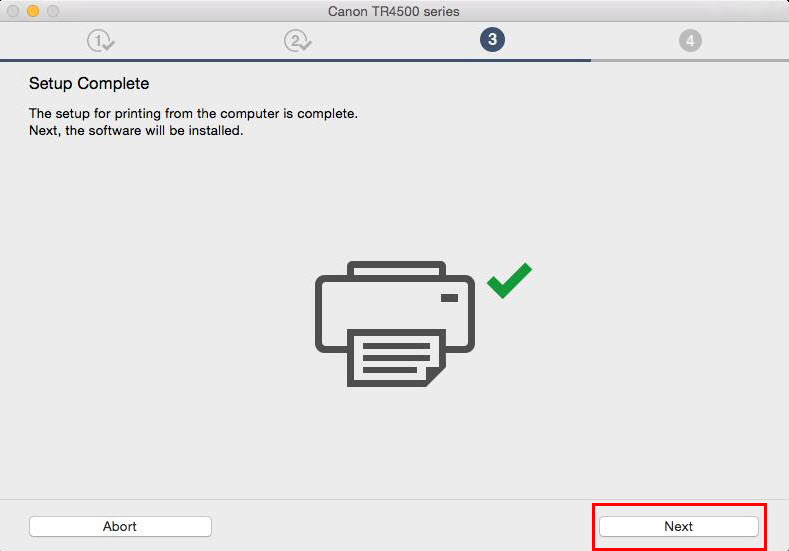
Setup is complete. You are almost finished. Select Next.
Select any optional software you want to add (click the checkbox to select, click again to clear), then select Next.
Any additional software you select will download and install. This may take a few minutes.
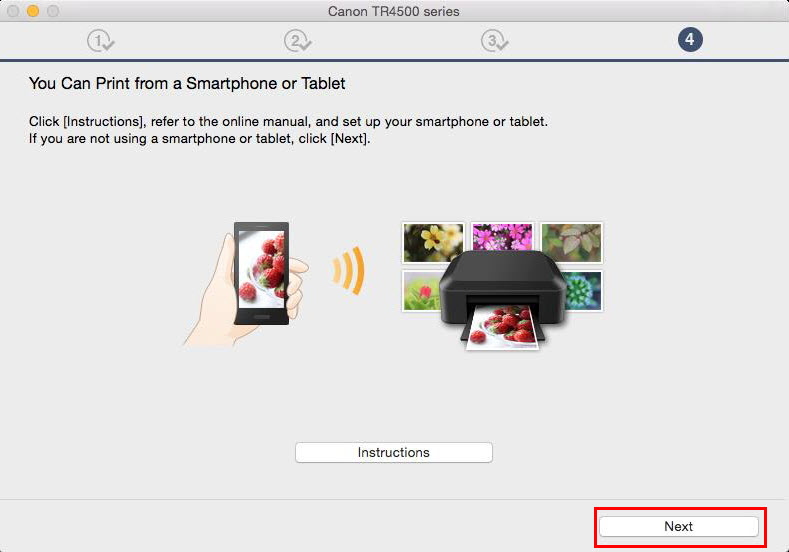
Select Next.
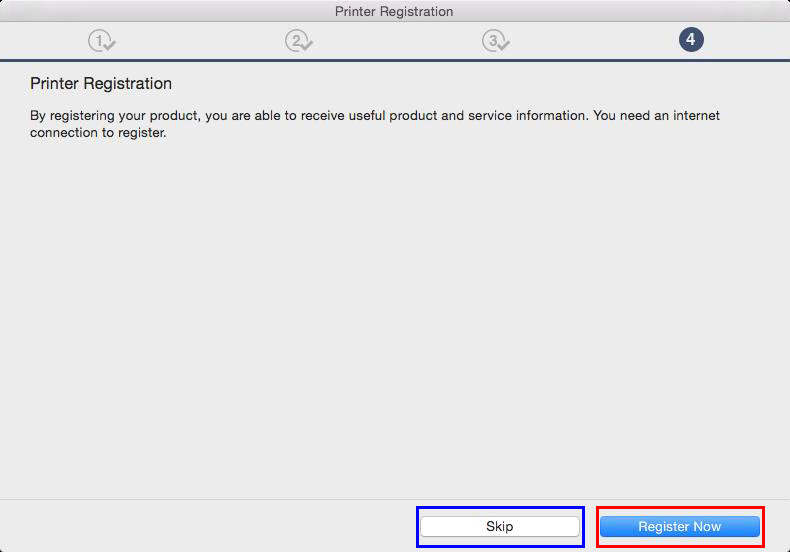
Select Skip or Register Now.
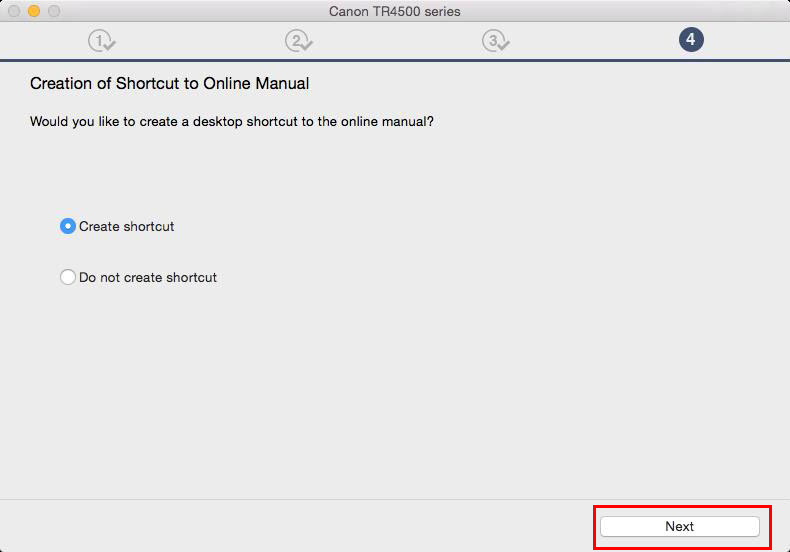
Select a desktop shortcut preference for the online manual, then select Next.
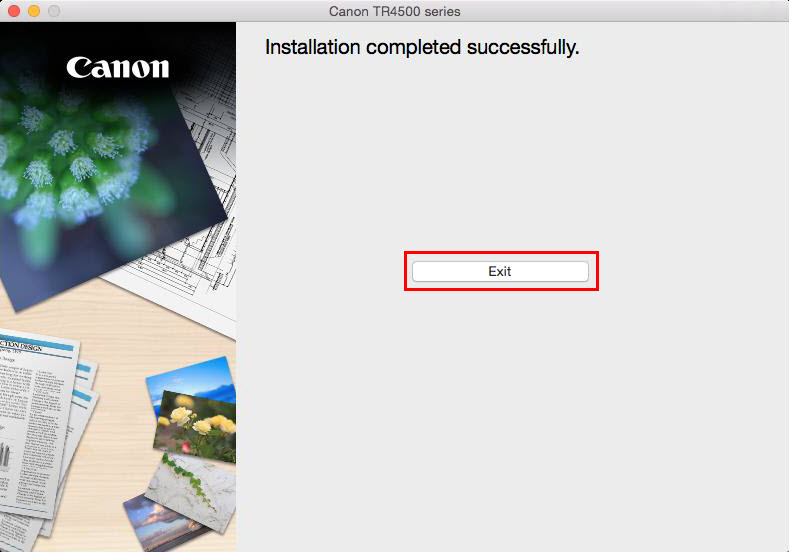
Select Exit. Installation is complete. You can now print wirelessly.
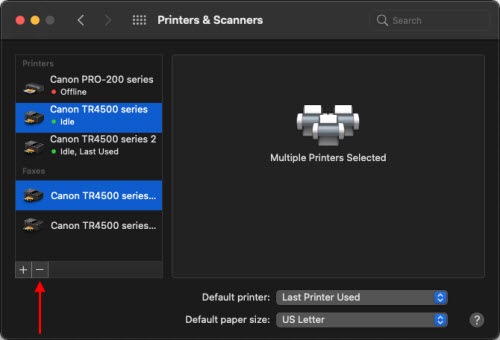
After performing this setup, click the Apple menu, then System Preferences. Select Printers & Scanners. You'll have additional listings for the printer (the printer was added as a USB device when the USB cable was connected). Select these, then click the minus (-) sign below the printer list. Select Delete when prompted to delete the printers.
If the extra printer listings aren't removed, you may experience an error indicating that the printer is offline when attempting to print.
If your product issue was not resolved after following the steps above, or if you require additional help, please create or log in to your Canon Account to see your technical support options.
Or if you still need help, visit our Canon Community by clicking the button below to get answers:


 Any additional software you select will download and install. This may take a few minutes.
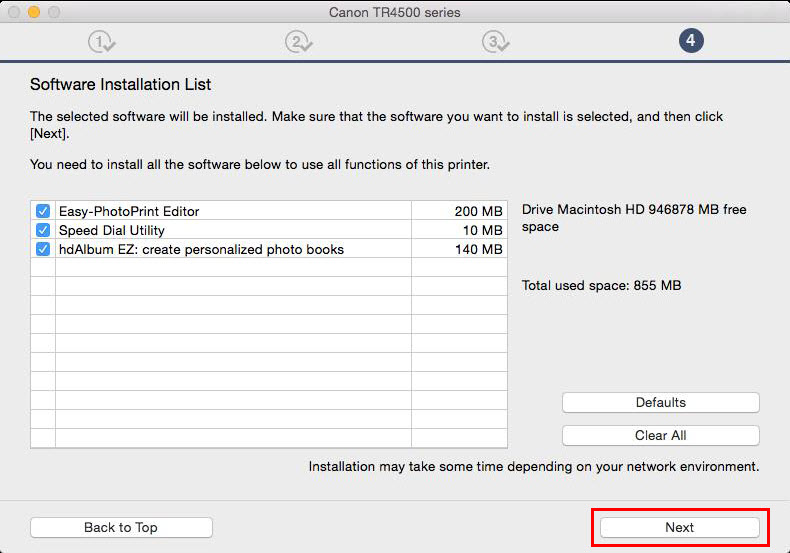
 After performing this setup, click the Apple menu, then System Preferences. Select Printers & Scanners. You'll have additional listings for the printer (the printer was added as a USB device when the USB cable was connected). Select these, then click the minus (-) sign below the printer list. Select Delete when prompted to delete the printers.