
Install the Software Needed to Operate the PIXMA MX490 / MX492 Wirelessly
| Article ID: ART100320 | | | Date published: 05/11/2015 | | | Date last updated: 08/10/2021 |
Description
Learn to use the setup CD or the full driver & software package online to set up your PIXMA MX490 / MX492 for use on a wireless network.
Solution
Click for instructions for the platform you are using:
Windows PCs
macOS 10.7.5 - 10.13
macOS 10.14 or later
Mobile Devices
Windows®
To use your printer via wireless LAN connection, you need to complete the printer settings for wireless LAN connection before installing the software.
See [ How to connect the printer and router via wireless LAN ] and set up the printer.
 Quit all applications before installation.
-
Log in with an administrator account.
If the computer is equipped with a CD-ROM drive, you can use CD-ROM for installation.
Click Run Msetup4.exe on the AutoPlay screen, then click Yes or Continue on the User Account Control dialog box.
If the CD-ROM does not autorun:
Double-click (My) Computer > CDROM icon > MSETUP4.EXE.
Go to Step 7 and follow the instructions.
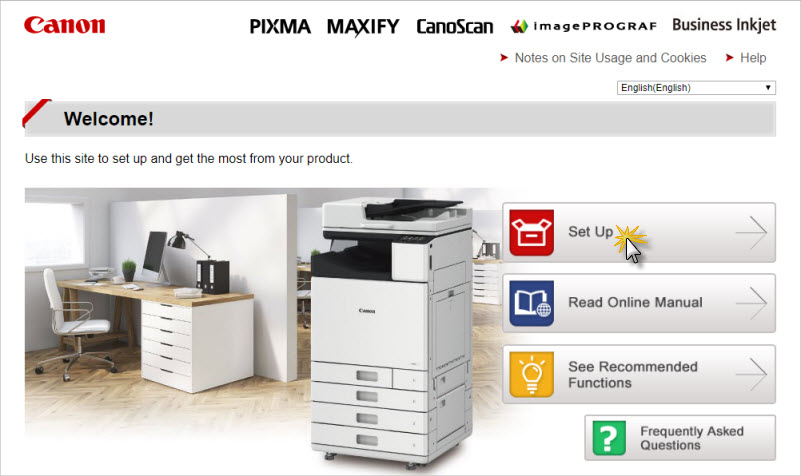
- Visit http://canon.com/ijsetup/.
- Click Set Up.
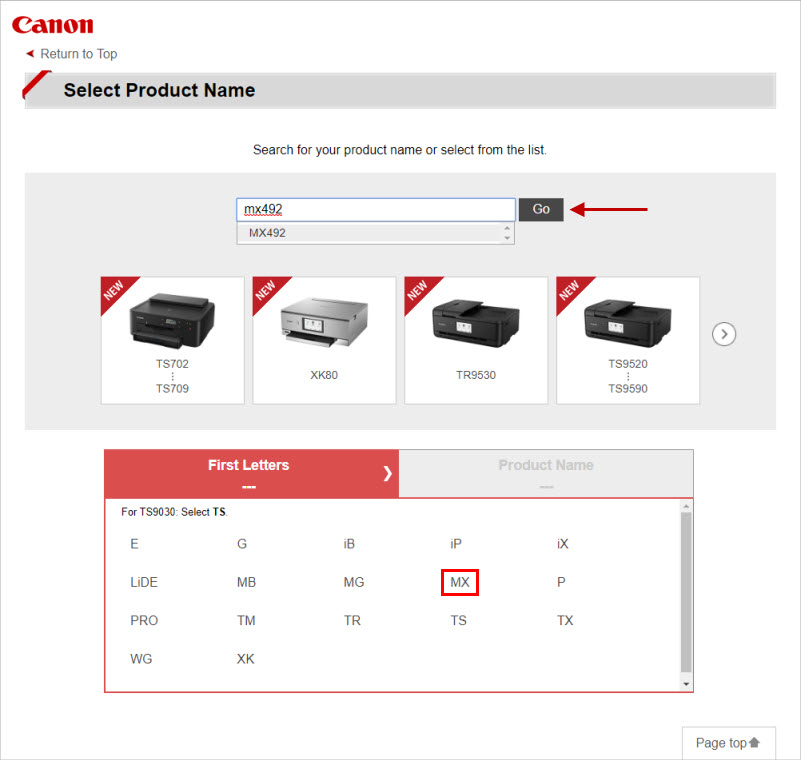
- Type in the name of your printer in the box near the top and click Go. Or, click MX under First Letters, then MX490 / MX492.
- On the next page, specify your region.

- Click Download.
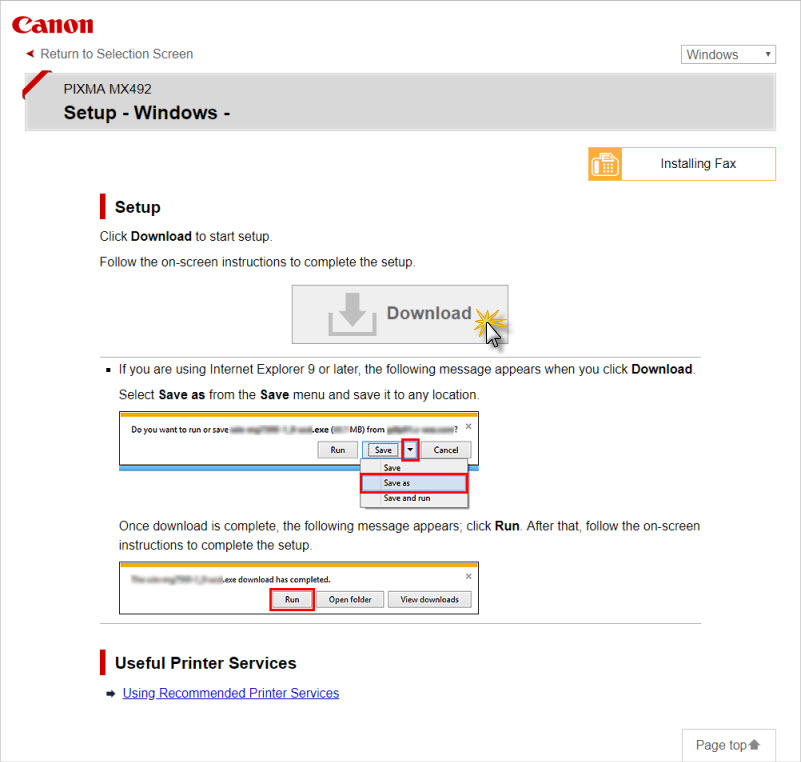
- Save the file to your computer. After it has been saved, double-click the downloaded .exe file.
The setup will start automatically. Follow the on-screen instructions to complete installation.
- When the setup program begins, Click Next.
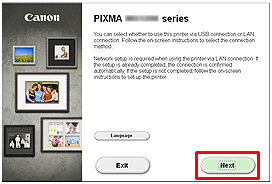
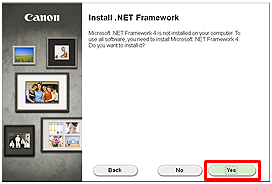
If the .NET Framework screen appears, click Yes.
- Select your printer, then click Next.
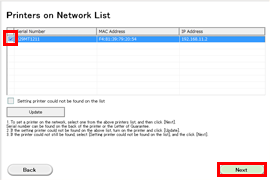
If the printer itself has not been set up, it will not appear in the list of printers on the network.
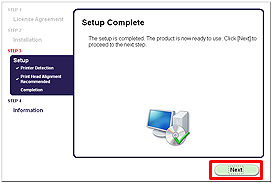
When you click Next, the setup guide will be displayed. Follow the instructions on the screen to finish setting up the printer.

- Click Next.
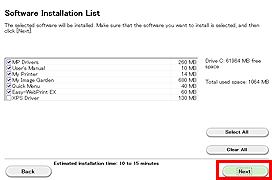
Easy-WebPrint EX is Web print software that is installed on the computer when installing the supplied software. Internet Explorer 7 or later (Windows) is required to use this software. An Internet connection is required for installation.
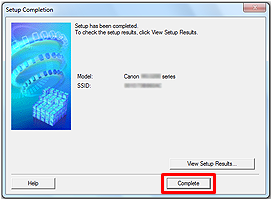
Follow any on-screen instructions to proceed with the software installation. - When the Setup Completion dialog box appears, click Complete.
- Click Next.
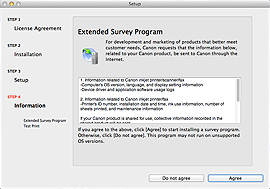
If the Extended Survey Program screen appears
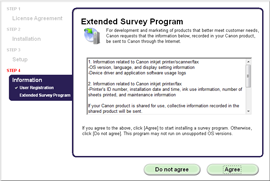
If you agree to Extended Survey Program, click Agree.
If you click Do not agree, the Extended Survey Program will not be installed.
(This has no effect on the machine's functionality.)
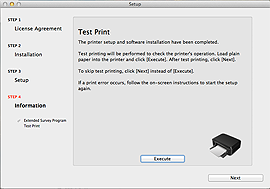
When the Test Print window is displayed
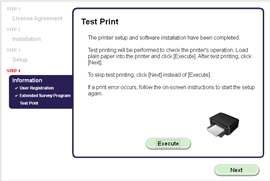
Test printing will be performed to check the printer's operation.
Load plain paper into the printer and click Execute.
After test printing, click Next.
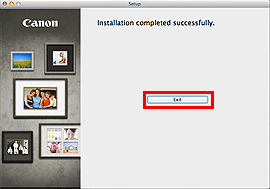
To skip test printing, click Next instead of Execute. - Click Exit to complete the installation.
The software is installed in your Windows computer.
Return to top
Mac® OS X 10.7.5 - 10.13
Quit all applications before installation.- Visit http://canon.com/ijsetup/.
- Click Set Up.
- Type in the name of your printer in the box near the top and click Go. Or, click MX under First Letters, then MX492.
- On the next page, specify your region.
- Click Download.
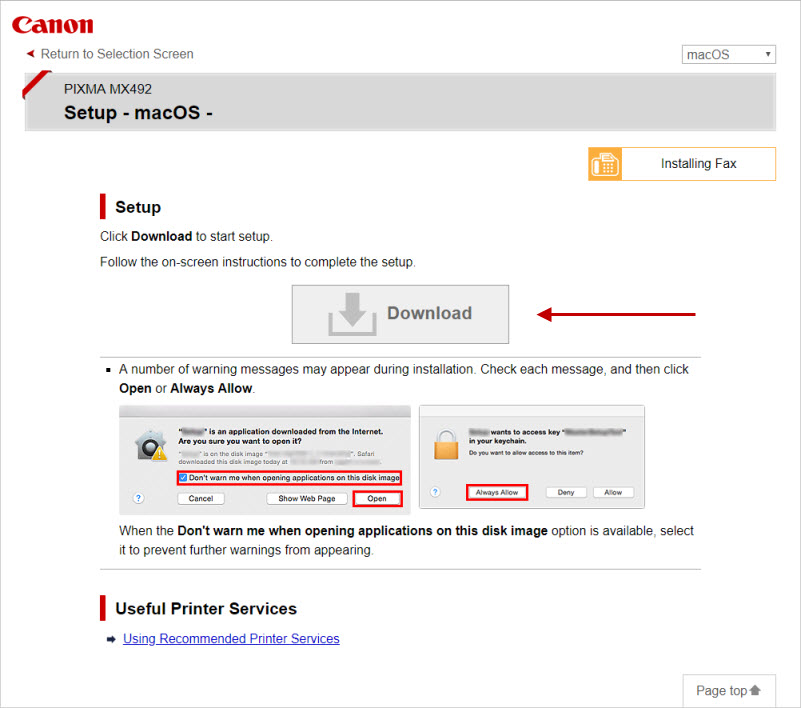
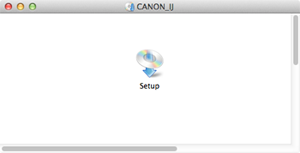
The setup file will be downloaded. - Double-click the downloaded .dmg file.
- Double-click the Setup icon.
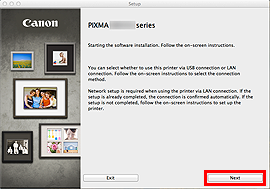
- Click Next.
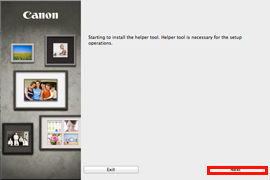
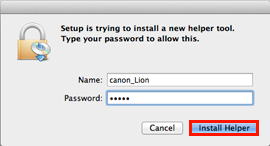
- In the subsequent screen, enter the administrator name and password. Then click Install Helper.
- Click Next.
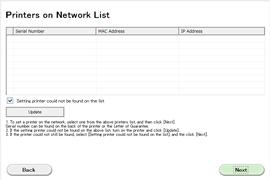
- Select your printer, then click Next.

If the printer itself has not been set up, it will not appear in the list of printers on the network.- When you click Next, the setup guide will be displayed. Follow the instructions on the screen to finish setting up the printer.
- Click Next.
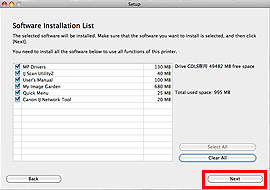
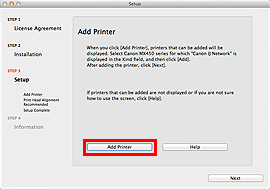
Follow any on-screen instructions to proceed with the software installation. - Click Add Printer.
The alphanumeric characters after "Canon xxx series" is the machines Bonjour service name or MAC address.- If the machine is not detected, make sure of the following.
- The machine is turned on.
- The firewall function of any security software is turned off.
- The computer is connected to the wireless router.
- Select Canon xxx series Canon IJ Network and click Add.
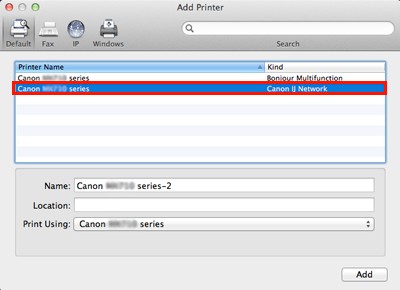
If you will install the Canon printer driver on Mac OS X and using the printer through a network connection, you can select Bonjour or Canon IJ Network in the Add Printer dialog.- If Bonjour is selected, remaining ink level messages may differ from those indicated by Canon IJ Network.
Canon recommends you to use Canon IJ Network for printing.
- Click Next.
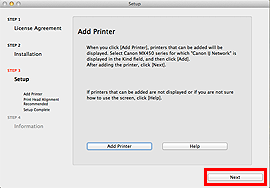
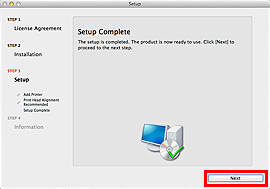
- Click Next.
If the Extended Survey Program screen appears
If you agree to Extended Survey Program, click Agree.
If you click Do not agree, the Extended Survey Program will not be installed.
(This has no effect on the machine's functionality.)
When the Test Print window is displayed
Test printing will be performed to check the printer's operation.
Load plain paper into the printer and click Execute.
After test printing, click Next.
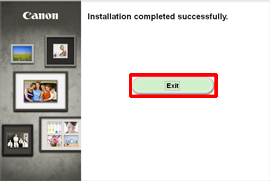
To skip test printing, click [ Next ] instead of Execute. - Click Exit to complete the installation.
The software is installed in your Mac OS X computer.
Return to top
macOS® 10.14 or later
If you have a version of macOS newer than 10.13 installed on your computer, follow these steps to install the drivers and the IJ Network Tool.
-
Click here to go to the support page for your printer.
-
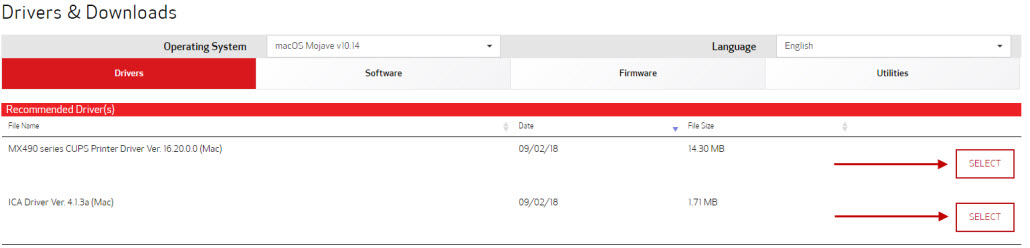
Under the Drivers tab, click the Select buttons to the right of the CUPS printer driver and the ICA driver.
-
Click Download for each of the drivers.
-
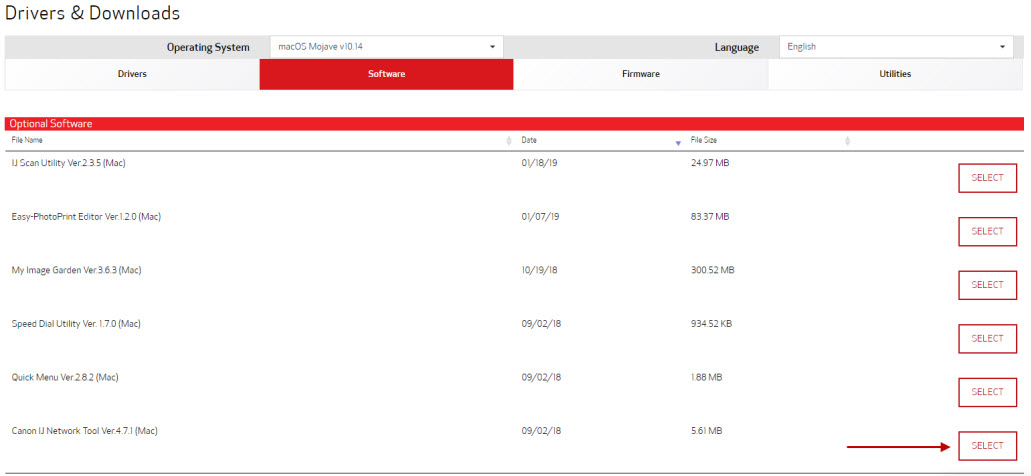
Click the Software tab.
-
Click the Select button to the right of the IJ Network Tool.
-
When each file has opened, a window will appear with a package .pkg file. Double click on the package files to run the installers for the drivers and the IJ Network Tool.
-
Follow any on-screen instructions to complete the installations.
 If you are setting up the printer on the network for the first time, or if you are reconfiguring the printer's wireless network settings, you'll need to use one of the methods described below, then continue to step 8.
 -
Click the Apple menu and go into System Preferences.
-
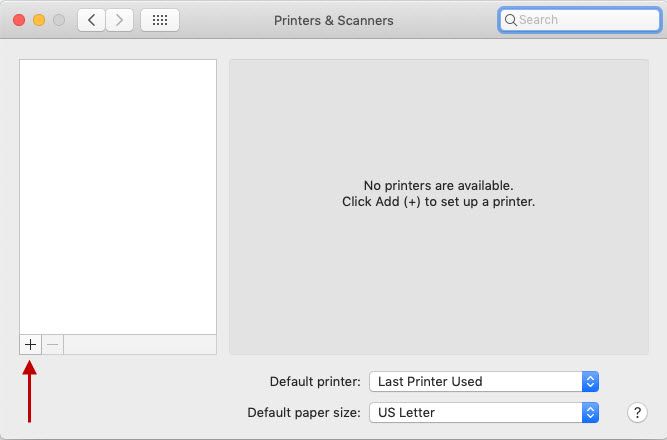
Click Print & Fax / Print & Scan / Printers & Scanners (the name will depend on which version of macOS you are running).
-
Click the + towards the lower left.
-
The Add window will appear. After a few moments, a listing for your printer will appear. The Kind will be Canon IJ Network.
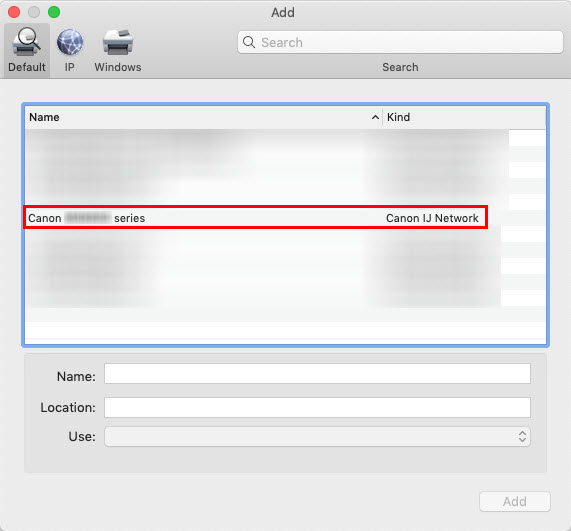
Click this listing.
-
After clicking this listing, make sure that the name of the printer shows for Use:. Then, click Add.
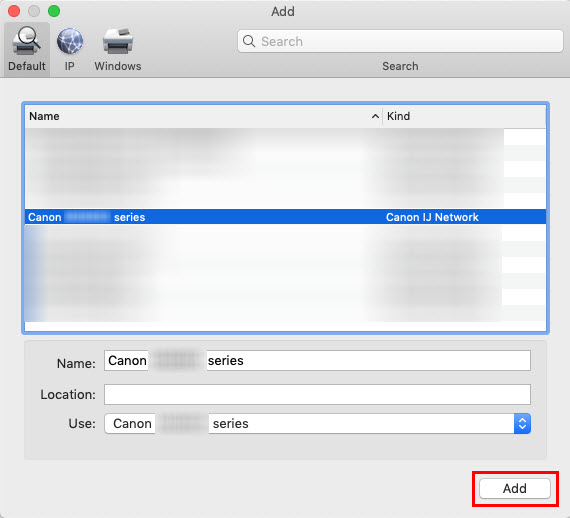
The printer is ready for use with your Mac.
Return to top
iOS® / Android™
The printer will need to be connected to the wireless network. This can be done in a few different ways:-
WPS PIN Code
This will require entry of the printer's WPS PIN code into your router's internal settings. Please refer to your router's documentation for instructions -
Using the IJ Network Tool (macOS)
This method requires a USB cable. -
Using Canon PRINT Inkjet / SELPHY from a mobile device (iOS or Android)
-
Standard Setup
This will allow you to manually connect the printer to your wireless router by using the printer's operation panel
After the printer has been connected to the wireless network, the printer can be used via AirPrint® if you have an iOS device.
If you have an Android device, you can download and install Canon Print Service. Click here for information.
You can also download and install Canon PRINT Inkjet / SELPHY app for iOS and Android devices if you want to print images or scan items to your mobile devices.
Click here for information on the iOS version.
Click here for information on the Android version.
Return to top
MX490 / MX492 Page