Quit all applications before installation.
Log on using an administrator account.
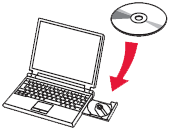
 If the computer is equipped with a CD-ROM drive, you can use the setup CD for installation.
- Click [ Run Msetup4.exe ] on the AutoPlay screen, then click [ Yes ] or [ Continue ] on the User Account Control dialog box.
If the CD-ROM does not autorun:
Double-click [ (My) Computer ] > CD-ROM icon > [ MSETUP4.EXE. ]
Go to Step 4 and follow the instructions.
- Select the link for the printer you have: MX490 / MX492
- On the next page, make sure that Windows is shown in the drop down menu at the upper right corner. Click Download. The setup file will be downloaded.
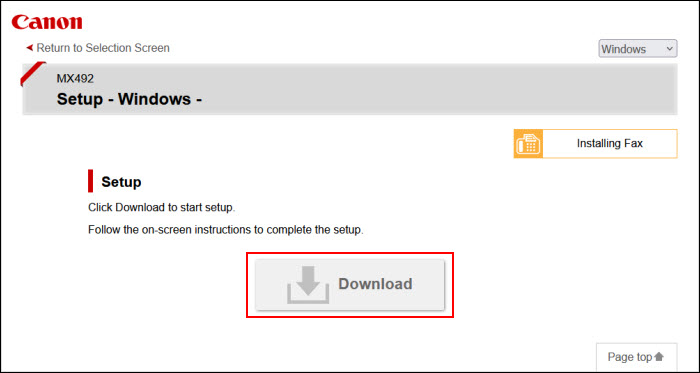
- Double-click the downloaded .exe file.
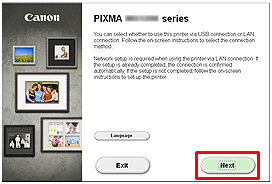
- Click [ Next ].
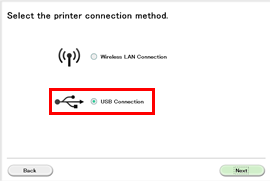
- Click [ USB Connection ].
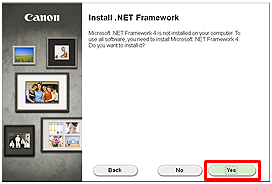
If the .NET Framework screen appears, click [Yes].
- Click [ Next ].
Easy-WebPrint EX is Web print software that is installed on the computer when installing the supplied software. Internet Explorer 7 or later (Windows) is required to use this software. An Internet connection is required for installation.
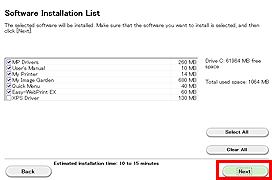
Follow any on-screen instructions to proceed with the software installation.
- When the Printer Connection screen appears, connect the machine to the computer with a USB cable.
After connecting the cable, turn on the printer.
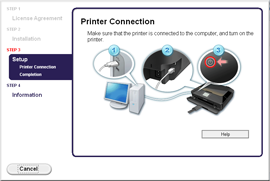
- Click [ Next ].
If the Extended Survey Program screen appears:
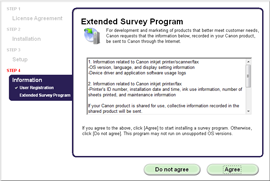
If you can agree to Extended Survey Program, click [ Agree ].
If you click [ Do not agree ], the Extended Survey Program will not be installed.
(This has no effect on the machine's functionality.)
When the Test Print window is displayed:
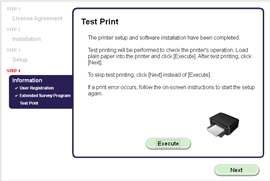
Test printing will be performed to check the printer's operation.
Load plain paper into the printer and click [ Execute ].
After test printing, click [ Next ].
To skip test printing, click [ Next ] instead of [ Execute ].
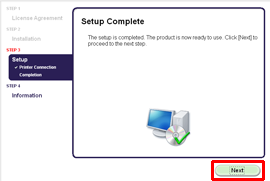
- Click [ Exit ] to complete the installation.
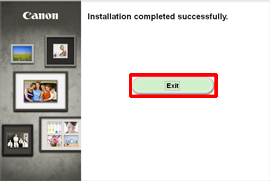
The software is installed in your Windows computer.
Quit all applications before installation.
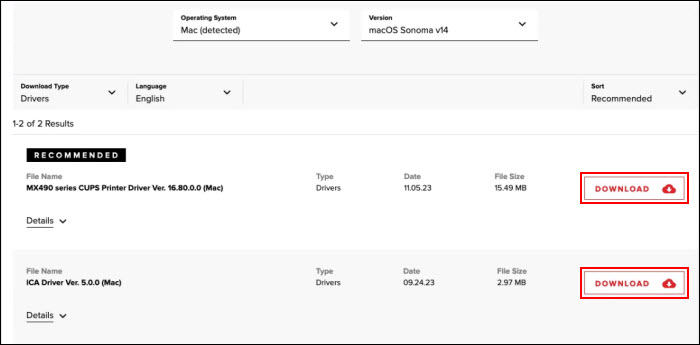
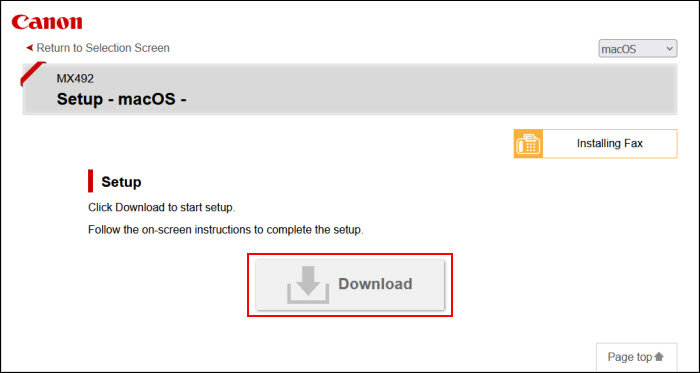
- Select the link for the printer you have: MX490 / MX492
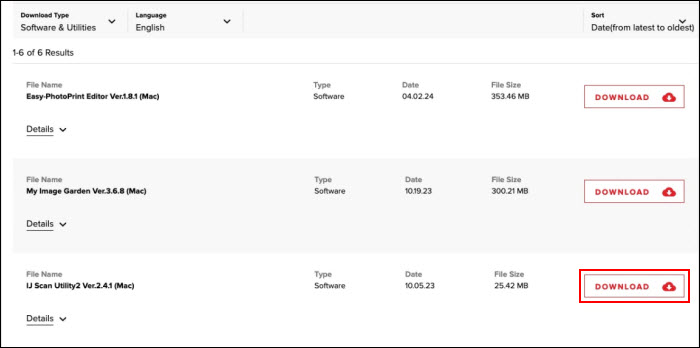
- On the next page, make sure that macOS is shown in the drop down menu at the upper right corner. Click Download. The setup file will be downloaded.
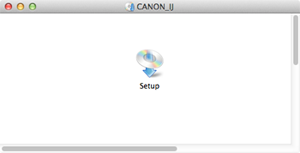
- After the download has finished, double click on the .dmg file. A disk image will be placed on your desktop.
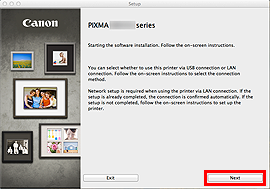
- Double-click the [ Setup ] icon.
- Click [ Next ].
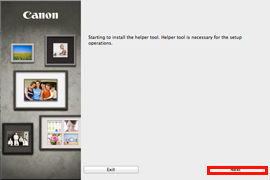
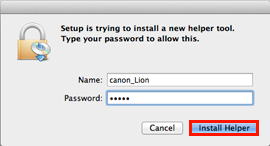
- In the subsequent screen, enter the administrator name and password. Then click [ Install Helper ].
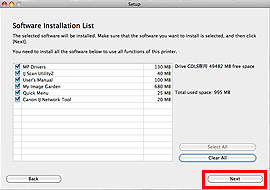
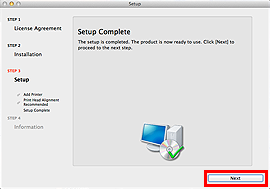
- Click [ Next ].
- Click [ USB Connection ].
- Click [ Next ].
Follow any on-screen instructions to proceed with the software installation.
- When the Printer Connection screen appears, connect the machine to the computer with a USB cable.
After connecting the cable, turn on the printer.
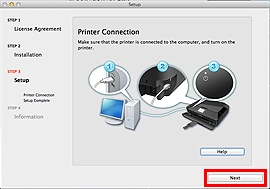
- Click [ Next ].
If the Extended Survey Program screen appears
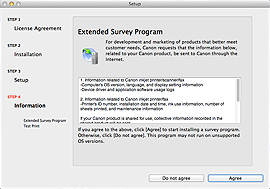
If you can agree to Extended Survey Program, click [ Agree ].
If you click [ Do not agree ], the Extended Survey Program will not be installed.
(This has no effect on the machine's functionality.)
When the Test Print window is displayed
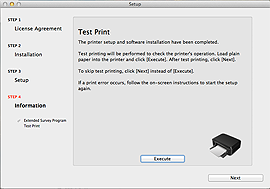
Test printing will be performed to check the printer's operation.
Load plain paper into the printer and click [ Execute ].
After test printing, click [ Next ].
To skip test printing, click [ Next ] instead of [ Execute ].
- Click [ Exit ] to complete the installation.
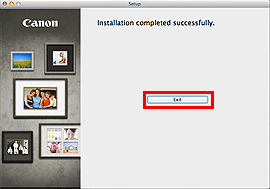
The software is installed in your Mac OS X computer.