Install the printer driver using the prepackaged CD - Easy Install (Windows)
The printer driver installation can be done using the prepackaged CD-ROM Easy Install and Custom Install methods. Easy Install allows all the necessary software programs to be installed easily and overwrites older versions of the printer driver, on-screen manual, and other application software.
*The directions for Easy Installation follow.
Before Installation
- Windows 7 users - The drivers and applications on the Setup CD-ROM were written before the release of Windows 7 and are not compatible. Please download and install the appropriate Windows 7 driver and applications from our Web site.
- When installing the printer driver in Windows XP / Vista, log into the computer as an Administrator.
- When installing the printer driver in Windows 2000, log into the computer as a user of Administrator group.
- If your computer has resident software such as antivirus software, exit in advance.
- Turn the printer off and remove the cable connecting the computer and the printer.
The directions for Custom Installation follow.
- Insert the Canon CD in the computer.
- After the CD-ROM automatically starts and displays the following window, click 'Custom Install'.
Note: If the CD-ROM does not start automatically, double-click the Msetup4.exe file in the CD drive.
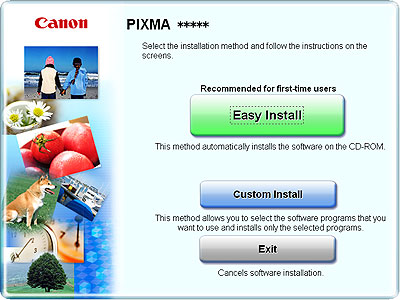
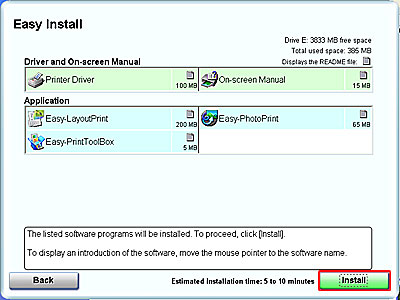
- When the Easy Install window is displayed, click 'Install'.
- Click 'Yes' in the License Agreement window to start Custom Install. Clicking 'No' will prevent you from completing installation.

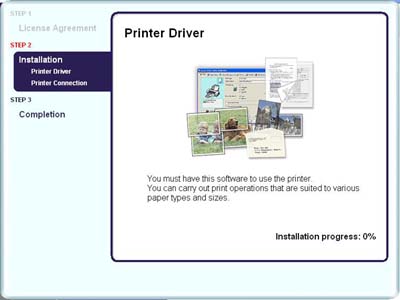
- The installation of the printer driver and application software will start.
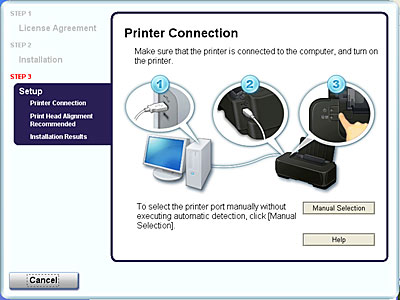
- The Printer Connection window will be displayed. Connect the printer to the computer and turn on the printer.
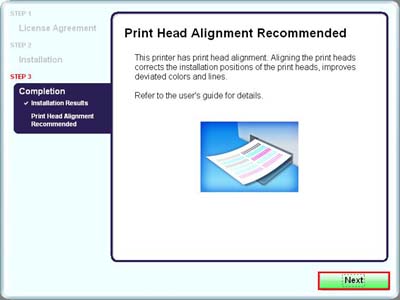
- The print head alignment window will be displayed. Click 'Next'.
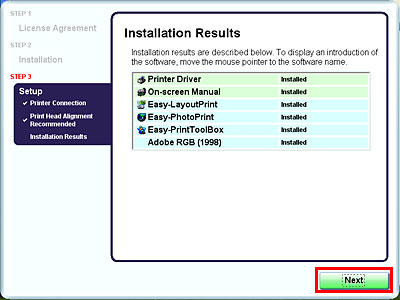
- When the installation is completed, the Installation Results window will be displayed. Confirm the results, and click 'OK'.
- If you wish to register now, click Register. If not, click Next. Registration can be done after the printer driver installation.
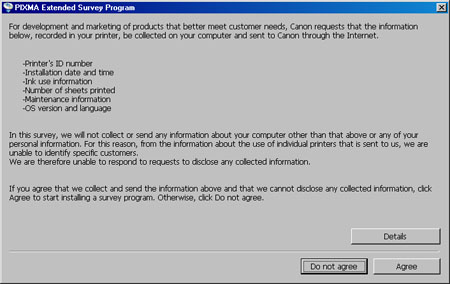
- Then, PIXMA Extended Survey Program will be launched. If you agree, click Agree. If you do not agree, click Do not agree.
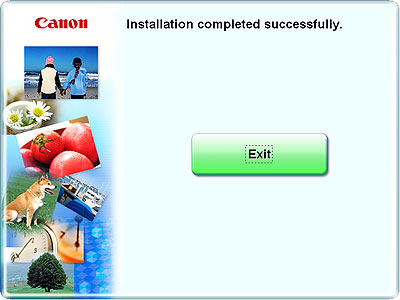
- Click Exit
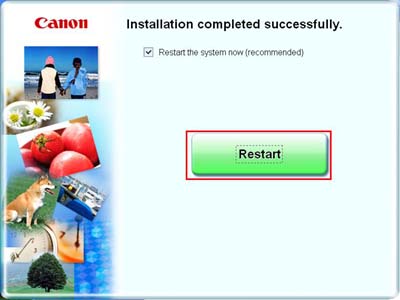
- Click 'Restart'.
This completes Custom Install.
