Insert the paper cassette as far as it will go or load paper.
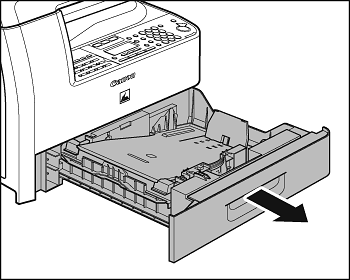
1 Pull out the paper cassette until it stops. If you use LTR size, go to step 4. If you use other sizes, go to step 2.
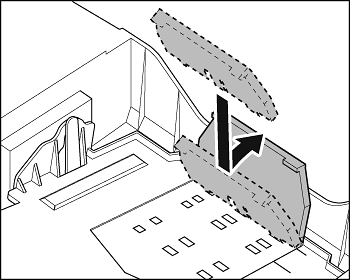
2 Incline the rear paper end guide until it is unlocked, then remove it from the paper cassette.
note:
By default, the guide is set to LTR.
3 Attach the guide to the slots of the desired paper size.
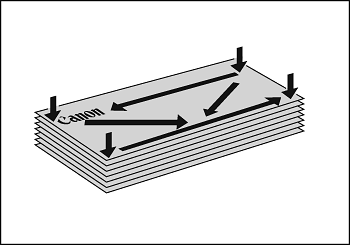
4 Even the edges of the paper stack.
5 Load the paper stack print side up.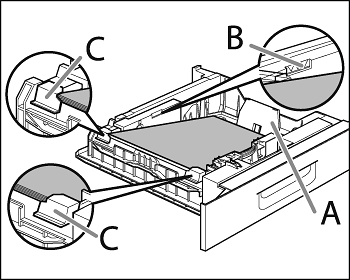
note:
Make sure the back edge of the paper stack touches the rear paper end guide (A), the paper stack does not exceed the load limit mark (B), and the load is under the small fins (C) on the paper guides.
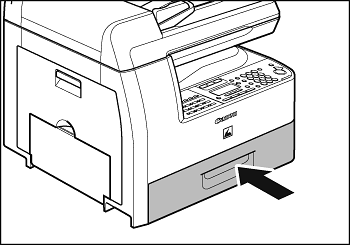
6 Gently insert the paper cassette as far as it will go.
attention:
Be careful not to get your fingers caught.
note:
- You can load the paper into the additional paper cassette (standard for MF6595cx and optional for MF6595).
- For loading paper in the multi-purpose tray, see Load Paper into the Multi-Purpose Tray.
If you are making prints on transparencies, labels, nonstandard-sized paper, or envelopes, load them into the multi-purpose tray.
- Use standard envelopes with diagonal seams and flaps.
- To prevent jams, do not use the following:
- Envelopes with windows, holes, perforations, cutouts, or double flaps
- Envelopes made with special coated paper or deeply embossed paper
- Envelopes with peel-off sealing strips
- Envelopes with letters enclosed
- Make sure to set the correct envelope size in the printer driver.
- Make sure to set the correct envelope size in the printer driver.
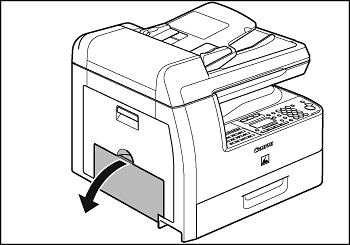
1 Open the multi-purpose tray.
2 Pull out the multi-purpose tray extension until it clicks, then open it.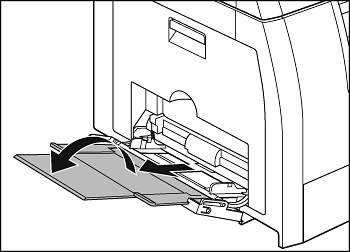
note:
Do not load the paper without using the multi-purpose tray extension.
3 Gently load the stack of envelopes with the address side facing down and the flap side to the left. Be sure to insert the envelopes as far as they will go.
When you load the envelopes, arrange the stack of envelopes on a firm, clean surface first, then press down firmly on the edges to make the folds crisp.

4 Adjust the slide guides to the width of the paper stack.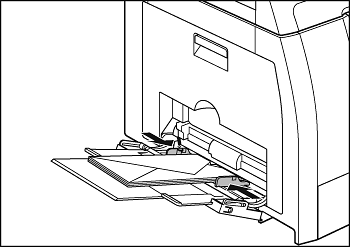
note:
- Make sure that the paper stack does not exceed the paper limit guide.
- Some types of paper may not feed properly into the multi-purpose tray. For high quality copies, be sure to use the paper and transparencies recommended by Canon.
- When making copies of a small document or thick paper, etc., the copy speed may be slightly slower than usual.
