Clean the Fixing Unit
If black streaks appear on the printed page, the fixing unit in the main unit may be dirty. Should this occur, use the Fixing Unit Cleaning function to clean the fixing unit. The fixing unit should also be cleaned each time the cartridge is replaced. Print the cleaning pattern on LTR paper for cleaning the fixing unit.
1. Press (Additional Functions).
Press  (Additional Functions).
2. Press [Adjustment/Cleaning].
3. Press [Fixing Unit Cleaning].
4. Press [Cleaning Sheet Print].
The cleaning paper is printed. You will use this paper as the cleaning paper.
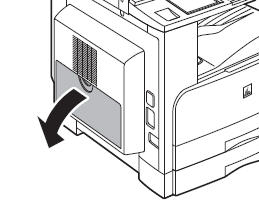
5. Open the stack bypass.
6. Load the cleaning paper with the printed side facing up, inserting the white edge into the stack bypass first.

7. Select [LTR], then press [Next].
8. Select [Plain], then press [OK].
9. Press [Start].
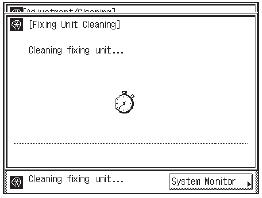
While the fixing unit is being cleaned, the screen below appears.
note:
- Cleaning the fixing unit takes approximately 100 seconds.
- The cleaning process cannot be canceled. Please wait until it is completed.
The display returns to the Adjustment/Cleaning screen.
10. Press [Fixing Unit Cleaning].
11. Press [Cleaning Sheet Print].
The cleaning paper is printed.
12. Load the cleaning paper with the printed side facing down, inserting the white edge into the stack bypass first.
13. Repeat steps 7 to 9 to clean the fixing unit.
14. Press [Done] repeatedly until the Basic Features screen appears.
Discard the cleaning sheets after use.
