Wireless LAN setup - Multiple Access Points, Single SSID
1. Use the Easy-Scroll Wheel (A) or the  or
or  button to select Settings, then press the OK button.
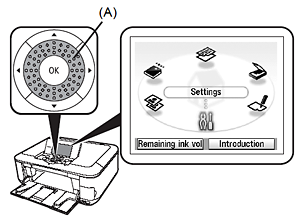
2. Select Device settings, then press the OK button.
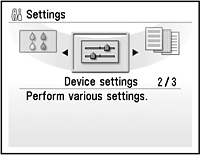
3. Select LAN settings, then press the OK button.

4. Select Change wireless / wired, then press the OK button.
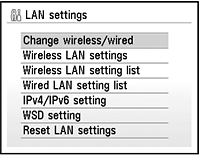
5. Select Wireless LAN active, then press the OK button.
Install the Macintosh Software
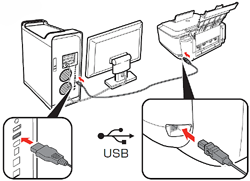
1. Connect one end of the USB cable to the computer and the other to the machine.
Make sure the machine is turned on.
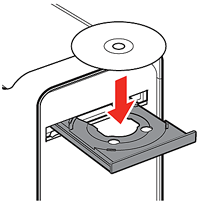
2. Turn on the computer, then insert the Setup CD-ROM into the CD-ROM drive.
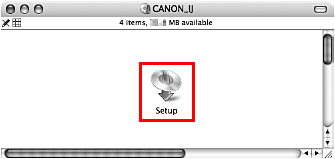
3. Double-click the Setup icon. If the CD-ROM folder does not open automatically, double-click the CANON_IJ icon on the desktop.
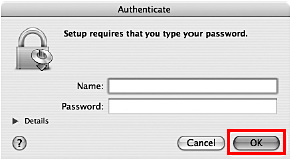
4. Enter your administrator name and password. Click OK.
If you do not know your administrator name or password, click Help, then follow the on-screen instructions.
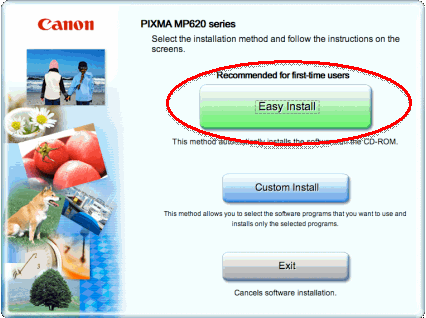
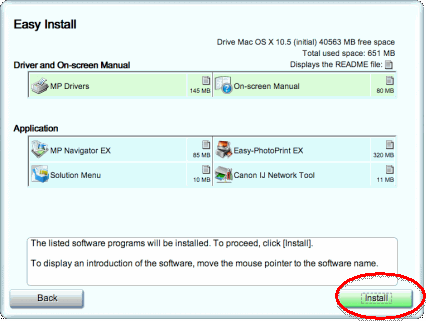
5. Click Easy Install
6. Click Install
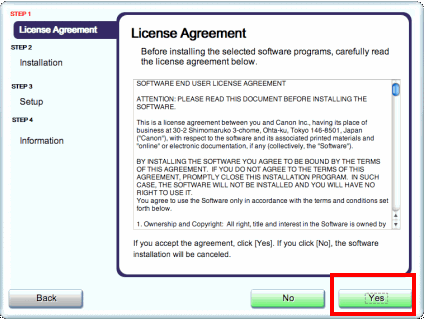
7. Click Yes
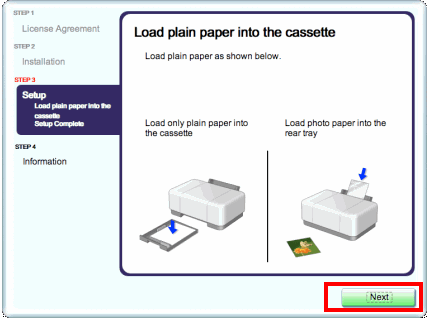
8. Click Next.
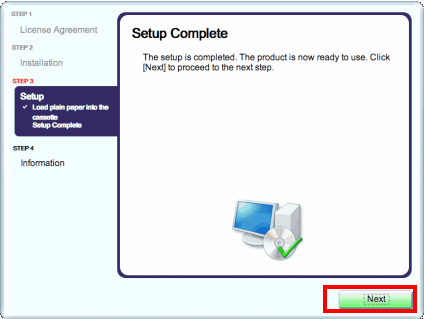
9. Click Next.
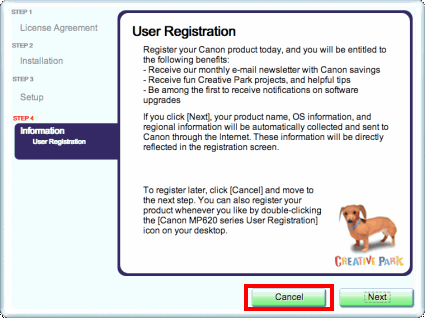
10. Click Cancel.
11. Click Restart.

Computer restarts.
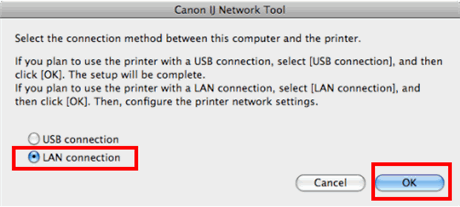
12. Select LAN connection and click OK
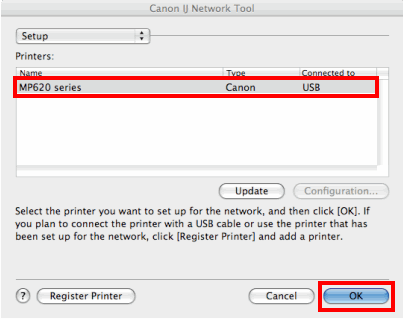
13. Select MP620 series and click OK.
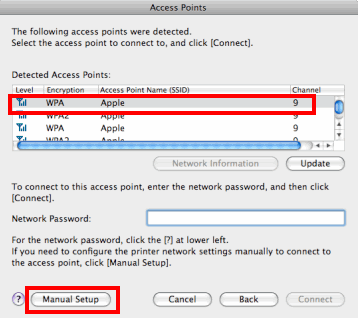
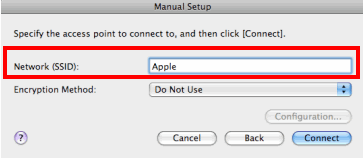
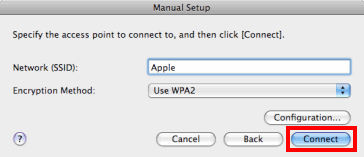
14. Select the access point you would like to connect to, and click manual setup.
15. Enter the Network (SSID) or Network Name that you would like the printer to join.
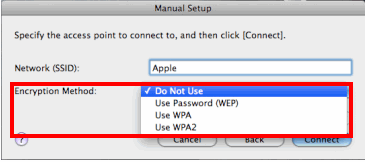
16. From the drop down menu choose your encryption method.
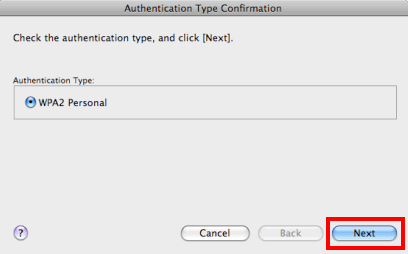
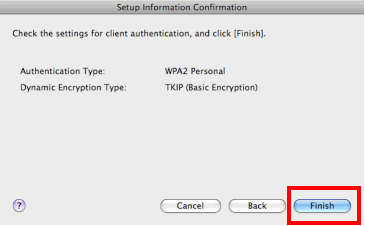
17. Check the authentication type and click next.
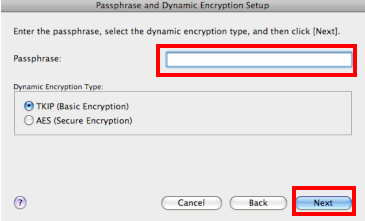
18. Enter your passphrase and click next.
19. Check the settings and click Finish.
20. Click connect.
21. Click Next
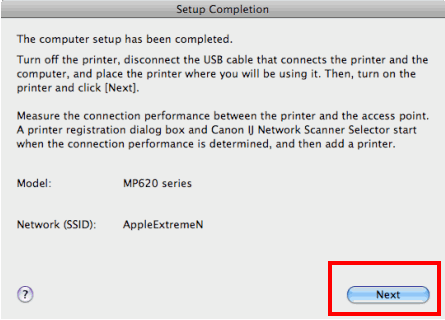
22. Click Next
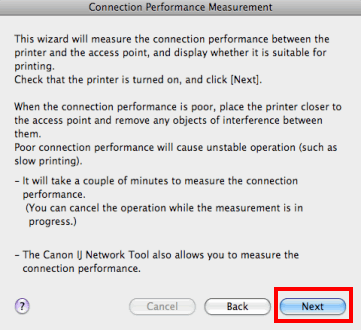
23. Click Finish

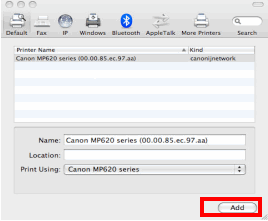
24. Select Canon MP620 series… Click add
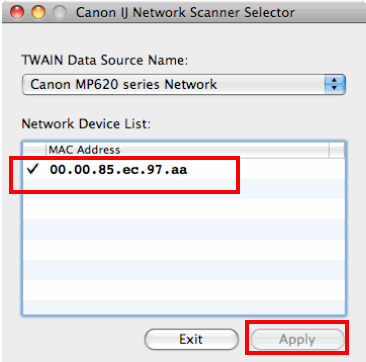
25. Select the MAC Address of the printer Click Apply, then Exit
Installation is complete.
