Installing the Software - CanoScan 9000F (Windows & Mac)
 |
- Do NOT connect the scanner to a computer before installing the software. If you connect the scanner, unplug the USB cable from the computer. When the Found New Hardware screen appears, unplug the USB cable from the computer and click Cancel. The screen may close automatically when the USB cable is unplugged.
- Quit all running applications before installation.
- For Windows: Uninstall software bundled with the Canon scanner before upgrading from Windows Vista to Windows 7, then, install the bundled software again.
- For Macintosh: After upgrading from Mac OS X v.10.5 or lower to Mac OS X v.10.6, install software bundled with the Canon scanner.
- Log in as an administrator to install the software.
- Do not switch users during the installation process.
|
-
Place the Setup CD-ROM in the drive.
For Macintosh: Double-click the Setup icon. Enter the administrator ID and password on the authentication dialog box.
For Windows XP/Windows 2000 and Macintosh, skip step 2 and go to step 3.
- For Windows 7/Windows Vista, when the AutoPlay dialog box appears, run the setup program, and then click Continue or Yes to proceed when the User Account Control dialog box appears.

-
If prompted, select your language and place of residence, and then click Next.
In some countries, these dialog boxes will not appear.
-
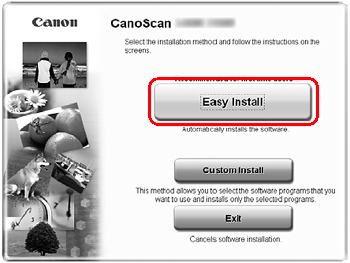
Click Easy Install on the main menu.
-
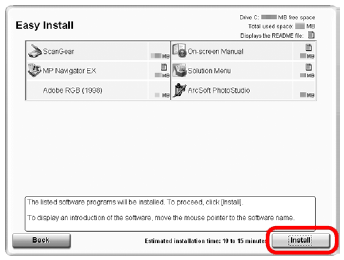
Click Install to start installation.
Carefully read the License Agreement, and then click Yes to proceed.
For Macintosh, skip step 6 and go to step 7.
-
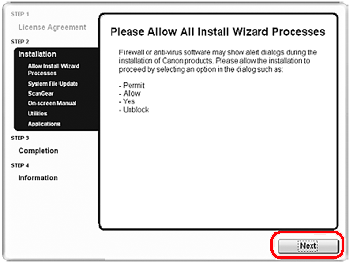
For Windows, carefully read the Please Allow All Install Wizard Processes screen, and then click Next.
-
Follow the on-screen instructions to perform the installation

-
For users in the U.S.A., when the User Registration screen appears, follow the on-screen instructions to ensure product support.
For Macintosh, skip step 9 and go to step 10.

-
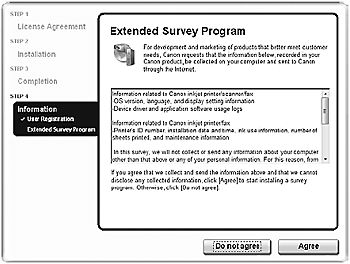
For Windows, when the Extended Survey Program screen appears, confirm it.
If you can agree, click Agree.
-
When the installation is complete, follow the on-screen instructions.
For Windows: Click Restart. After restarting the computer, Solution Menu will appear.
For Macintosh: Click Exit. Solution Menu icon will be registered in the Dock.
<Solution Menu>
You can select either MP Navigator EX, "On-Screen Manual", or the Online Registration.
* The Online Registration is available for users in the U.S.A. only.

Note: Make sure to remove the CD-ROM from the drive and store it in a safe place.
