You can apply "Creative filters" to an image and save it as a new image: Toy camera effect, and Miniature effect etc.
Attention:
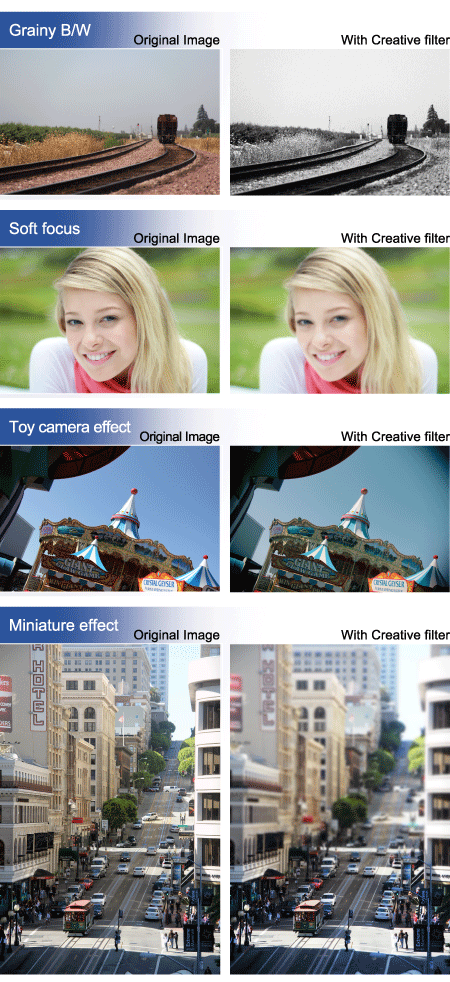
Creative Filter Features
| Grainy B/W |
Makes the image grainy and black and white. By adjusting the contrast, you can change the black-and-white effect. |
| Soft focus |
Gives the image a soft look. By adjusting the blur, you can change the degree of softness. |
| Toy camera effect |
Gives a color cast typical of toy cameras and darkens the image's fours corners. By adjusting the color tone, you can change the color cast. |
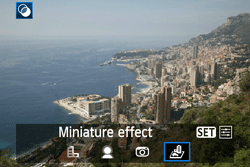
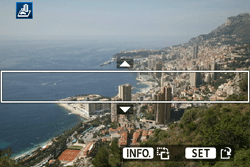
| Miniature effect |
Creates a diorama effect. In step 5, you can press the <INFO.> button to change the orientation (vertical/horizontal) of the white frame that shows where you want the image to look sharp. |
How to apply Creative filters to an image
1. Set the power switch to <ON>.
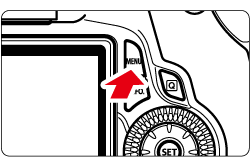
2. Press the <MENU> button to display the menu.
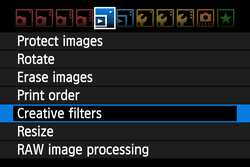
3. Under the [  ] tab, select [Creative filters], and then press the <SET> button. Images will be displayed.

- Turn the <Quick Control Dial> to select the image you want to apply a filter to.
- By pressing the <
 > button, you can switch to the index display and select an image.

4. When you press the <SET> button, the filters will be displayed.
- Press the <Multi-controller> key to select a filter, then press the <SET> button.
- The image applied with the respective filter will be displayed.
5. Press the <Multi-controller> key to adjust the filter effect, then press the <SET> button.
For the miniature effect, press the <Multi-controller> key and select the image area (within the white frame) where you want it to look sharp. Then press the <SET> button.
Note:
For the miniature effect, you can press the <INFO.> button to change the orientation (vertical/horizontal) of the white frame that shows where you want the image to look sharp.
6. Select [OK] to save the image.

 and
and  images. With
 + JPEG images, the RAW image will be applied with the Creative filter and saved as a JPEG image.