Deep Cleaning the Print Head
If print quality does not improve by the
standard cleaning of the print head, clean the print head deeply. Cleaning the print head deeply consumes more ink than the standard cleaning of the print head, so clean the print head deeply only when necessary.
You need to prepare: a sheet of A4 or Letter-sized plain paper
- Make sure that the power is turned on.
- Make sure that one or more sheets of A4 or Letter-sized plain paper are loaded in the cassette.
- Open the paper output tray gently, and open the output tray extension.
 Important
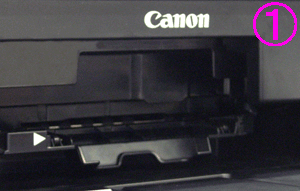
- If the inner cover is open, close it.
- Clean the print head deeply.
- Select
 Setup on the HOME screen on the printer.

The setup menu screen will appear.
- Select
 Maintenance, then touch the OK button.
The Maintenance screen will appear.
- Select Deep cleaning, then touch the OK button.

The confirmation screen will appear.
- Select Yes, then touch the OK button.
The machine starts cleaning the print head deeply.
Do not perform any other operations until the machine completes the deep cleaning of the print head. This takes about 2 minutes.
The pattern print confirmation screen will appear.
- Select Yes, then touch the OK button.
The nozzle check pattern will be printed.
- When the completion message appears, touch the OK button.
The screen will return to the Maintenance screen.
- Examine the nozzle check pattern.
If the problem is not resolved, turn off the power and clean the print head deeply again after 24 hours.
If the problem is still not resolved, the print head may be damaged. Service is required.
If your product issue was not resolved after following the steps above, or if you require additional help, please create or log in to your Canon Account to see your technical support options.
Or if you still need help, visit our Canon Community by clicking the button below to get answers:

____________________________________________________________________________________________
 Note
Note
- Touch the HOME button to exit Setup and display the HOME screen.
