Press or to select Rep. Ink Tank , and then press the button.
Press or to select Yes , and then press the OK button. A message on the Display Screen advises you to open the Ink Tank Cover.
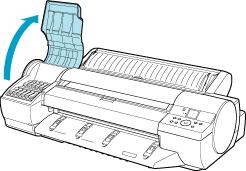
Open the Ink Tank Cover.
Press the tip of the Ink Tank Lock Lever of the color for replacement and lift the Ink Tank Lock Lever to open it.
Hold the empty Ink Tank by the grip to remove it. *If there is still some ink left in the Ink Tank you removed, store the ink tank with the ink holes facing up. Otherwise, ink may leak and cause stains.
Before opening the pouch, shake the Ink Tank gently seven or eight times. Agitate the ink in the Ink Tank by slowly turning the Ink Tank upside-down and right side up several times.
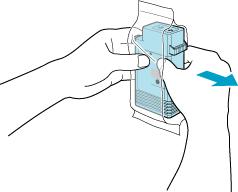
Open the pouch and remove the Ink Tank.
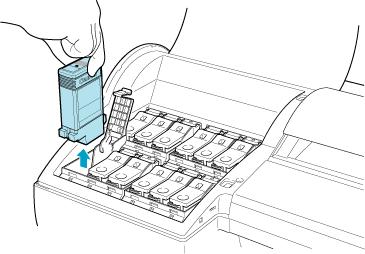
Insert the Ink Tank into the holder facing as shown in the figure, with the ink holes down.