These are the basic steps for loading sheets and then printing. Follow the steps below to load and print on sheets.
Turn the printer on.
Remove any loaded paper that will not be used. <Roll> (1) Press the Load/Eject button. A confirmation message is displayed regarding removal of the roll. (2) Press the OK button. (3) Remove the Roll Holder from the Roll Holder Slot . <Sheet> (1) Press the Load/Eject button. (2) Press the OK button to eject the paper. (3) Holding the paper, push the Release Lever back and remove the sheet. (4) Pull the Release Lever forward.
Complete settings in the printer driver for the type and size of paper and other details.
Send the print job.
Remove the Roll Holder from the printer and remove Basket Fastener A (a) from the Stand Stay (b).
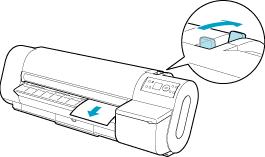
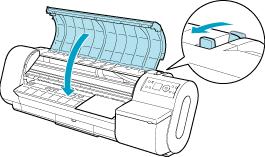
Open the Top Cover and push the Release Lever back.
With a sheet lengthwise and printing-side up, insert it between the Platen (a) and the Paper Retainer (b). Align the edges of the sheet as follows. (1)Align the sheet with the Paper Alignment Line (c) at right. (2)Align the inserted edge of the sheet with the leading edge of the Paper Alignment Line (d), as shown.
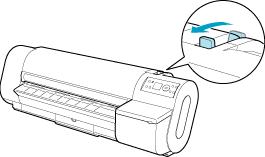
Lower the Release Lever toward the front and close the Top Cover .