Change The Color Correction Method - Easy-PhotoPrint EX
| Article ID: ART120373 |
| |
Date published: 05/12/2015 |
| |
Date last updated: 08/17/2015 |
Solution
Change the Color Correction Method
Easy-PhotoPrint EX, by default, automatically optimizes the colors in an image to create a pleasing print. Depending on how the image was created or your personal taste, the way colors are optimized can be changed. Follow the instructions below to change the color correction method:
- Open Easy-PhotoPrint EX and select 'Photo Print'.
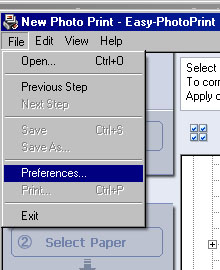
- Click 'File' at the top of the screen, and then select 'Preferences.
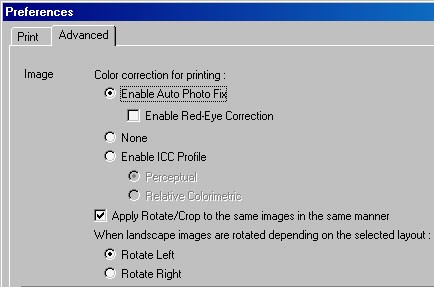
- Select the color correction method that best suits your taste. By default, 'Color correction for printing:' is set to 'Enable Auto Image Fix.'
Note: The settings above are for Easy-PhotoPrint EX version 2.0.1. Older versions are similar. For the best print quality always download and install the latest version posted for your model.
Enable Auto Photo Fix
Select this to correct images based on Exif information when printing. If there is no Exif information, images are corrected based on the color tones set with digital cameras or scanners.
Enable Red-Eye Correction
Select this to correct red eyes automatically when printing.
None
Select this when you want to print images without color correction.
Enable ICC Profile
You can select from the following two options:
Perceptual: Select this when you want to print photos using color tones that people favor.
Relative Colorimetric: Select this when you want to print in colors that are close to the original image.
