Borderless printing with media size Windows
*Borderless printing is only available with rolls.
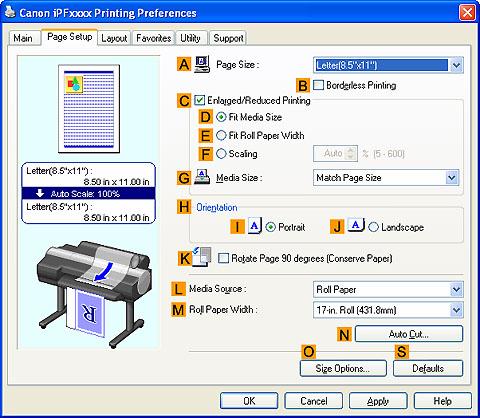
Fit Media Size
Enlarge or reduce the original to match the size of the paper you are using.

*The printer driver automatically enlarges originals 3 mm (0.12 in) past the dimensions of the paper on each side.
The 3 mm portion beyond the edge on each side is not printed.
Windows
This topic describes how to enlarge originals before borderless printing to match the paper size, based on the following example.
Document: Any type
Page size: 10x12 inches (254.0x304.8 mm)
Paper: Roll
Paper type: Heavyweight Coated Paper
Roll paper width: 10 inches (254.0 mm)
- In the application, create an original that takes up the entire space of the paper size.
*If you can specify the margin, as in Microsoft Word, set the margin at 0 mm.
For instructions on specifying the margin, refer to the software documentation."
- Choose Print in the application menu.
- Select the printer in the dialog box, and then display the printer driver dialog box.
- Make sure the Main sheet is displayed.

- In the "A":Media Type list, select the type of paper that is loaded. In this case, click Heavyweight Coated Paper .
- Select the print target in the "E":Print Target list.
- Click the Page Setup tab to display the Page Setup sheet.
- In the "A":Page Size list, click the size of the original as specified in the application. In this case, click 10"x12" .
- Click Roll Paper in the "L":Media Source list.
- Select the "B":Borderless Printing check box to display the Information dialog box.
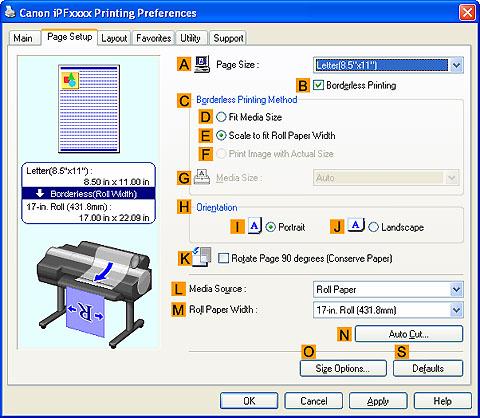
- Select the width of the loaded roll in the Roll Paper Width list—in this case, click 10-in. Roll (254.0mm) .
- Click OK to close the Information dialog box.
- In "C":Borderless Printing Method , click "D":Fit Media Size .
- Click Match Page Size in the "G":Media Size list.
- Confirm the print settings and print as desired.
