Print with specified magnification (Enlarged/reduced) MacOS9
Print with specified magnification (Enlarged/reduced) Windows
Scaling
Enlarge or reduce originals by a particular amount, as desired.

*In borderless printing, you cannot resize originals by entering a scaling value.
This topic describes how to enlarge originals before printing by entering a scaling value, based on the following example.
Document: Any type
Page size: A4 (210.0x297.0 mm)/Letter (8.3 x 11.7 in)
Paper: Roll
Paper type: Plain Paper
Roll paper width: A2/A3 roll (420.0 mm [16.5 in])
- Select the printer in Chooser .
- Choose Page Setup from the application menu to display the Page Attribute dialog box.
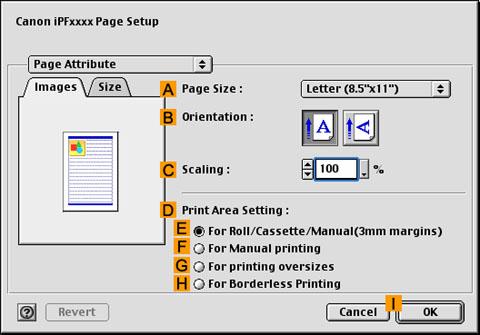
- In "A":Page Size , click the size of the original. In this case, click ISO A4 .
- Click "I":OK to close the dialog box.
- Choose Print in the application menu.
- Make sure the Main pane is displayed.
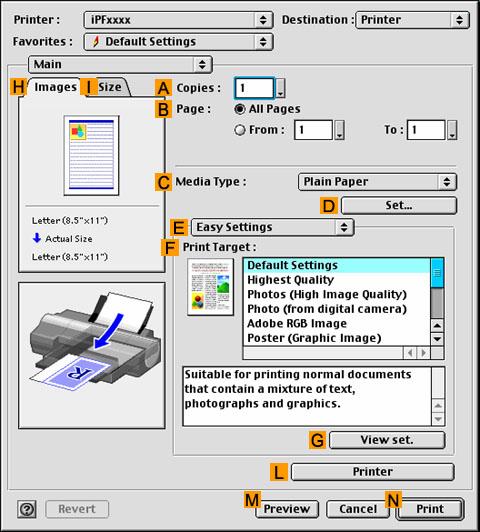
- In the "C":Media Type list, select the type of paper that is loaded. In this case, click Plain Paper .
- Select the print target in the "F":Print Target list.
- Access the Finishing pane.
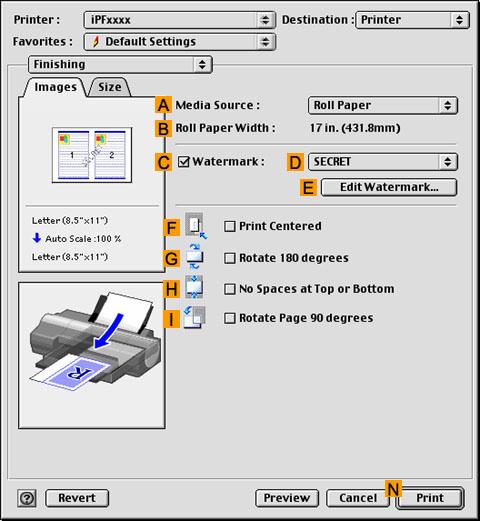
- Click Roll Paper in the "A":Media Source list.
- Make sure the width of the loaded roll is displayed in the "B":Roll Paper Width list—here, ISO A2/A3 (420.0mm) .
- Access the Page Setup pane.

- Make sure the "B":Page Size setting matches the original size as selected in "A":Page Size in the Page Attribute dialog box—in this case, ISO A4 .

- Select the "C":Enlarged/Reduced Printing check box.
- Click "F":Scaling and enter "120."
- Confirm the print settings, and click "N":Print to start printing.
