How to Add the Date to Images
This camera cannot record the shooting date directly on the images it takes.
You can insert those dates when printing images in ZoomBrowser EX. When doing so, you can also choose whether to insert the date or time and select the character style (font) for . Using ZoomBrowser EX for printing
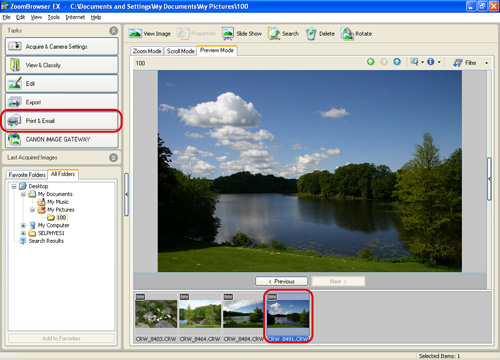
1. Start ZoomBrowser EX.
2. Select the image to be printed, and then click [Print & Email].
- To select multiple images, press the [Ctrl] key on the keyboard while clicking the images.
- If you click in the margins of a folder, you can select all of the images in that folder.
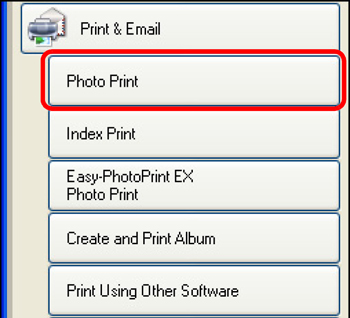
3. From the items shown, click [Photo Print].
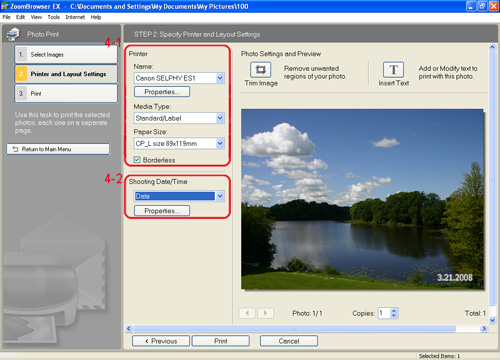
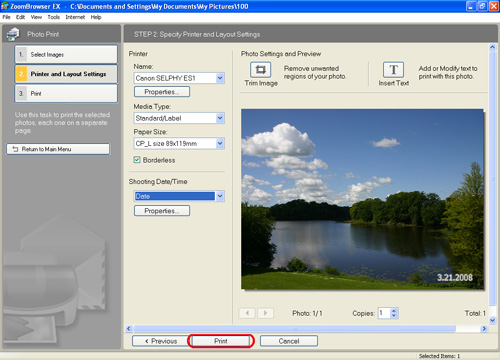
4. When the [Photo Print] screen appears, make the following settings.
4-1. Make printer settings.
Select the printer to use in [Printer Name], and then set the [Media Type] and [Paper Size] for the paper to be used.
Also, if making settings for borderless prints, check the [Borderless] box (  ), and then click [Properties].
4-2. Set the shooting date/time and style
Click the down arrow (  ) next to [Shooting Date/Time], select [Date/Time], [Date], or [Time], and then click [Properties].
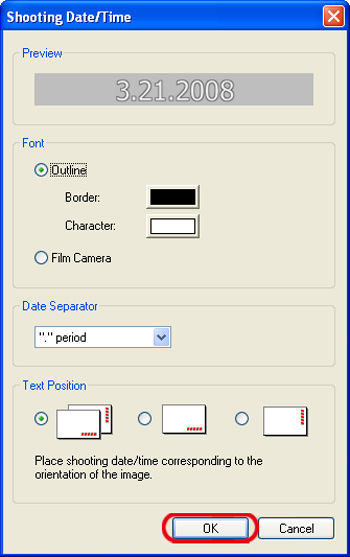
5. When the [Shooting Date/Time] dialog box appears, set the styles for the dates to be entered.
- Select the character style for the characters to be printed in [Font], and then select the character to use as the date separator.
- Also select where the date and time should appear in the image in [Text Position].
When the settings are finished, click [OK] to close the dialog box.
Reference:
If you select [Film Camera] in [Font], the character style will be set as shown below.
6. Make other settings as necessary, and then click [Print].
This completes the process of printing images with dates.
