Follow the instructions below to removed a paper that is jammed in either the rear tray or the paper output slot.
 Printer image is just for show and may not match your actual model.
Before you begin
If you turned off the machine, all print jobs in the queue will be canceled.
Remove paper jam
-
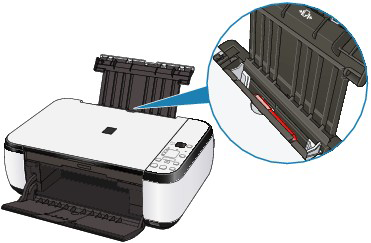
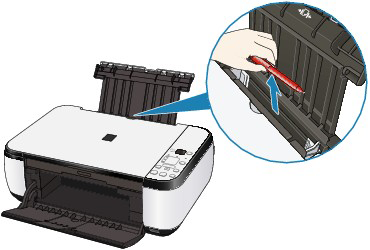
Slowly pull the paper out, either from the rear tray or the output slot, whichever is easier.

-
If a piece of paper remains inside the printer, turn the machine off and open the scan cover to remove the paper.
 Be careful not to touch the components inside the machine.
-
If you can't pull the paper out, turn the machine off and turn it back on. The paper may be ejected automatically.
-
After you have removed the paper, close the scan cover and turn the printer back on.
-
Reload the paper, and select Stop / Reset on the printer.
Good to know
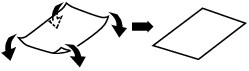
To prevent paper jams, make sure of the following.
-
If there are any foreign objects in the Rear Tray, be sure to turn off the machine, unplug it from the power supply, then remove the foreign object.
If your product issue was not resolved after following the steps above, or if you require additional help, please create or log in to your Canon Account to see your technical support options.
Or if you still need help, visit our Canon Community by clicking the button below to get answers:

____________________________________________________________________________________________
