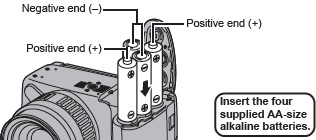
Insert four AA-size alkaline batteries (supplied with the camera) or separately sold nickel metal hydride (NiMH) batteries.
Be sure that the camera power is off.
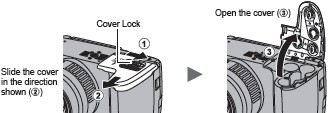
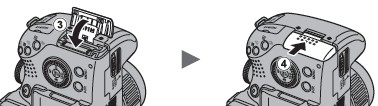
Slide the battery/memory card cover lock in the direction of the arrow (), and hold it open while sliding the cover () and opening it ().
Insert the batteries as shown and close the battery / memory card cover.
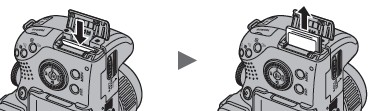
To install the memory card.
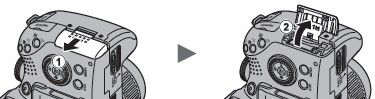
Open the memory card door by sliding the cover () and open it ().
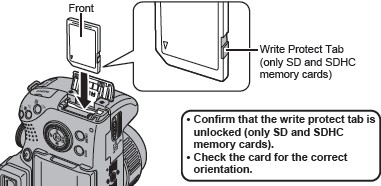
Insert the memory card as shown:
Close the memory card slot/battery cover (), pressing down and sliding it until it clicks into place ().
To remove the Memory Card.
To remove the card, push the memory card with your finger until the memory card clicks and the camera releases it. Once the card has raised from the body of the camera it is safe to remove the card.
When the upper indicator blinks green, do not turn off the power or open the battery cover. The camera is writing, reading, erasing or transmitting an image to or from the memory card.
The use of the separately sold AC Adapter Kit CA-PS700 is recommended to power the camera during long usage sessions.
The separately sold battery charger kit lets you use rechargeable NiMH batteries to power the camera.
Ensure that the memory card is correctly oriented before inserting it in the camera. It may damage the camera is inserted incorrectly.