|
This section describes how to install the software applications on your computer.
IMPORTANT
- In this section, Windows 7 is used as an example to explain the operation. If you are using Windows Vista or Windows XP, the on-screen displays and procedures may slightly differ.
- When installing / uninstalling the software, please log on to the computer as an Administrator.
- Some of the images that appear on this page contain a specific camera model name, however the actual model name varies depending on the camera used.
1. Quit any software that is running.
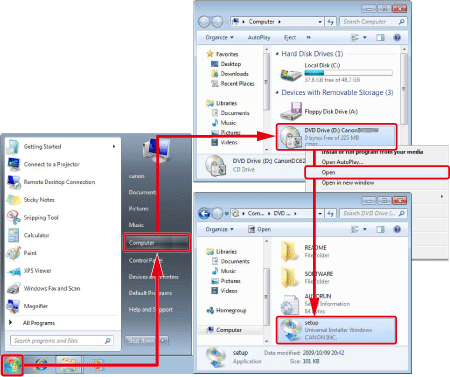
2. Place the [DIGITAL CAMERA Solution Disk] CD-ROM supplied with your printer into the computer.
3. Click [Run SETUP.EXE] when the following window appears.
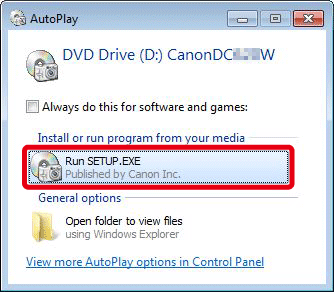
If the window above does not appear, click [Start] (
 ) > [Computer] or [My Computer] > [CanonDCxxxW] in this order, and double-click [setup].
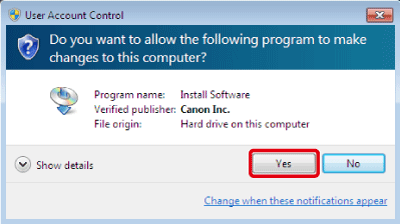
4. If the following window appears, click [Yes].
5. The following screen will appear. Select the area in which you live.
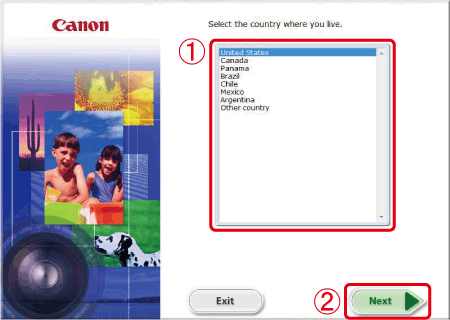
Select
 the country where you live. Click
 [Next].
6. The following screen will appear.
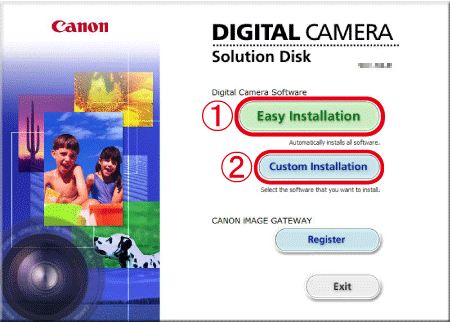
Click
[Easy Installation] to automatically install all the software applications.
REFERENCE
Click
[Custom Installation] to select the software applications that you want to install.
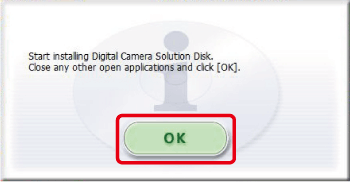
7. The following screen will appear. Click [OK].
REFERENCE
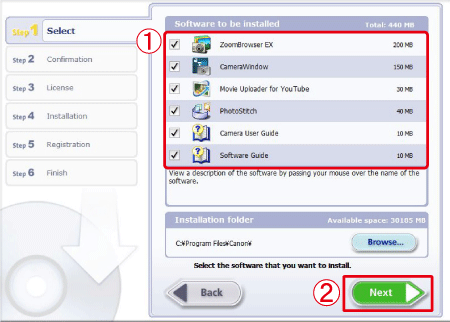
If you selected [Custom Installation] in Step6, the following screen will appear after Step7.
The selected (
 ) software applications will be installed. (Deselect the checkbox (
) of the software applications that you do not wish to install.)
After confirming that you have selected all the software applications for installation, click
[Next] and then proceed with the installation.
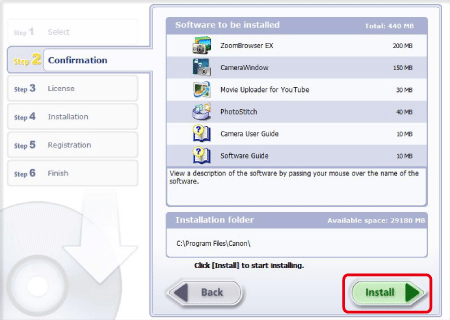
8. The following screen will appear. Click [Install].
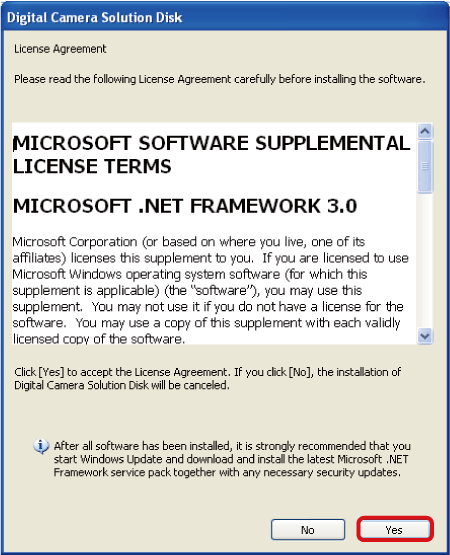
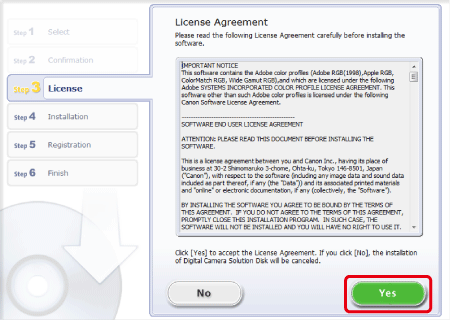
9. The following screen will appear. Click [Yes] after reading the content carefully.
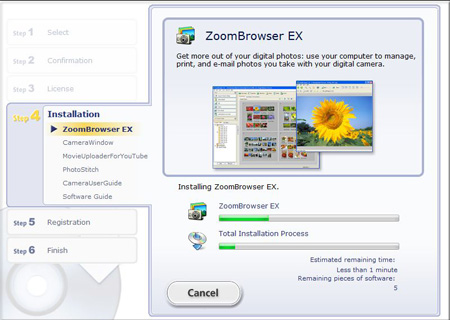
10. The following screen appears, and installation starts.
IMPORTANT
If you are using Windows XP, the following window may appear during installation.
Click [Yes] after having read the details thoroughly.
11. The following screen will appear. Click [Next].

12. The following screen may appear and if it does not, please proceed to step 14.
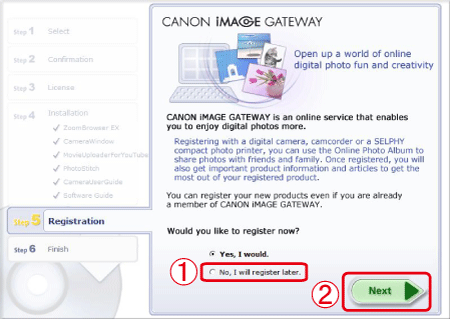
The following screen will appear. If you want to register later, select
[No, I will register later.], and then click
[Next].
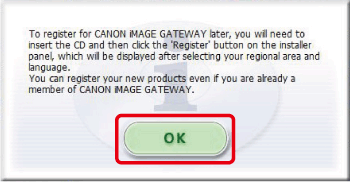
13. The following screen will appear. Click [OK].
14. The following screen will appear. Click [Restart] to restart the computer and complete the installation.
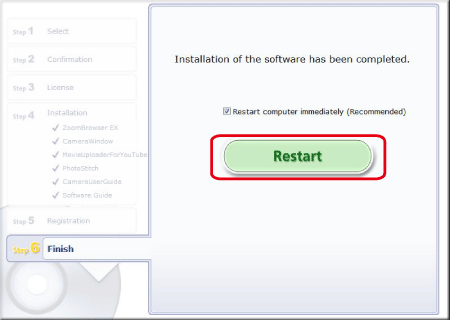
If there is no need to restart the computer, the [Finish] screen will display. Click [Finish], remove the Solution Disk from the CD-ROM drive to conclude the installation.
|