Follow the steps below to wirelessly connect your computer with the standard setup method.
Before you begin
 Check the necessary environment and procedures to use the printer in a wireless connection.
-
Standard setup connects the printer to your access point or router. Check for the required information to continue setup:
-
Access point or network name (SSID).
-
Network key (or encryption key), WEP key, WPA/WPA2 passphrase, or a pre-shared key.
-
Refer to the instruction manual for your access point or router.
-
Close out all applications before installation.
-
Log on with an administrator account.
-
Internet connection may be required. Connection fees may apply.
-
Screens are based on Windows 7 Home Premium edition. Actual screens may vary based on the OS version.
Character entry procedures
-
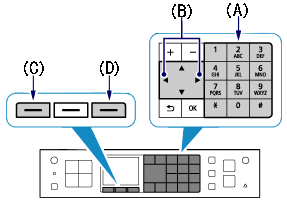
Enter the characters with the numeric buttons (A) on the printer.
-
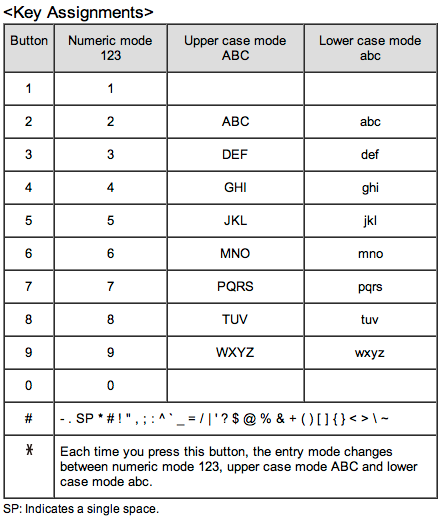
Press the asterisk button  to switch the character entry mode to numeric, upper case, and lower case.
-
When you press the asterisk button , the entry mode on the upper-right corner of the screen changes between numeric (123), upper case (ABC), and lower case (abc).
-
The numeric button can assign multiple characters. Press a key to toggle character options for that key. Reference Key Assignments for details on assigned characters.
Standard setup procedures
-
Insert the CD-ROM into the computer.
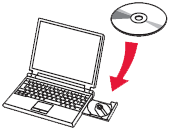
If the USB cable is connected, unplug it. If a message appears, select Cancel.
-
Select Run Msetup4.exe on the AutoPlay screen, then select Yes or Continue on the User Account Control dialog box.
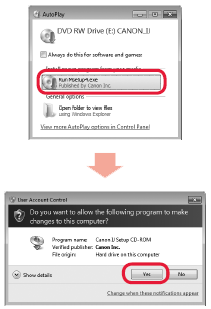
If the CD-ROM does not autorun, double-click My Computer, select the CD-ROM icon, and double-click Msetup4.exe.
-
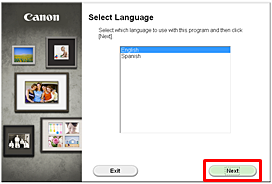
Select your language and select Next.
-
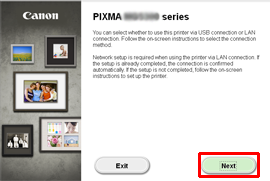
Select Next.
-
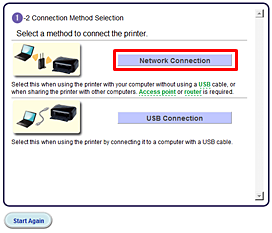
Select Network Connection.
-
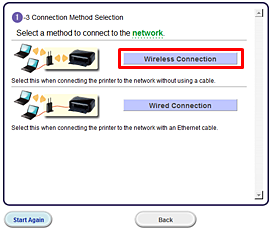
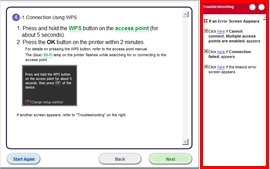
Select Wireless Connection and follow the on-screen instructions.
-
If an error message appears, check the Troubleshooting panel on the right.
-
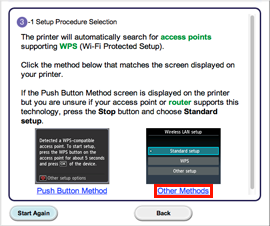
Select Other Methods.
-
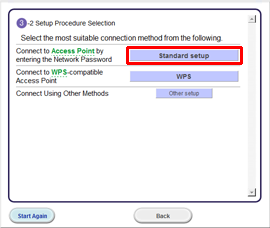
Select Standard setup and follow the on-screen instructions.
-
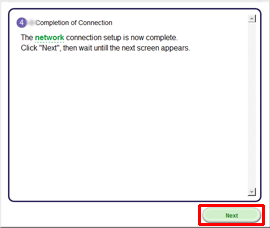
When the screen below is displayed, network connection is complete. Select Next.
-
Install the software. Select Next and follow the on-screen instructions.
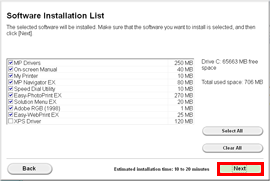
Easy-WebPrint EX is a web-based software provided for printer installation. Windows Internet Explorer 7 or later and an internet connection is required for installation.
-
When the setup completion dialog box appears, select Complete.
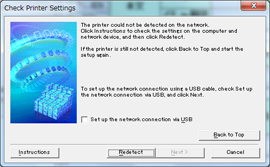
The Check Printer Settings dialog box is displayed if the printer is not detected.
-
Select Next.

-
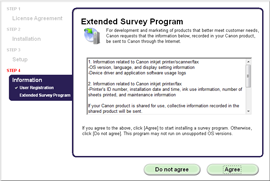
The Extended Survey Program screen appears. Review the information and if you agree to the terms, select Agree. If you select Do not agree, the Extended Survey Program won't install. You may use the printer without program registration.
-
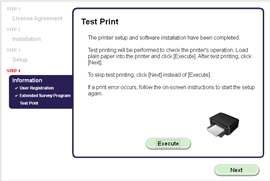
The Test Print window is displayed.
-
To perform a test print, load plain paper into the printer and Select Execute. Select Next to skip the test print.
-
After the test print completes, select Next.
-
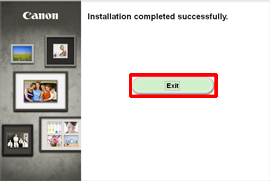
Select Exit to complete installation.
-
Remove the setup CD-ROM.
-
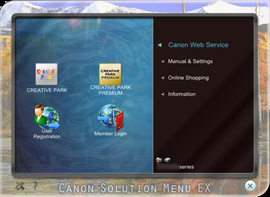
The Solution Menu EX starts.
If your product issue was not resolved after following the steps above, or if you require additional help, please create or log in to your Canon Account to see your technical support options.
Or if you still need help, visit our Canon Community by clicking the button below to get answers:

____________________________________________________________________________________________

 (B) to move the cursor by one character to the right.