There are several ways to set up your printer wirelessly. Refer to the methods listed below and click on the link for detailed installation instructions.
Before you begin
To set up the printer on a wireless network, you need the following.
-
Access Point / Wireless Router.
-
Computer(s) connected to the access point / wireless router.
-
Internet connection.
-
Computer administrative login / privileges.
-
SSID or network name.
-
Network key (password).
You will also need to make sure of the following.
Temporary USB cable method
For this printer, the wireless software can be installed using a USB cable and the installation is referred to below as wireless setup.
For this purpose, a USB cable is included in the carton.
During wireless setup, you will be prompted to connect the computer and the printer using the USB cable.
Choose the link below that matches your computer's operating system, to see further instructions.
WPS (push button) method
During software installation, the setup instructions will have you activate wireless LAN through the printer's operation panel.
When the printer is set to wireless LAN mode and the Wi-Fi® light comes on, the printer will automatically search for a Wi-Fi Protected Setup (WPS®) enabled router. If the printer doesn't detect a WPS enabled router or the router doesn't have WPS capabilities, you can install the software using USB method.
 Inspect all sides of your router for a WPS button. If you find the button, the router is WPS capable.
If you know your router is WPS capable and WPS is enabled, choose the link below that matches your computer's operating system, to see further instructions.
WCN method (via USB flash / thumb drive)
A wireless connection can also be set up by using the WCN (Windows Connect Now) function of Windows 7 or Windows Vista together with a USB flash / thumb drive.
Add the printer software to additional computers that are on the wireless network.
After the wireless software is installed on one computer, you can install it on other computers that are part of your wireless network. Choose the link below that matches your computer's operating system, to see further instructions.
Good to know
Top of Document
Useful terms
Access Point
A device that acts as a bridge when establishing a wireless network.
Network
A system to exchange information between computers by connecting them to each other. The Internet is a type of network.
SSID
A name to identify an access point used in a wireless network.
USB
A standard to connect peripherals (printers, etc.) to a computer.
Windows Connect Now (WCN)
A function to configure wireless connection settings easily by using a USB flash drive (Windows 7 and Windows Vista computers). (This printer supports WCN-UFD) A USB flash drive is required.
Wi-Fi®
A brand name given only to products that have passed Wi-Fi Alliance interoperability tests. Your printer is a Wi-Fi certified product.
WPS®
A standard with which wireless device connections and security setting can be easily established. Push button method and PIN code method are available.
Verify wireless network
Top of Document
 How to verify which wireless LAN your computer is connected in a Windows environment.
How to to verify which wireless LAN your computer is connected in a Mac environment.
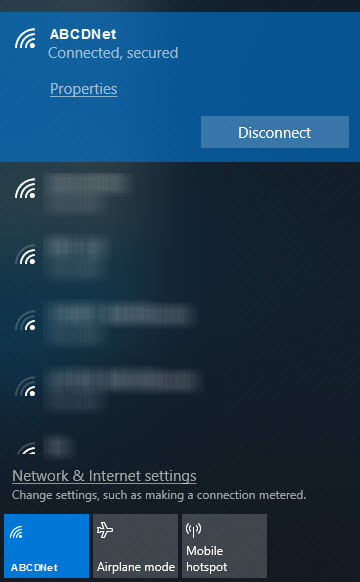
Check the SSID on the computer
-
Click the appropriate network icon in the system tray.
Windows XP:  |
Windows Vista:  |
Windows 7:  |
-
Note the SSID name (Network name).
Windows XP:
Windows Vista:
Windows 7:
Windows 8 / 8.1:
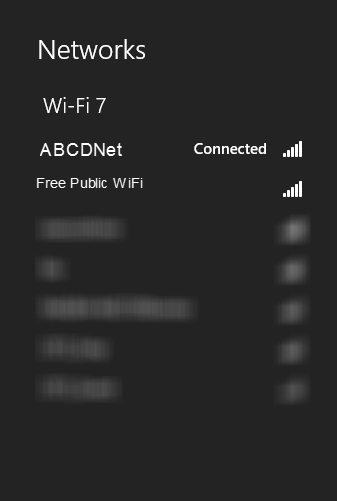
Windows 10:
- Compare this with the SSID from the the Wireless LAN setting list of the printer. If it's different, connect to the same SSID as that of the printer.
Top of Document
Check the SSID on the computer - Mac
-
Select the Airport Icon  .
.
-
Note the SSID name (the one with the check mark to the left).

-
Compare this with the SSID from the the Wireless LAN setting list of the printer. If it's different, select (click) the same SSID as that of the printer.
If your product issue was not resolved after following the steps above, or if you require additional help, please create or log in to your Canon Account to see your technical support options.
Or if you still need help, visit our Canon Community by clicking the button below to get answers:

____________________________________________________________________________________________

