You can scan items placed on the platen with settings suitable for documents.
-
Place the item on the platen.
 Placing Items (When Scanning from a Computer)
-
Start IJ Scan Utility.
Starting IJ Scan Utility
-
Click Settings..., select the Settings (Document Scan) dialog, then set the item size, resolution, etc. as required.
Settings (Document Scan) Dialog
When setting is completed, click OK.
 If you plan to scan multiple pages of a document to combine into a single PDF file, make sure that the Data Format is set to PDF (Multiple Pages) in the settings.
-
Click Document.
Scanning starts.
Click
Cancel to cancel the scan.
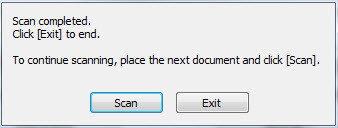
After a page has scanned, the screen to continue or end scanning appears. If you have more pages to scan (for example, when scanning a multi-page document to save as a multiple page PDF), place the next page on the platen and click Scan. Do this each time a page has completed scanning. After the last page has been scanned, click Exit.
Scanned images are saved in the folder set for Save in in the Settings (Document Scan) dialog displayed by clicking Settings.... In the Settings (Document Scan) dialog, you can also make advanced scan settings.
Settings (Document Scan) Dialog
