Scan First
Operation Flow :
Scan the document -> Configure the output settings -> Output the scanned images
Place the document in the scanner.
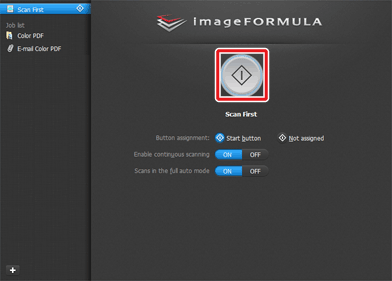
Click [Scan First].
The top screen of Scan First appears.

Set the scan method in the top screen.
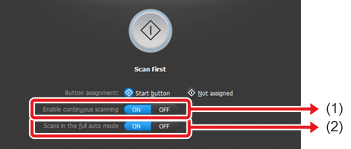
(1) Specify whether to enable continuous scanning. When previewing the scanned image or splitting up a large document to scan in parts, select [ON] to enable continuous scanning.
(2) Specify whether to scan the document in full auto mode. When you want to specify arbitrary scanning conditions, select [OFF] and configure the scanner settings.

Full Auto Mode automatically sets the appropriate scan settings for the document.
Click the Start button.
The document is scanned. While scanning is in progress, the number of pages scanned is displayed in addition to the scanner settings.
When scanning is finished, the Output settings screen appears.

- If you configure scanning conditions that consume a large amount of the computer's memory, scanning may stop because of insufficient memory. If an error message appears due to insufficient memory while scanning is in progress, stop scanning, change the scanning conditions, and then try scanning again.
- A multiple-page scan cannot be saved when it reaches the file size of 2 GB. Change the save settings if an error message is displayed.

If a document is scanned when [Enable continuous scanning] is set to [ON], the continuous scanning screen appears when scanning of the document is finished.
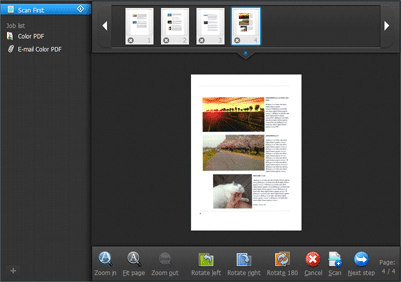
If you place the next document and click [Scan], scanning of the document starts.
When scanning of all the documents is finished, click [Next step].
Configure the settings related to output and then output the scanned images.

(1) Configure the settings related to output.
(2) Click this button to output the scanned images. The button name differs for each output method. For example, it is [Save] when the output method is set to [Save to folder].
When output is finished, the complete screen appears. Scan First is now finished.


- Clicking [Return to top] returns to the main screen of Scan First.
- When you specified an output method other than [Attach to E-mail] or [Print], you can click [Open storage folder] to open the folder in which the scanned images were saved.
