For a wirelessly-connected printer to work properly, it must be connected to the same wireless network as your computer.
Follow the steps below to verify your printer's connection status.
Check the printer's SSID (network name)
Follow these steps to print out your wireless network information:
-
Make sure that the printer is turned on.
-
Load one sheet of Letter-sized plain paper into the printer.
-
Press the Menu  button.
-
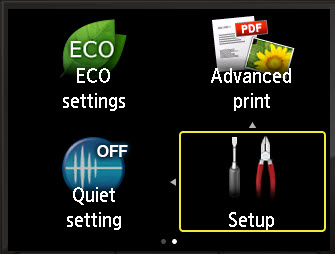
Select Setup from the printer operation panel, then press OK.
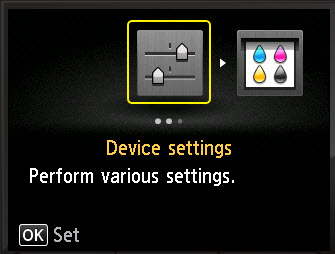
- Select Device settings, then press OK.
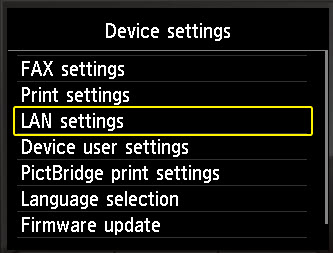
- Use the up/down arrow buttons

 to scroll to LAN settings, then press OK.
-
Scroll to Confirm LAN settings, then press OK.
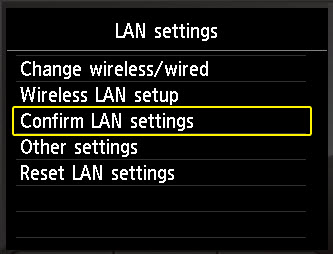
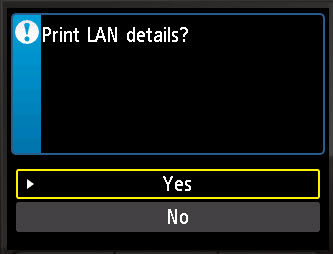
- Scroll to Print LAN details, then press OK.

- Select Yes, then press OK to start printing.
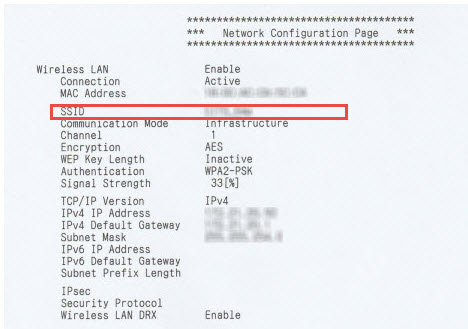
- Look at the printed network information. You will find the wireless network name next to SSID.
 If network settings have recently changed (new router, password or SSID), you will need to reconnect your printer to the wireless network. Follow one of the links in the last section of this article for instructions.
If network settings haven't changed, continue on with the next step.
Check the computer's SSID (network name)
-
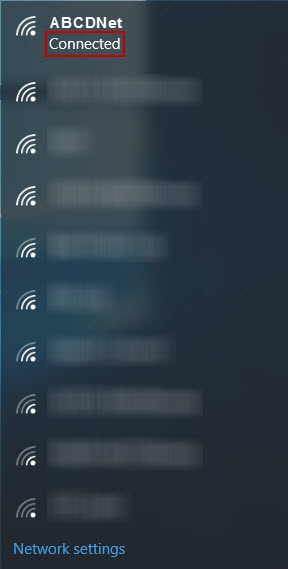
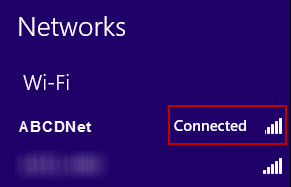
On your computer's task bar, select the appropriate network icon.
-
Note the SSID (Network name). In the examples below, it's ABDCNet.
-
Windows 10:
- Windows 7:
- Windows 8 / 8.1:
- Windows Vista:
- Windows XP:
- Macintosh
The SSID name is the one with the check mark.
-
If the computer isn't connected to the same SSID as the printer, change the connection so that they are on the same wireless network SSID.
-
Connect to the printer and print.
Get additional help
-
If the computer and printer are connected to the same SSID but you're unable to print, there are some basic steps that you can take to attempt to restore network communication between the computer and printer.
-
If these basic steps don't resolve the issue, you may need to configure your firewall or other security software to unblock ports used by the printer for network communication.
Reconnect your printer to the wireless network
If you change a network setting (new router, SSID, or password), you will need to reconnect your printer to the wireless network.
Select one of the following connection methods, then follow the link to get instructions.
Standard Setup (try this first)
Standard Setup (Directly Enter the Network Password on the Printer)
Windows PC
Using a USB Cable and the Downloadable Driver
MacOS
Using a USB Cable, the CUPS Printer Driver, and the IJ Network Tool
Other options
WPS PIN Code (Refer to the Router's Documentation for Instructions on Entering a PIN Code)
WPS Push Button (Refer to the Router's Documentation for Instructions)


 , Windows XP:
