Make sure that the printer port is configured appropriately.
1. Log on as a user account with administrator privilege.
2. Select items from the Start menu as shown below.
- In Windows 7, select Devices and Printers from the Start menu.
- In Windows Vista, select the Start menu > Control Panel > Hardware and Sound > Printers.
- In Windows XP, select the Start menu > Control Panel > Printers and Other Hardware > Printers and Faxes.
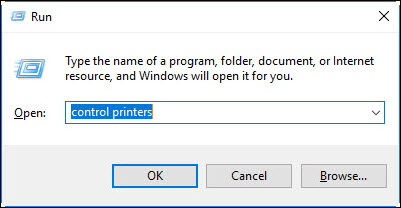
For Windows 8, 8.1, and 10, press and hold the Windows  key and type R to open the Run box. In this box, type control printers and click OK.
3. Open the properties of the printer driver for the machine.
- In Windows 7, 8, 8.1 or 10, right-click the "Canon XXX Printer" icon (where "XXX" is your machine's name), then select Printer properties.
- In Windows Vista or Windows XP, right-click the "Canon XXX Printer" icon (where "XXX" is your machine's name), then select Properties.
4. Click the Ports tab to confirm the port settings.
Make sure that a port named "USBnnn" (where "n" is a number) with "Canon XXX Printer" appearing in the Printer column is selected for Print to the following port(s).
reference:
- When the machine is used over LAN, the port name of the machine is displayed as "CNBJNP_xxxxxxxxxx". "xxxxxxxxxx" is the character string generated from the MAC address or a character string specified by the user when setting up the machine.
