This article applies to the MG5520, MG5522, MG6420, and MG7120.
Solution
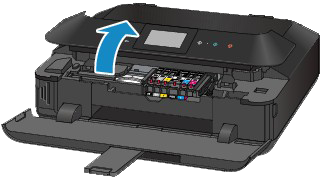
Make sure that the power is turned on, then, holding sides of the paper output tray, gently open it.
Lift the operation panel open until it stops.
The print head holder will move to ink tank replacement position.
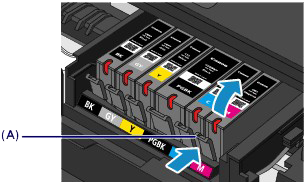
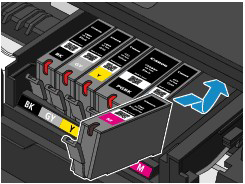
Push the tab (A) on an ink tank and lift it out of the printer.
Remove any other ink tanks from the holder if they need to be changed.
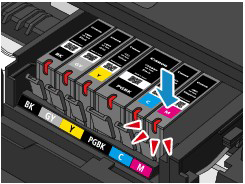
Insert the ink tanks into their proper slots.
Insert the front end of the ink tank into the print head at a slant. Make sure that the position of the ink tank matches the label.
Press on the top of the ink tank until the ink tank snaps firmly into place.Make sure that the ink lamp lights up red.
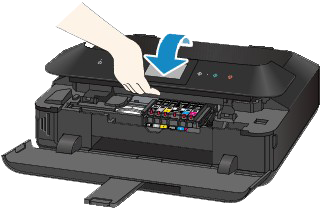
Close the inner cover and then operation panel.
If the print head carriage returns to home position before the print head is installed, close the inner cover and operation panel and follow the instructions on the display. Then repeat step 3 to get the print head holder into the replacement position.