|
|
Install the printer driver using the prepackaged CD - Easy Install (Windows) - iP100
| Article ID: ART150739 |
| |
Date published: 05/22/2015 |
| |
Date last updated: 12/28/2015 |
Description
Install the printer driver using the prepackaged CD - Easy Install (Windows) - iP100
Solution
Install the printer driver using the prepackaged CD - Easy Install (Windows)
The printer driver installation can be done using the prepackaged CD-ROM Easy Install and Custom Install methods. Easy Install allows the user to install all of the software programs to be used. This method is recommendable for users familiar with software installation.
Before Installation
- Windows 7 users - The drivers and applications on the Setup CD-ROM were written before the release of Windows 7 and are not compatible. Please download and install the appropriate Windows 7 driver and applications from our Web site.
- When installing the printer driver in Windows XP / Vista, log into the computer as an Administrator.
- When installing the printer driver in Windows 2000, log into the computer as a user of Administrator group.
- If your computer has resident software such as antivirus software, exit in advance.
- IMPORTANT: Turn the printer off and remove the cable connecting the computer and the printer.
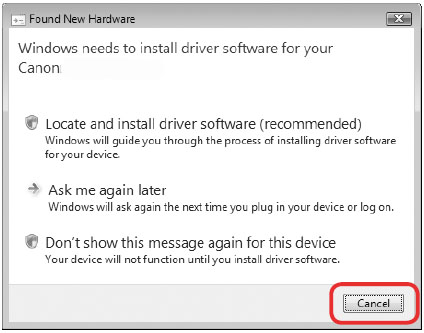
If the Found New Hardware or Found New Hardware Wizard screen appears automatically, remove the USB cable connected to your computer. Click Cancel to quit the screen. In Windows Vista, the screen may close automatically when the USB cable is unplugged. Then turn off the printer and proceed to step 1 below to install the printer driver.
The directions for Custom Installation follow.
- Insert the Canon CD in the computer.
Note: For Windows XP and Windows 2000, skip to Step 4.
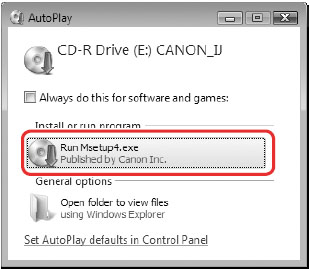
- If the AutoPlay screen appears, click Run Msetup4.exe.
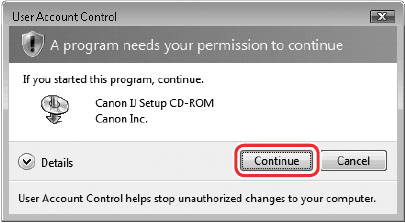
- If the User Account Control screen appears, click 'Continue.' If the same screen reappears in subsequent steps, click 'Continue.'
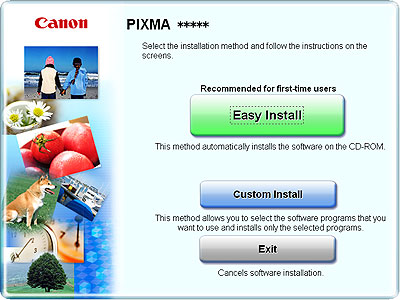
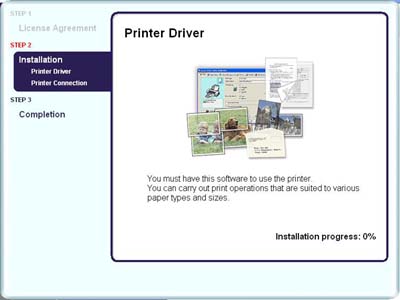
- After the CD-ROM automatically starts and displays the following window, click 'Easy Install'.
Note: If the CD-ROM does not start automatically, double-click the Msetup4.exe file in the CD drive.
- When the Custom Install window is displayed, deselect the programs not to be installed. Select 'Printer Driver' if needed, and click 'Next'.
Note: In this example, only the Printer Driver is being installed.
- Click 'Yes' in the License Agreement window to start Custom Install. Clicking 'No' will prevent you from completing installation.

- The selected items will be installed.
- The Printer Connection window will be displayed. Connect the printer to the computer and turn on the printer.

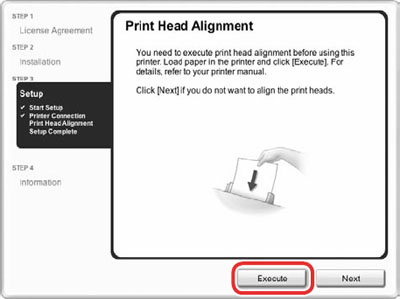
- When the Print Head Alignment screen appears, make sure that a sheet of supplied paper (Paper For Print Head Alignment MP-101) is loaded in the Rear Tray. Click 'Execute', confirm the displayed message and click 'Align Print Head'.
- When the installation is completed, the Installation Results window will be displayed. Confirm the results, and click 'OK'.
Note: Print Head Alignment will take about 5 minutes to complete. Do not start another operation until the printer has stopped making operating noises.
Do not open the Print Head Cover while printing.
The pattern is printed, and the Print Head is aligned automatically.
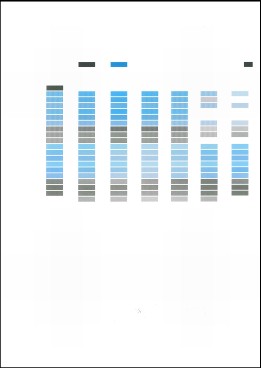
Note: The pattern is printed in black and blue.
When Automatic Print Head Alignment cannot be executed properly, the Alarm lamp on the printer will flash orange eleven times.
- If you wish to register your printer now, click 'Register'. If not, click 'Cancel'. Registration can be done after the printer driver installation by clicking on the Registration icon that will appear on your desktop after the installation..
- After print head alignment is completed, click 'Next'.
- When the Installation Results screen appears, click 'Next'.
- When the User Registration screen appears, click 'Next'.
Note: To register later, click 'Cancel' and go to Step 15. After software installation is complete, you may double-click the Canon registration icon on your desktop to register your printer.
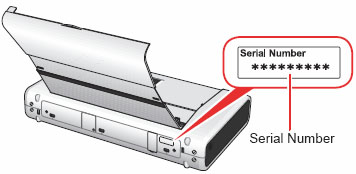
Follow on-screen instructions to register your product. You will need your product serial number, which is located on the rear of the printer.
- When the PIXMA Extended Survey Program screen appears, confirm the message. We would appreciate it if you would take part in this program regarding the use of Canon printers. If you can agree, click the 'Agree' button.
If 'Do not agree' is clicked, the PIXMA Extended Survey Program will not be installed but you can use the printer normally.
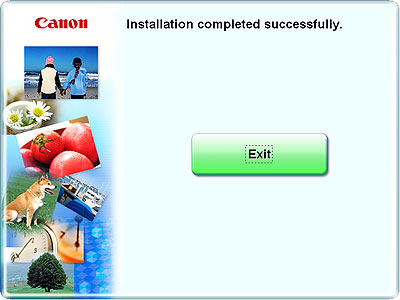
- When the Installation completed successfully screen appears, click 'Exit.' Remove the Setup CD-ROM after clicking Exit.
Note: If the Restart button is displayed, make sure that the Restart the system now (recommended) check box is selected, and the click 'Restart'.
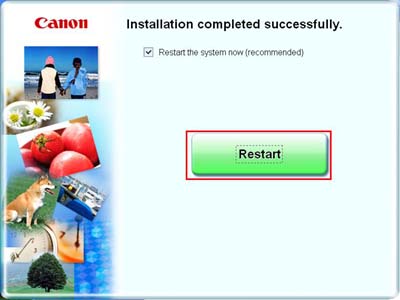
This completes Easy Install.
|
