Fit-to-Page
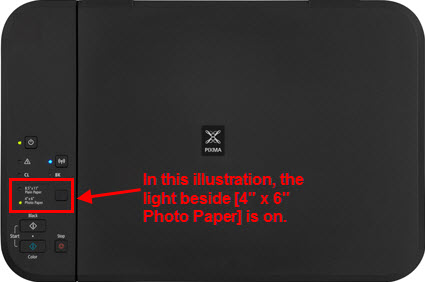
On this model, to enlarge or reduce an original, you must select [4" x 6" Photo Paper].
An original will get reduced to 4" x 6" when the original is larger than the printed paper - 4" x 6".
When copying an original like a business card or photo ID, the original will get enlarged to 4" x 6" - as long as the original is smaller than 4" x 6".
You can copy to borderless 4" x 6" photo paper.
-
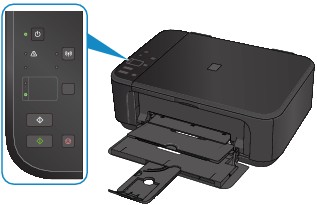
Make sure that the machine is turned on.
-
Load 10 x 15 cm or 4" x 6" photo paper.
-
Load the original on the platen glass.
-
Press the Paper button to light the lower Paper lamp.
-
Press the Color button for Color copying, or the Black button for Black & white copying.
The machine starts Fit to Page copying.
-
Remove the original on the platen glass after copying is complete.
To make multiple copies
Press the Color button or the Black button repeatedly according to the number of copies you want.
Press the same button (Color button or Black button) as the one which you previously pressed.
 Important
-
Do not open the document cover or remove the original from the platen glass until scanning is completed.
While the machine is scanning the original, the ON lamp keeps flashing.
 Note
Note
-
To cancel copying, press the Stop button.
-
When the original is copied, slight cropping may occur at the edges since the copied image is enlarged to fill the whole page.
