How to set the DPOF print settings using ZoomBrowser EX version 5.x
You can register print settings on a memory card, including the images to print and the number of copies.
How to make DPOF print settings
Standard printing
Index printing
IMPORTANT
This feature does not work with unconverted RAW images. If you want to print RAW images, convert them first, copy them to the camera and perform this operation. |
REFERENCE
DPOF is a standardized format for recording print settings, such as the image selection and number of copies. After DPOF print settings have been set, you can take a memory card to a camera store or developing laboratory and have the images printed according to the settings. |
How to make DPOF print settings
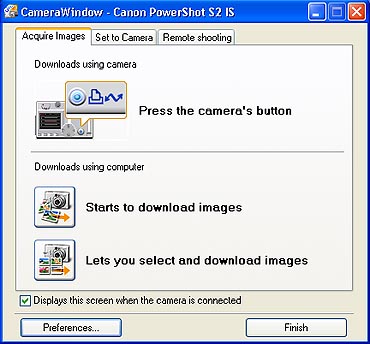
- Connect the camera and open Canon Camera Window.
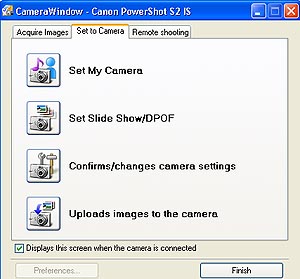
- Click the [Set to Camera] tab in the Camera Control Window, then click [Set Slide Show/DPOF] button.
REFERENCE
When the Main Window is open, you can open the Camera Control Window by clicking [Acquire & Camera Settings], followed by [Set to Camera].
- Click the [Print Order (DPOF)] button at the top left of window and select the print type.
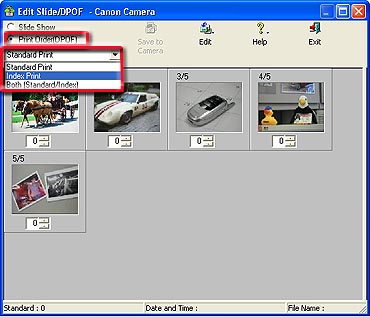
Standard Print
Prints the specified number of copies of the images that you selected.
Index Print
Prints only thumbnails of the images that you selected.
(Standard/Index)
Prints the specified number of copies and thumbnails of the images that you selected. In addition, it produces an index print of small versions of all the images.
REFERENCE
- You can also click [Edit] and then click [Titles] to include the image date and file number in the prints.
- The date that the image was copied to the camera will print when images copied to the camera from the computer have their size changed while being copied.
|
Standard printing
Prints the specified number of copies of the images that you selected.
- Use the arrows next to the boxes to select the number of copies you want.
- The number under each image indicates the number of copies to print.
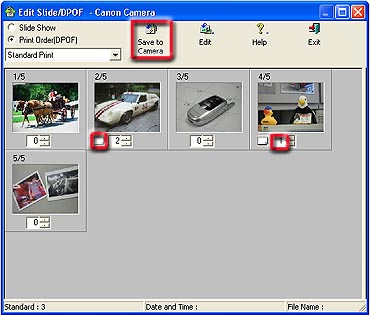
- The standard print icon displays to the left (of the number of copies) when a number of copies is specified.
- When you are done with your selections, click [Save to Camera].
- This saves the information and completes the print setting.
Index printing
Prints only thumbnails of the images that you selected.
- Select the check box under the image to include it in an index print.
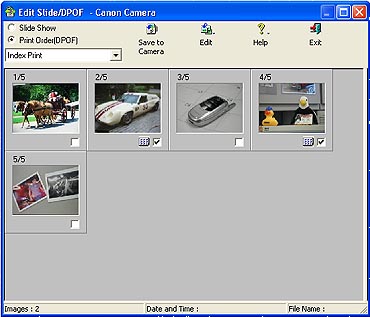
- The index print icon displays when a check mark is added to the image.
- When you are done with your selections, click [Save to Camera] at the top of the window.
- This saves the information and completes the print setting.
REFERENCE
The procedure explained above also applies when the print type is " (Standard/Index)". |
