Trimming the Image in Easy-PhotoPrint
Follow these instructions to trim and print a part of the image.
(Memo)
Easy-PhotoPrint Ver. 3.3.0 is used to explain the following procedure.
- The trimmed images cannot be saved.
-
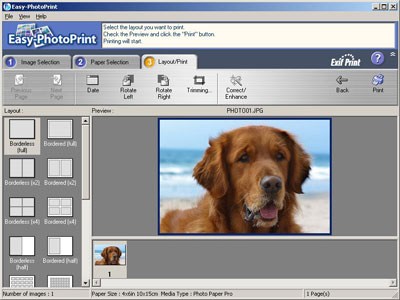
Select the image to be trimmed in Image Selection tab, then click the 'Layout/Print' tab.

-
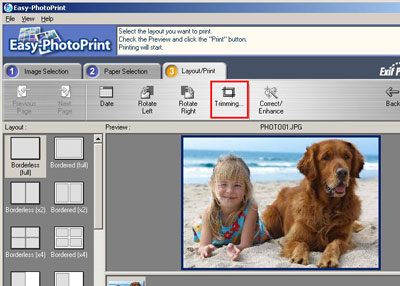
Click 'Trimming'
-
Decide the scope of the image to be trimmed by dragging one of the 12 squares on the image.
(Memo)
The red full line shows the scope of the image to be printed borderlessly.

-
When the scope of the image to be trimmed is determined, click 'OK'.

5. The image to which the trimming setting is applied is displayed in the Preview window.