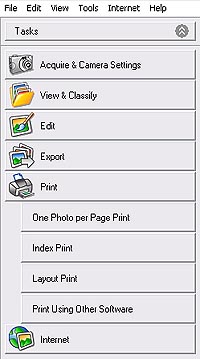
Printing an Image Using ZoomBrowser 5.5 (One Photo per Page Print)
| 1. Click [Print] in the Main Window. |
|
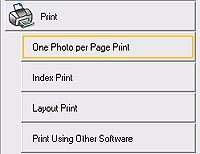
| 2. Click [One Photo per Page Print]. |
|
|
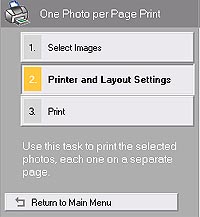
3. Confirm that [1. Select Images] is selected, and choose image(s) to print by clicking on their thumbnail images.
- The background of the selected image(s) changes to blue when selected.
- You can select multiple images by pressing and holding the [Ctrl] key while clicking on successive images. To deselect images, click on the images again while holding the [Ctrl] key down.
|
| 4. Click [2. Printer and Layout Settings]. |
|
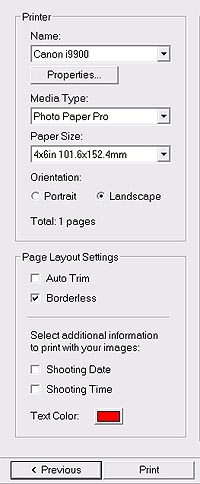
5. Change any options that apply.
- Use the drop-down boxes in the printer section to select:
-
- The printer name (model) you wish to print to.
- The type of paper (media type).
- The paper size.
- Choose the Orientation - whether the paper in the printer is loaded vertically (Portrait) or horizontally (Landscape).
- Choose the Page Layout Settings:
-
- Auto Trim enlarges the image until there is no white space in the image area.
- Borderless printing allows edge-to-edge printing. This option only displays when your printer supports advanced settings.
- Select additional information to print on your images:
-
- You can include the date and time on each printed image
- By default, ZoomBrowser EX displays the Exif (Exchangeable image file format, used by digital cameras to store image data.) shooting date and time. If that information is unavailable, then ZoomBrowser EX displays the modified date and time.
- The information displays in the lower right corner of the image.
- By default, the text color is red, but you can change this by clicking the colored box.
|
 |
|
6. If desired, Rotate and / or Trim the image(s).
|
7. If you selected to print more than one image, click  and and  to move to the previous and next images. to move to the previous and next images.
|
|
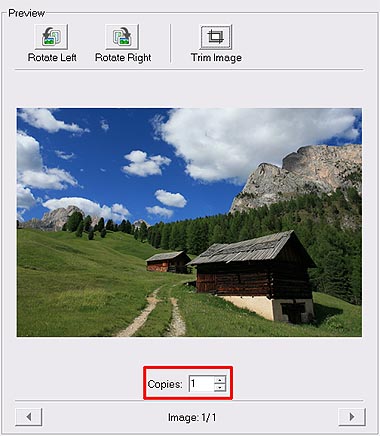
8. Choose the number of copies for each different image.
|
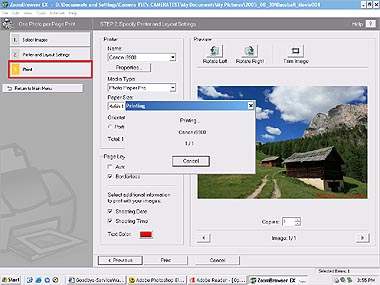
9. When you have finished specifying printer and layout settings, click [Print]. |

- To change the way dates and times display on the image, in Control Panel, click Regional Options. Make changes to Time and Short Date as necessary.
|
REFERENCE
- Images captured by cameras that support the Exif 2.2 standard (nicknamed the 'Exif Print' function) have the shooting settings data, such as the shooting conditions and shooting mode, embedded in them. You can obtain better prints by using this data to correct and print the images.
|
Additional Information
Rotating Images
You can rotate the current image 90 degrees left and right by clicking on one of the rotate buttons.
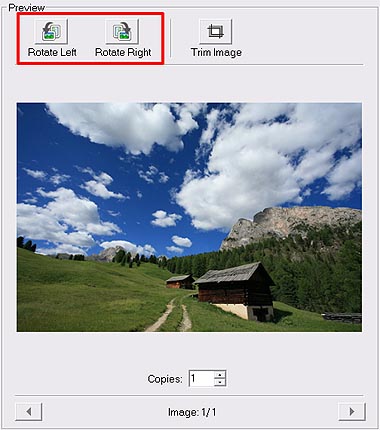
All page layout settings remain unchanged, though the image size and cropping areas may change because of the new orientation.
Return to Step 6
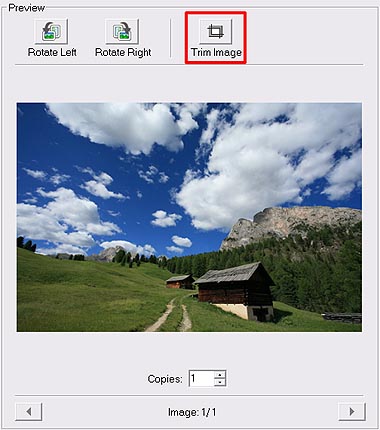
Trimming
You can use the Trim Image dialog box to trim the image to your requirements.
- Click the [Trim Image] button to open the Trim Image dialog box.
- The Trim Image dialog box opens. There are 2 boxes that show around the image. Drag the little white squares on the corners and sides of the White Trim Box to surround the area of the image you would like to keep.
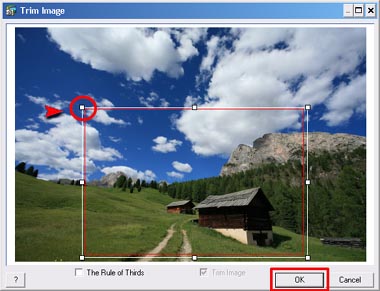
Trim Image dialog box
White Trim Box
The trim box with a solid white line shows the trimming area. You can resize the box by dragging the corners or edges, and you can move the box around the image by dragging an area inside the box.
Red Trim Box
During borderless printing, the trim box with a solid red line shows the effective printing area of the currently selected printer.
The area between the red and white trim boxes is the overprint or bleed area.
- Check the box next to "The Rule of Thirds" if you would like grid lines to assist you in composing the picture.
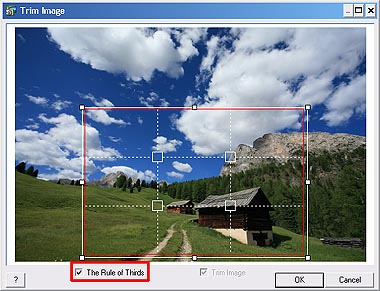
The Rule of Thirds
The Rule of Thirds assists you to recompose your image. It shows dashed white lines that divide the image into thirds vertically and horizontally. Place important elements of your composition where these lines intersect. This produces nicely balanced images.
- Click [OK] when you have finished trimming the image.
Return to Step 6
